
Want to keep your precious iPhone photos safe? Absolutely, you can save photos from your iPhone to a flash drive, and savewhere.net is here to guide you through the simple steps. This ensures your memories are backed up and easily accessible. Discover the easiest methods to manage your digital treasures and achieve peace of mind with reliable storage solutions.
Table of Contents
- Transferring Photos Directly Using the Photos App
- Leveraging iCloud for Photo Transfers
- Using Mac Image Capture for Easy Transfers
- Accessing DCIM Folder Through Windows Explorer
- Understanding User Search Intent
- Saving iPhone Photos to Flash Drive: Step-by-Step
- Addressing DCIM Folder Visibility Issues
- Why Backup Your Photos?
- Frequently Asked Questions (FAQs)
- Selecting the Right USB Drive
1. Transferring Photos Directly Using the Photos App
Question: How can I transfer photos from my iPhone to a flash drive using the Photos app on a PC?
Yes, you can easily transfer photos from your iPhone to a flash drive using the Photos app on a PC. With Windows 7 or higher, the default Photos app can help you transfer images to a flash drive or another directory. First, connect your iPhone to your PC and open the Photos app. You may need to unlock your iPhone. You might see a prompt asking you to trust the computer, so tap “Trust”.
Once the Photos app is open, click “Import” and select “From a USB device,” because your PC will recognize your iPhone as a USB device. If you don’t want to import all the pictures, you can manually uncheck the ones you want to leave behind. Once you’ve made your selection, click on “Import Selected” to transfer your chosen iPhone photos to the Pictures directory on your PC.
After the transfer, plug your flash drive into an available USB port on your PC. Create a new folder on the flash drive—something like “iPhone Images – [Month, Year]” to keep things organized. Now, copy the newly transferred images from your PC’s Pictures directory to this new folder on your USB drive.
This method ensures your photos are safely backed up on the flash drive, giving you a tangible copy of your memories.
2. Leveraging iCloud for Photo Transfers
Question: Is it possible to use iCloud to transfer photos from my iPhone to a flash drive?
Yes, using iCloud to transfer photos from your iPhone to a flash drive is possible and a straightforward method. iCloud, Apple’s cloud storage service, directly connects to your iPhone’s photo gallery. If you have enough storage space in iCloud, transferring your photos can be quite simple.
First, navigate to the Settings app on your iPhone, tap on your Apple ID, and select “iCloud.” Then, go to “Photos” and toggle on the “iCloud Photos” option to automatically upload your images to the cloud. Depending on the number and size of your photos, this process might take some time. Remember that Apple provides 5 GB of free storage to every Apple ID user, which is often sufficient for many photo collections. If you need more space, you can easily purchase additional iCloud storage.
Once your photos have been successfully uploaded to iCloud, log in to iCloud from your computer. Plug in your USB flash drive and navigate to the Photos section on the iCloud website. Select all the photos you want to transfer to your USB drive and click the download button. Choose your desired location on the USB stick to save the photos.
Before deleting the images from iCloud, it’s always a good idea to verify that the photos have been transferred correctly to your flash drive. This ensures that your memories are safely backed up and accessible, providing an additional layer of security and convenience.
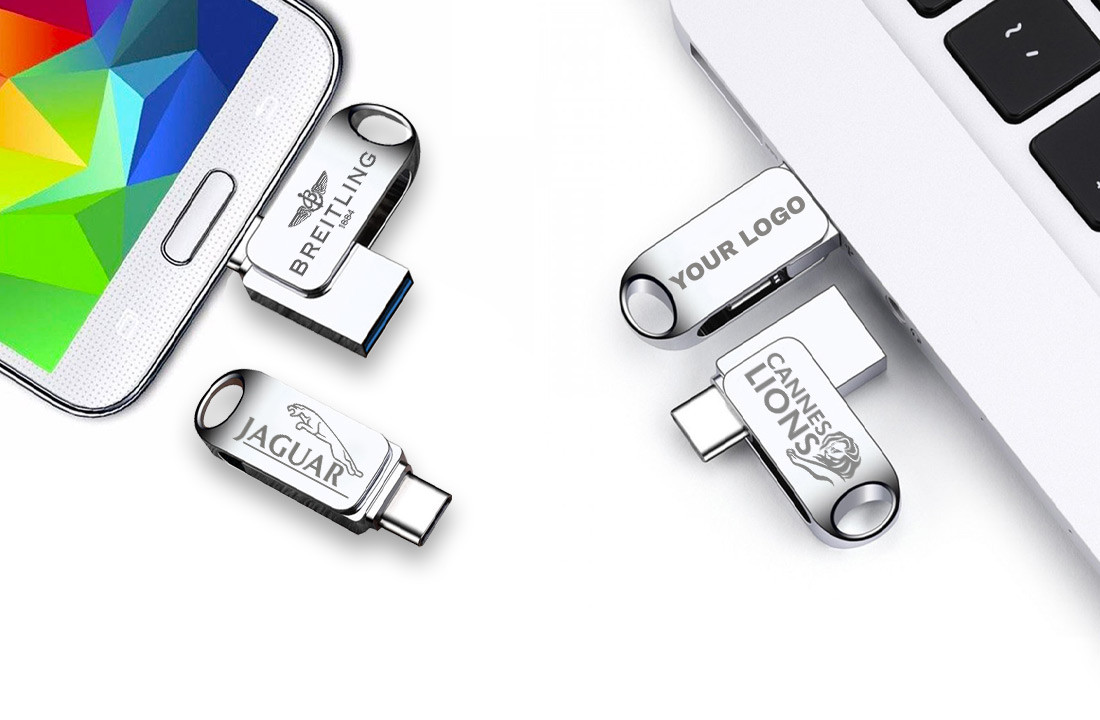 Ubie Ninja Custom Flash Drives featuring a dual Type C/Type A connector
3. Using Mac Image Capture for Easy Transfers
Question: How can MacBook users quickly transfer photos from an iPhone to a flash drive?
MacBook users can quickly transfer photos using the device’s standard Image Capture functionality. Connect both your iPhone and USB drive to your computer. Open the Image Capture software, which is typically found in the Applications folder.
Once the Image Capture software is open, you should see your iPhone listed among the devices on the left side of the screen. Click on your iPhone to display your photo gallery. Select the photos you wish to transfer. At the bottom of the app, find the “Import to” text field. Click on this field and choose a directory on your flash drive as the destination. To begin the transfer process, click “Import All”.
This method simplifies photo management for Mac users, offering a direct and efficient way to back up precious memories onto a flash drive. The Image Capture tool is designed to handle image transfers seamlessly, ensuring your photos are stored safely and are easily accessible.
4. Accessing DCIM Folder Through Windows Explorer
Question: Can I directly access and transfer photos from my iPhone to a flash drive via Windows Explorer?
Yes, you can directly access and transfer photos from your iPhone to a flash drive via Windows Explorer, which is a straightforward method for PC users. First, connect your iPhone and flash drive to your PC. Then, open Windows Explorer (also known as File Explorer) and navigate to the “This PC” directory.
You should see your iPhone listed among the connected devices. Click on your iPhone, and you might need to select “Trust” on your iPhone to allow the computer to access its contents. After trusting the computer, open the internal storage of your iPhone, where you’ll find the DCIM (Digital Camera Images) folder. This folder contains all your photos and videos.
Open another Windows Explorer window and navigate to your flash drive’s directory. To transfer your photos, simply drag the desired images or the entire DCIM folder from your iPhone’s storage to the flash drive’s directory. This will copy the files to your flash drive, backing up your photos within seconds.
While this method is generally straightforward, you might encounter issues such as the DCIM folder not appearing or showing as empty. This can sometimes be due to permission settings on your iPhone.
 Dual SWM Custom Flash Drives featuring a classic USB 2.0 adapter and a USB 3.1 Type C at the opposite end
5. Understanding User Search Intent
Question: What are the common reasons people search for ways to save photos from an iPhone to a flash drive?
People search for ways to save photos from an iPhone to a flash drive for several reasons:
- Backup Security: Users want to create a secure backup of their irreplaceable photos in case their iPhone is lost, stolen, or damaged. According to a study by Statista, 29% of smartphone users have experienced data loss due to hardware failure or theft, highlighting the importance of having a backup.
- Storage Management: iPhones have limited storage. Transferring photos to a flash drive frees up space on the device, allowing users to continue capturing new memories without storage constraints.
- Accessibility and Sharing: A flash drive makes it easy to access and share photos on various devices, including computers, TVs, and other smartphones, without needing internet access or cloud services.
- Privacy Concerns: Some users are wary of storing sensitive photos in the cloud due to privacy and security concerns. A flash drive offers a physical, offline storage solution that they feel is more secure.
- Cost Savings: Instead of paying for additional cloud storage, using a flash drive provides a one-time cost solution for storing large numbers of photos.
Understanding these user search intentions allows savewhere.net to provide tailored, practical solutions that address the specific needs and concerns of its audience.
6. Saving iPhone Photos to Flash Drive: Step-by-Step
Question: What is the easiest step-by-step method to save photos from an iPhone to a flash drive?
The easiest step-by-step method to save photos from an iPhone to a flash drive involves using the Windows Photos app, as it’s straightforward and requires no additional software:
- Connect Your iPhone: Plug your iPhone into your PC using a USB cable. Unlock your iPhone and tap “Trust” if prompted to allow access to your device.
- Open Photos App: Open the Photos app on your Windows PC. It’s usually found in the Start menu or by searching for “Photos”.
- Import Photos: In the Photos app, click “Import” in the top right corner. Select “From a USB device”. The Photos app will detect your iPhone as a connected device.
- Select Photos: The app will display all the photos and videos on your iPhone. You can choose to import all new items or manually select the photos you want to transfer.
- Choose Import Settings: Before importing, you can change the import settings by clicking “Change import settings”. This allows you to specify where the photos will be saved on your computer. By default, they are saved in the “Pictures” folder.
- Import Selected: Click “Import Selected” to begin the transfer process. The photos will be copied to your computer.
- Connect Flash Drive: Once the import is complete, disconnect your iPhone and plug in your flash drive to an available USB port on your PC.
- Copy Photos to Flash Drive: Open the folder where the photos were saved on your computer (usually the “Pictures” folder). Select the photos you just imported, right-click, and choose “Copy”.
- Paste Photos to Flash Drive: Open the flash drive in Windows Explorer, right-click in the drive’s directory, and choose “Paste”. The photos will be copied to the flash drive.
- Verify Transfer: After the transfer is complete, open the flash drive and verify that all the photos have been successfully copied.
According to a Microsoft support page, using the Photos app is one of the recommended methods for transferring photos from an iPhone to a PC. This method is user-friendly and does not require any additional software, making it an ideal solution for most users.
7. Addressing DCIM Folder Visibility Issues
Question: What should I do if the DCIM folder doesn’t appear when trying to access my iPhone through Windows Explorer?
If the DCIM folder doesn’t appear when trying to access your iPhone through Windows Explorer, it can be due to several reasons. Here’s how to troubleshoot the issue:
- Trust the Computer:
- When you connect your iPhone to your computer, make sure you tap “Trust” on your iPhone when prompted with the “Trust This Computer?” alert. If you’ve previously selected “Don’t Trust,” disconnect and reconnect your iPhone, and ensure you select “Trust” this time.
- Check Apple Mobile USB Driver:
- Ensure that the Apple Mobile USB Driver is properly installed on your computer. To check this:
- Open Device Manager (search for it in the Start menu).
- Look for “Portable Devices” or “Imaging Devices.”
- Find your iPhone in the list. If there’s a yellow exclamation mark next to it, the driver isn’t installed correctly.
- Right-click on your iPhone and select “Update driver.” Choose “Search automatically for drivers.” If that doesn’t work, try “Browse my computer for drivers” and navigate to
C:Program FilesCommon FilesAppleMobile Device SupportDrivers.
- Ensure that the Apple Mobile USB Driver is properly installed on your computer. To check this:
- Ensure Apple Mobile Device Support is Running:
- Apple Mobile Device Support needs to be running for your computer to recognize your iPhone properly. To check this:
- Press
Win + R, typeservices.msc, and press Enter. - Scroll down to find “Apple Mobile Device Service.”
- If it’s not running, right-click on it and select “Start.” If it’s already running, try restarting it.
- Press
- Apple Mobile Device Support needs to be running for your computer to recognize your iPhone properly. To check this:
- Check Permissions on iPhone:
- Sometimes, privacy settings on your iPhone might prevent the DCIM folder from being visible. Go to Settings > Privacy > Photos, and make sure that the Photos app (or any app you’re using to access the photos) has permission to access your photos.
- Restart Devices:
- Sometimes, simply restarting both your iPhone and your computer can resolve connectivity issues.
- Use a Different USB Port or Cable:
- Try using a different USB port on your computer or a different USB cable. Sometimes, the issue can be with the port or cable itself.
- Update iOS and Windows:
- Make sure that both your iPhone’s iOS and your Windows operating system are up to date. Outdated software can sometimes cause compatibility issues.
- Reset Location & Privacy:
- On your iPhone, go to Settings > General > Transfer or Reset iPhone > Reset, and then select “Reset Location & Privacy.” This will reset your trust settings, and you’ll be prompted to trust your computer again when you reconnect your iPhone.
- Check for Hidden Files:
- Ensure that Windows Explorer is set to show hidden files and folders:
- Open Windows Explorer, click on “View,” and check the box next to “Hidden items.”
- Ensure that Windows Explorer is set to show hidden files and folders:
- Use Third-Party Software:
- If none of the above solutions work, you can try using third-party software like iMazing or dr.fone, which are designed to help manage and transfer files between your iPhone and computer.
According to Apple Support Communities, incorrect driver installation and trust settings are the most common reasons for the DCIM folder not appearing. Following these troubleshooting steps should help resolve the issue and allow you to access your photos.
8. Why Backup Your Photos?
Question: Why is it so important to back up photos from your iPhone?
Backing up photos from your iPhone is critically important for several reasons:
- Protection Against Data Loss:
- Device Damage: iPhones can be damaged, whether through accidents like drops into water, physical impacts, or hardware malfunctions.
- Theft or Loss: Losing your iPhone to theft or misplacement means losing all the unbacked-up data on it.
- Software Issues: Software glitches, failed updates, or malware infections can corrupt or erase data on your iPhone.
- Safeguarding Precious Memories:
- Photos often capture irreplaceable moments, such as family events, vacations, and personal milestones. Losing these photos can be emotionally distressing.
- Freeing Up Storage Space:
- iPhones have limited storage capacity. Backing up photos to a flash drive or other external storage frees up space on your device, allowing you to continue capturing new memories without worrying about running out of space.
- Accessibility and Sharing:
- Having photos backed up on a flash drive makes it easy to access and share them across various devices, including computers, TVs, and other smartphones. This eliminates the need for constant internet access or reliance on cloud services.
- Privacy and Security:
- Some users are concerned about storing sensitive photos in the cloud due to potential privacy breaches or security vulnerabilities. A flash drive offers a physical, offline storage solution that provides greater control over your data.
- Compliance with the 3-2-1 Backup Rule:
- The 3-2-1 backup rule is a best practice for data protection, recommending that you keep at least three copies of your data, on two different storage media, with one copy stored offsite. Backing up photos to a flash drive in addition to cloud storage or another computer ensures you meet this standard.
- Avoiding Cloud Storage Costs:
- While cloud storage services offer convenience, they often come with recurring subscription fees for additional storage space. Using a flash drive provides a one-time cost solution for storing large numbers of photos.
- Legal and Personal Documentation:
- Important documents, such as IDs, insurance cards, and financial records, are often stored as photos on iPhones. Backing up these photos ensures you have access to essential information in case of an emergency.
According to a report by the U.S. Bureau of Labor Statistics, the average household spends a significant portion of its income on electronic devices and services, making the data stored on these devices valuable and worth protecting. By regularly backing up your iPhone photos, you safeguard your memories, personal information, and important documents against unforeseen events.
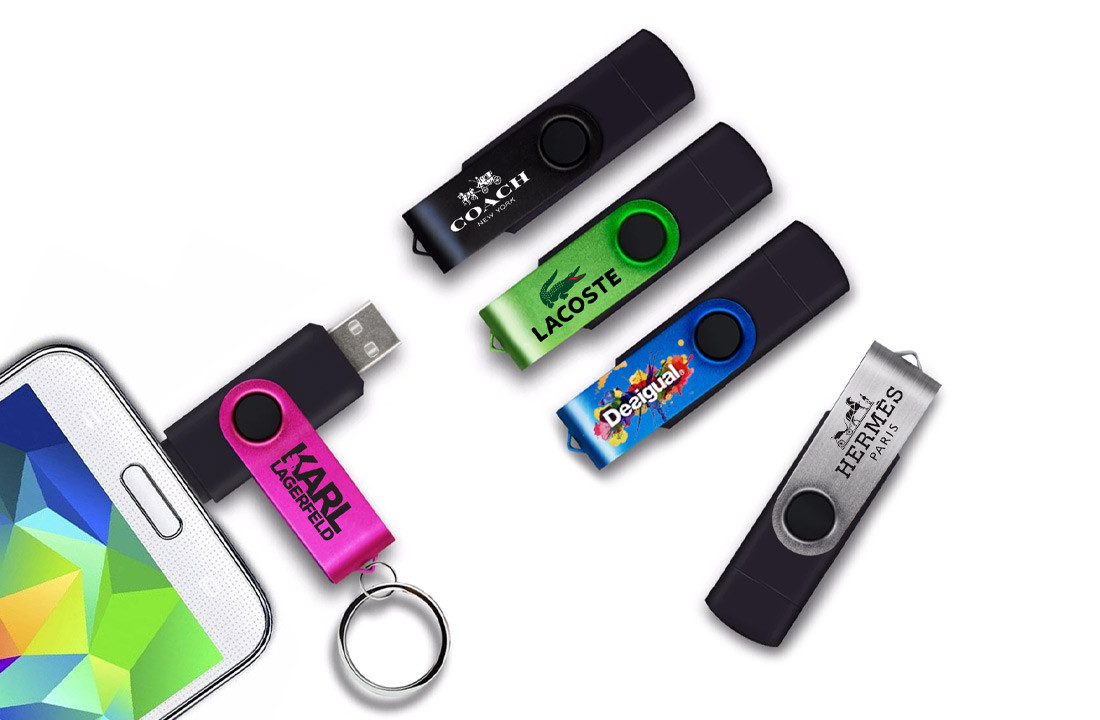
 Our SWM Custom Flash Drive in a custom pink with solid print
9. Frequently Asked Questions (FAQs)
Question: What are some frequently asked questions about saving photos from an iPhone to a flash drive?
Here are some frequently asked questions (FAQs) about saving photos from an iPhone to a flash drive:
- Can I save photos from my iPhone directly to a flash drive without using a computer?
- Yes, you can use a Lightning to USB adapter that allows you to connect a flash drive directly to your iPhone and transfer files using the Files app.
- What type of flash drive is compatible with my iPhone?
- You’ll need a flash drive with a Lightning connector or a standard USB flash drive along with a Lightning to USB adapter.
- How do I transfer photos from my iPhone to a flash drive using the Files app?
- Connect the flash drive to your iPhone using the appropriate adapter. Open the Files app, select the photos from your Photos app, tap the Share button, choose “Save to Files,” and select the flash drive as the destination.
- Is it possible to transfer Live Photos to a flash drive?
- Yes, Live Photos can be transferred, but they might be saved as separate image and video files on the flash drive.
- Will the photo quality be reduced when transferring photos to a flash drive?
- No, transferring photos to a flash drive does not reduce the photo quality, as the files are copied directly without compression.
- How do I ensure all my photos are transferred and not just some?
- Manually select all photos or use the “Select All” option in the Photos app before transferring. After the transfer, verify that the number of files on the flash drive matches the number of selected photos.
- Can I transfer videos from my iPhone to a flash drive as well?
- Yes, videos can be transferred to a flash drive using the same methods as photos.
- What should I do if my iPhone doesn’t recognize the flash drive?
- Ensure the flash drive is properly connected and the adapter is compatible. Try restarting your iPhone and reconnecting the flash drive. If the issue persists, the flash drive may not be compatible or may be faulty.
- Is there a limit to the number of photos I can transfer to a flash drive?
- The number of photos you can transfer is limited only by the storage capacity of the flash drive.
- Can I organize the photos into folders on the flash drive during the transfer?
- Yes, you can create folders on the flash drive using a computer and then transfer the photos into those folders for better organization. Alternatively, you can create folders using the Files app on your iPhone before saving the photos.
According to Apple’s official support documentation, using the Files app and a Lightning to USB adapter is a reliable method for direct transfers, providing flexibility and control over your photo backups.
10. Selecting the Right USB Drive
Question: What factors should I consider when selecting a USB drive for backing up photos from my iPhone?
When selecting a USB drive for backing up photos from your iPhone, consider the following factors to ensure you choose the right one for your needs:
- Storage Capacity:
- Determine how much storage you need based on the number of photos and videos you plan to back up. A good rule of thumb is to choose a USB drive with more capacity than you currently need to accommodate future photos and videos. Common sizes range from 32GB to 256GB or more.
- Compatibility:
- Ensure the USB drive is compatible with your computer’s USB ports. Most modern computers have USB 3.0 ports, which offer faster transfer speeds compared to USB 2.0. If you plan to transfer directly from your iPhone using an adapter, verify the adapter’s compatibility as well.
- Transfer Speed:
- Opt for a USB drive with high transfer speeds, especially if you’re backing up large numbers of photos and videos. USB 3.0 drives offer significantly faster transfer speeds than USB 2.0 drives. Look for drives that specify read and write speeds to get an idea of their performance.
- Durability:
- Choose a USB drive that is durable and can withstand daily use. Look for features like a sturdy casing, water resistance, and shock resistance. Some USB drives are designed with rugged exteriors for added protection.
- Brand Reputation:
- Consider purchasing from reputable brands known for producing reliable storage devices. Established brands often offer better warranties and customer support.
- Size and Portability:
- Select a USB drive that is compact and easy to carry around. Smaller USB drives are more convenient for travel and everyday use.
- Security Features:
- If you’re storing sensitive photos, consider a USB drive with security features like password protection or hardware encryption to protect your data from unauthorized access.
- Price:
- Balance your needs with your budget. While it’s tempting to go for the cheapest option, investing in a higher-quality USB drive can provide better performance and reliability in the long run.
- Connector Type:
- For direct iPhone connections, you’ll need a USB drive with a Lightning connector or a standard USB drive with a Lightning to USB adapter. Ensure the adapter is MFi certified (Made for iPhone/iPad/iPod) to guarantee compatibility and performance.
According to a survey by Consumer Reports, reliability and storage capacity are the most important factors consumers consider when purchasing USB drives. By carefully evaluating these factors, you can select a USB drive that meets your specific needs and provides a reliable backup solution for your iPhone photos.
Safeguarding your precious photos from your iPhone to a flash drive is a smart move for anyone valuing their memories and digital assets. By following the detailed methods and tips outlined in this guide, you can ensure your photos are securely backed up, easily accessible, and protected against data loss.
Ready to take control of your digital memories? Visit savewhere.net today for more tips, tricks, and resources to help you manage your personal finances and protect your valuable data. Explore our comprehensive guides, discover exclusive deals, and join a community of like-minded individuals dedicated to saving and safeguarding what matters most. Don’t wait—start your journey to financial and digital security with savewhere.net now.
Address: 100 Peachtree St NW, Atlanta, GA 30303, United States
Phone: +1 (404) 656-2000
Website: savewhere.net