Saving documents to your iPad can seem tricky, but it’s actually straightforward when you know how. This guide from savewhere.net will show you simple methods to easily manage and save your important files, ensuring you always have access to what you need, right at your fingertips. Let’s explore easy file storage, efficient iPad file management, and seamless document accessibility.
1. What Are The Easiest Ways To Save Documents Directly To My iPad?
Yes, saving documents directly to your iPad is easy with several methods available. You can use built-in apps like Files, cloud services, or dedicated apps like Documents by Readdle to manage and save files efficiently.
Saving documents directly to your iPad offers several convenient options. The Files app, pre-installed on iPads, is a central hub for accessing files stored both locally on your device and in various cloud services like iCloud Drive, Google Drive, and Dropbox. According to Apple Support, the Files app simplifies file management by providing a unified interface. To save a document using the Files app, you can simply share the file to the app from its original location, such as an email or a website.
Cloud services also offer a straightforward way to save documents. Apps like Google Drive, Dropbox, and OneDrive allow you to upload and store files directly from your iPad. For example, you can upload a document to Google Drive directly from the Google Drive app or by sharing it from another app.
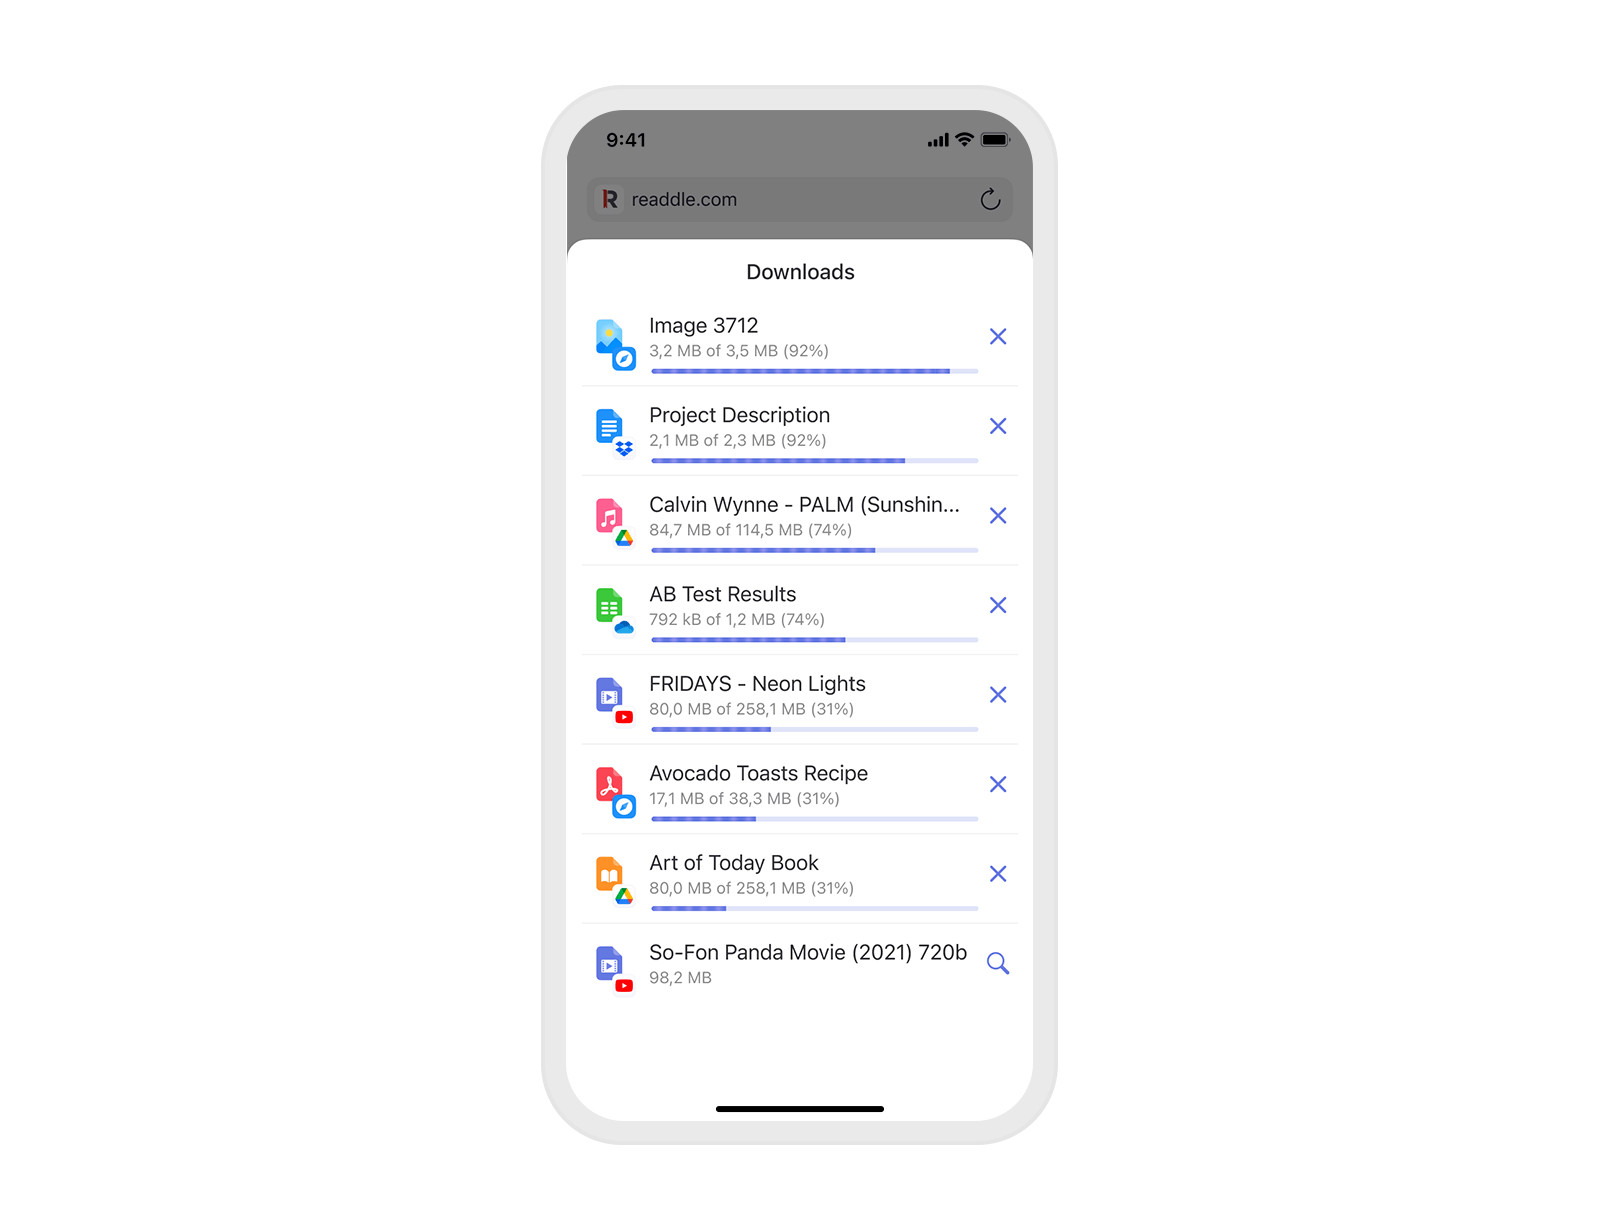
Dedicated file management apps like Documents by Readdle provide additional features and flexibility. These apps often include built-in browsers, allowing you to download files directly from the web and save them to your iPad. They also offer advanced file management tools, such as the ability to annotate PDFs, compress files, and sync with multiple cloud services.
1.1. Saving From Email
Email is a common source of documents. Whether it’s a contract, invoice, or study material, you can save these documents directly to your iPad. Here’s how:
- Open the email in the Mail app or your preferred email client.
- Tap on the attachment to preview it.
- Tap the Share icon (usually a square with an arrow pointing upwards).
- Choose Save to Files and select the desired location, such as iCloud Drive or On My iPad.
 Email attachment being saved to iPad using the share sheet with options like 'Save to Files' highlighted
1.2. Saving From Web Browsers
Browsers like Safari and Chrome also allow you to download and save files directly to your iPad.
- Navigate to the webpage containing the document you want to save.
- Tap on the download link.
- A pop-up will appear, asking if you want to download the file. Tap Download.
- The file will be saved to your default download location, which is usually the Downloads folder in iCloud Drive.
1.3. Using Cloud Storage Apps
Cloud storage apps offer seamless integration with your iPad, making it easy to save and access documents.
- Open the cloud storage app, such as Google Drive or Dropbox.
- Tap the + icon to upload a new file.
- Select the document you want to save from your iPad.
- The document will be uploaded to your cloud storage account.
1.4. Additional Tips for Efficient File Management
- Organize Your Files: Create folders within the Files app or your cloud storage accounts to categorize your documents.
- Use Descriptive Names: Name your files clearly so you can easily find them later.
- Regularly Back Up Your Files: Ensure your documents are backed up to iCloud or another cloud service to prevent data loss.
2. What Are The Default Locations Where iPads Store Saved Documents?
By default, iPads store saved documents in the Files app, iCloud Drive, or within specific app folders. Understanding these default locations helps in efficient file management and quick access.
When you save a document on your iPad, it’s important to know where to find it. The default storage locations vary depending on the app you use to save the file. According to Apple’s official documentation, the Files app serves as a central location for accessing files stored both on your device and in iCloud Drive. To find files saved using Safari, check the Downloads folder in iCloud Drive.
For files saved within specific apps, such as Pages or Numbers, the default location is usually within the app’s folder in the Files app or iCloud Drive. Cloud storage apps like Google Drive, Dropbox, and OneDrive have their own designated folders within the Files app as well.
2.1. Default Locations for Different Apps
- Safari: Downloads folder in iCloud Drive
- Mail: Files app (you choose the location when saving)
- Pages, Numbers, Keynote: iCloud Drive or On My iPad (within the app’s folder)
- Google Drive, Dropbox, OneDrive: Their respective folders in the Files app
2.2. How to Access These Locations
- Files App: Open the Files app on your iPad.
- iCloud Drive: Tap iCloud Drive in the sidebar to view files stored in the cloud.
- On My iPad: Tap On My iPad to view files stored locally on your device.
- App Folders: Navigate to the folder for the specific app you used to save the file.
2.3. Customizing Default Locations
While the default locations are convenient, you can also customize where your files are saved. For example, you can change the default download location in Safari by going to Settings > Safari > Downloads and selecting a different folder. Similarly, many apps allow you to choose the save location when you save a file.
2.4. Tips for Efficient File Storage
- Consolidate Your Files: Use the Files app to bring all your files together in one place, regardless of where they are stored.
- Create a Clear Folder Structure: Organize your files into folders and subfolders to make them easier to find.
- Use Naming Conventions: Use consistent naming conventions for your files so you can quickly identify them.
- Regularly Review Your Files: Take time to review your files and delete any that you no longer need.
3. Can I Change The Default Save Location On My iPad For Different File Types?
Yes, you can change the default save location on your iPad for different file types, but the process varies depending on the app you are using. Safari allows you to change the default download location, while other apps may require you to select the save location each time you save a file.
Changing the default save location on your iPad can help you better organize your files and streamline your workflow. According to Apple Support, Safari is one of the few apps that allows you to change the default download location. To do this, you can go to Settings > Safari > Downloads and choose between iCloud Drive, On My iPad, or a custom location.
For other apps, the process may be different. Some apps, like Pages and Numbers, allow you to choose the save location each time you save a file. Others, like email apps, may automatically save files to a default location within the app, but you can then move the files to a different location using the Files app.
3.1. Steps to Change Default Download Location in Safari
- Open the Settings app on your iPad.
- Scroll down and tap Safari.
- Tap Downloads.
- Choose between iCloud Drive, On My iPad, or Other to select a custom location.
3.2. Managing Save Locations in Other Apps
- Pages, Numbers, Keynote: When you save a file, you can choose the save location, such as iCloud Drive or On My iPad.
- Mail: When you save an attachment, you can choose the save location using the Share sheet.
- Cloud Storage Apps: Files are automatically saved to the app’s designated folder in the Files app, but you can move them to a different location if desired.
3.3. Tips for Optimizing Save Locations
- Choose iCloud Drive for Accessibility: If you want to access your files on all your devices, choose iCloud Drive as the default save location.
- Use On My iPad for Privacy: If you want to keep your files private and only accessible on your iPad, choose On My iPad as the default save location.
- Create Custom Folders: Create custom folders within iCloud Drive or On My iPad to organize your files by type or project.
4. How Can I Use iCloud Drive To Sync And Save Documents Across My Apple Devices?
To use iCloud Drive to sync and save documents across your Apple devices, ensure iCloud Drive is enabled in your settings. Then, save your documents to the iCloud Drive folder in the Files app to automatically sync them across all your devices.
iCloud Drive is a powerful tool for keeping your documents synced across all your Apple devices. According to Apple’s official documentation, iCloud Drive allows you to store files in the cloud and access them from your iPhone, iPad, Mac, and even Windows PC. To use iCloud Drive effectively, you need to enable it in your settings and save your documents to the iCloud Drive folder in the Files app.
When you save a document to iCloud Drive, it is automatically synced to all your devices logged in to the same Apple ID. This means you can start working on a document on your iPad and then seamlessly continue working on it on your Mac or iPhone.
4.1. Enabling iCloud Drive
- Open the Settings app on your iPad.
- Tap on your name at the top.
- Tap iCloud.
- Turn on iCloud Drive.
- Make sure the apps you want to sync with iCloud Drive are also enabled.
4.2. Saving Documents to iCloud Drive
- Open the Files app on your iPad.
- Tap iCloud Drive in the sidebar.
- Create a new folder or navigate to an existing one.
- Save your document to the selected folder.
 iCloud Drive setup in iPad settings showing various apps syncing with iCloud
4.3. Accessing Documents on Other Devices
- iPhone: Open the Files app and tap iCloud Drive.
- Mac: Open Finder and click iCloud Drive in the sidebar.
- Windows PC: Download iCloud for Windows and access your files in File Explorer.
4.4. Tips for Effective iCloud Drive Usage
- Stay Within Your Storage Limit: iCloud Drive offers 5GB of free storage, but you can upgrade to a larger storage plan if needed.
- Organize Your Files: Create a clear folder structure to keep your files organized.
- Use Descriptive Names: Name your files clearly so you can easily find them later.
- Enable Optimized Storage: Turn on Optimized Storage in iCloud settings to save space on your device by storing only the most recent files locally.
5. What Are The Best Apps For Managing And Saving Documents On iPad?
The best apps for managing and saving documents on iPad include Files, Documents by Readdle, Google Drive, Dropbox, and OneDrive. These apps offer various features like cloud storage, file organization, and document editing capabilities.
Managing and saving documents efficiently on your iPad requires the right apps. While the built-in Files app is a great starting point, several third-party apps offer additional features and functionality. Documents by Readdle, Google Drive, Dropbox, and OneDrive are among the best options available.
Documents by Readdle is a powerful file manager that allows you to view, edit, and annotate various types of documents, including PDFs, Word documents, and Excel spreadsheets. It also integrates with multiple cloud services, making it easy to access your files from anywhere.
Google Drive, Dropbox, and OneDrive are primarily cloud storage apps, but they also offer excellent file management capabilities. They allow you to upload, organize, and share your documents, as well as collaborate with others in real-time.
5.1. Key Features of Each App
| App | Key Features |
|---|---|
| Files | Built-in file manager, integration with iCloud Drive and other cloud services, simple file organization |
| Documents by Readdle | File manager, document viewer, PDF editor, annotation tools, integration with multiple cloud services |
| Google Drive | Cloud storage, file sharing, real-time collaboration, integration with Google Docs, Sheets, and Slides |
| Dropbox | Cloud storage, file sharing, version history, integration with third-party apps |
| OneDrive | Cloud storage, file sharing, integration with Microsoft Office apps, personal vault for sensitive documents |
5.2. How to Choose the Right App
- Consider Your Needs: Think about what features are most important to you, such as cloud storage, document editing, or collaboration tools.
- Evaluate Integration: Choose an app that integrates well with the other apps and services you use.
- Read Reviews: Read reviews from other users to get an idea of the app’s performance and reliability.
- Try Multiple Apps: Try out a few different apps to see which one works best for you.
5.3. Tips for Maximizing App Usage
- Organize Your Files: Create a clear folder structure within each app to keep your files organized.
- Use Naming Conventions: Use consistent naming conventions for your files so you can quickly identify them.
- Take Advantage of Cloud Storage: Use cloud storage to back up your files and access them from anywhere.
- Explore Advanced Features: Take the time to explore the advanced features of each app, such as annotation tools or collaboration tools.
6. How Can I Save Web Pages As PDF Documents On My iPad?
To save web pages as PDF documents on your iPad, use the Share Sheet in Safari. Tap the Share icon, select Options, choose PDF, and then select Save to Files to save the webpage as a PDF.
Saving web pages as PDF documents on your iPad can be useful for archiving information, sharing content with others, or reading offline. According to Apple Support, Safari offers a built-in feature that allows you to save web pages as PDFs directly from the browser.
6.1. Steps to Save a Web Page as PDF
- Open the web page you want to save in Safari.
- Tap the Share icon (the square with an arrow pointing upwards).
- Scroll down and tap Options.
- Choose PDF.
- Tap Done.
- Choose Save to Files and select the desired location.
Email attachment being saved to iPad using the share sheet with options like 'Save to Files' highlighted
6.2. Alternative Methods
- Using Third-Party Apps: Several third-party apps, such as PDF Expert and Documents by Readdle, also offer the ability to save web pages as PDFs. These apps may offer additional features, such as annotation tools and OCR (optical character recognition).
- Printing to PDF: You can also print a web page to PDF by tapping the Share icon, selecting Print, and then choosing Save as PDF from the printer options.
6.3. Tips for Saving Web Pages as PDFs
- Choose the Right Format: When saving a web page as PDF, you can choose between PDF and Reader PDF. Reader PDF is optimized for reading and may be smaller in file size.
- Annotate Your PDFs: Use annotation tools to highlight important information, add notes, or sign documents.
- Organize Your PDFs: Create folders within the Files app or your cloud storage accounts to organize your PDFs.
7. What Are Some Tips For Organizing Documents Effectively On My iPad?
Some tips for organizing documents effectively on your iPad include creating a clear folder structure, using descriptive file names, utilizing tags, and regularly reviewing and decluttering your files.
Organizing documents effectively on your iPad can save you time and frustration when you need to find a specific file. A well-organized file system makes it easy to locate documents quickly and efficiently.
7.1. Creating a Clear Folder Structure
- Start with Broad Categories: Begin by creating broad categories for your documents, such as “Work,” “Personal,” or “School.”
- Create Subfolders: Within each category, create subfolders for specific projects, topics, or clients.
- Keep It Simple: Avoid creating too many levels of subfolders, as this can make it difficult to navigate your file system.
7.2. Using Descriptive File Names
- Be Specific: Use file names that clearly describe the contents of the document.
- Include Dates: Include dates in your file names to help you keep track of the most recent versions.
- Use Consistent Naming Conventions: Use consistent naming conventions for all your files to make them easier to identify.
7.3. Utilizing Tags
- Add Tags to Your Files: Use tags to add keywords or labels to your files.
- Use Tags for Quick Access: Use tags to quickly access related files, even if they are stored in different folders.
- Be Consistent: Use consistent tags for similar files to make them easier to find.
7.4. Regularly Reviewing and Decluttering Your Files
- Set Aside Time to Review Your Files: Schedule time each week or month to review your files and delete any that you no longer need.
- Archive Old Files: Archive old files that you want to keep but don’t need to access regularly.
- Delete Duplicate Files: Delete any duplicate files to free up storage space and reduce clutter.
7.5. Additional Tips for Effective File Organization
- Use Color-Coding: Use color-coding to visually distinguish between different types of files or folders.
- Use a File Management App: Use a file management app, such as Documents by Readdle, to help you organize your files and take advantage of advanced features like tagging and annotation.
- Back Up Your Files Regularly: Back up your files regularly to prevent data loss in case of device failure or accidental deletion.
8. How Do I Access Documents Saved On My iPad From Other Devices?
You can access documents saved on your iPad from other devices by using iCloud Drive, cloud storage apps like Google Drive or Dropbox, or by using AirDrop to transfer files directly.
Accessing documents saved on your iPad from other devices can be essential for productivity and collaboration. There are several ways to access your files, depending on your needs and preferences.
8.1. Using iCloud Drive
- Enable iCloud Drive: Ensure iCloud Drive is enabled on your iPad and other devices.
- Save Documents to iCloud Drive: Save your documents to the iCloud Drive folder in the Files app.
- Access Documents on Other Devices: Access your documents on other devices by logging in to iCloud Drive with the same Apple ID.
8.2. Using Cloud Storage Apps
- Upload Documents to Cloud Storage: Upload your documents to cloud storage apps like Google Drive, Dropbox, or OneDrive.
- Access Documents on Other Devices: Access your documents on other devices by logging in to the cloud storage app with the same account.
- Share Documents with Others: Share documents with others by creating shareable links or inviting them to collaborate on specific files.
8.3. Using AirDrop
- Enable AirDrop: Ensure AirDrop is enabled on both your iPad and the other device.
- Share Documents via AirDrop: Share your documents via AirDrop by tapping the Share icon and selecting the AirDrop option.
- Accept the Transfer on the Other Device: Accept the transfer on the other device to receive the document.
8.4. Additional Tips for Accessing Documents on Other Devices
- Use a File Management App: Use a file management app, such as Documents by Readdle, to manage your files and access them from multiple cloud services.
- Use a VPN: Use a VPN when accessing your files on public Wi-Fi networks to protect your data from hackers.
- Keep Your Apps Up to Date: Keep your apps up to date to ensure compatibility and security.
9. What Should I Do If I Can’t Find A Document I Saved On My iPad?
If you can’t find a document you saved on your iPad, start by checking the default save locations like the Files app and iCloud Drive. Use the search function, check recently deleted folders, and verify cloud storage apps to locate your missing document.
It can be frustrating when you can’t find a document you saved on your iPad. Here are some steps you can take to locate your missing file:
9.1. Check the Default Save Locations
- Files App: Open the Files app and check the iCloud Drive and On My iPad locations.
- Downloads Folder: Check the Downloads folder in iCloud Drive if you downloaded the file from Safari.
- App Folders: Check the folders for specific apps, such as Pages or Numbers, if you saved the file from those apps.
9.2. Use the Search Function
- Spotlight Search: Use Spotlight Search by swiping down from the middle of the screen and typing the name of the document.
- Files App Search: Use the search function within the Files app to search for the document.
9.3. Check the Recently Deleted Folder
- Files App: Check the Recently Deleted folder in the Files app to see if you accidentally deleted the document.
- Cloud Storage Apps: Check the Recently Deleted folder in your cloud storage apps, such as Google Drive or Dropbox.
9.4. Verify Cloud Storage Apps
- Check Your Accounts: Make sure you are logged in to the correct cloud storage accounts.
- Sync Your Files: Make sure your files are synced to the cloud.
- Check for Errors: Check for any error messages or sync issues that may be preventing your files from syncing.
9.5. Additional Tips for Finding Missing Documents
- Use Descriptive Search Terms: Use descriptive search terms when searching for the document.
- Check the File Extension: Check the file extension to make sure you are searching for the correct type of file.
- Contact Support: Contact Apple Support or the support team for the app you used to save the document for assistance.
10. How Do I Secure Documents Saved On My iPad?
To secure documents saved on your iPad, use a strong passcode or Face ID, enable two-factor authentication for your Apple ID, encrypt sensitive files, and use secure cloud storage options.
Securing documents saved on your iPad is essential to protect your personal and confidential information. There are several steps you can take to enhance the security of your files.
10.1. Use a Strong Passcode or Face ID
- Set a Strong Passcode: Set a strong passcode for your iPad that is difficult to guess.
- Enable Face ID: Enable Face ID for an additional layer of security.
- Require Passcode Immediately: Set your iPad to require a passcode immediately after locking.
10.2. Enable Two-Factor Authentication for Your Apple ID
- Enable Two-Factor Authentication: Enable two-factor authentication for your Apple ID to protect your account from unauthorized access.
- Verify Your Identity: Verify your identity using a trusted device or verification code when logging in to your account.
10.3. Encrypt Sensitive Files
- Use Password Protection: Use password protection to encrypt sensitive files, such as PDFs or Word documents.
- Use Encryption Apps: Use encryption apps to encrypt your files and folders.
- Store Encrypted Files in Secure Locations: Store encrypted files in secure locations, such as iCloud Drive or a password-protected folder.
10.4. Use Secure Cloud Storage Options
- Choose Reputable Cloud Storage Providers: Choose reputable cloud storage providers that offer encryption and other security features.
- Use Strong Passwords: Use strong, unique passwords for your cloud storage accounts.
- Enable Two-Factor Authentication: Enable two-factor authentication for your cloud storage accounts.
10.5. Additional Tips for Securing Documents
- Keep Your Software Up to Date: Keep your iPad and apps up to date to protect against security vulnerabilities.
- Be Careful When Sharing Files: Be careful when sharing files with others, and only share them with trusted individuals.
- Use a VPN: Use a VPN when accessing your files on public Wi-Fi networks to protect your data from hackers.
FAQ: Common Questions About Saving Documents To iPad
1. How do I save a photo from a website to my iPad?
To save a photo from a website to your iPad, simply tap and hold on the image, then select “Save to Photos.” The image will be saved to your Photos app.
2. Can I save Microsoft Word documents to my iPad?
Yes, you can save Microsoft Word documents to your iPad. You can save them directly from the Word app to iCloud Drive or On My iPad.
3. How do I save a file from WhatsApp to my iPad?
To save a file from WhatsApp to your iPad, open the chat containing the file, tap the file, then tap the Share icon and select “Save to Files.”
4. What is the best way to save large files on my iPad?
The best way to save large files on your iPad is by using cloud storage services like iCloud Drive, Google Drive, or Dropbox, as they offer ample storage space and easy access.
5. How do I save an email attachment directly to a specific folder on my iPad?
When saving an email attachment, tap the Share icon, select “Save to Files,” and then navigate to the specific folder where you want to save the file.
6. Can I save documents to an external hard drive connected to my iPad?
Yes, with iPadOS 13 and later, you can save documents to an external hard drive connected to your iPad using the Files app.
7. How do I automatically back up my documents saved on my iPad?
Enable iCloud Backup in your iPad settings to automatically back up your documents, photos, and other data to iCloud.
8. Is it possible to save a webpage for offline reading on my iPad?
Yes, you can save a webpage for offline reading by adding it to your Reading List in Safari or saving it as a PDF using the Share Sheet.
9. How do I password-protect a document saved on my iPad?
You can password-protect a document by using apps like Pages or Microsoft Word, which offer password protection features when saving files.
10. How do I transfer documents from my computer to my iPad?
You can transfer documents from your computer to your iPad using iCloud Drive, AirDrop, email, or by connecting your iPad to your computer via USB and using iTunes (or Finder on macOS Catalina and later).
Ready to take control of your financial future? Visit savewhere.net today to discover more tips, special offers, and a supportive community ready to help you achieve your financial goals in the USA! Our resources are continuously updated, easy to implement, and tailored to help you save more effectively. Address: 100 Peachtree St NW, Atlanta, GA 30303, United States. Phone: +1 (404) 656-2000.