
Accurate body measurements are the cornerstone of successful sewing projects. Choosing the right size sewing pattern hinges on precise measurements, and getting it wrong can lead to ill-fitting garments. It’s always wise to take your measurements before starting a new sewing project – it’s a quick process and body measurements can fluctuate more than you might think. When measuring, be sure to wear the bra you intend to wear with the finished garment. For waist and hip measurements, it’s also beneficial to sit down. Curvier figures often expand slightly when seated, and ensuring comfort while sitting in your handmade garment is key.
While measuring the bust and hips is generally straightforward – simply measure around the fullest part – determining Where Is The Waist for sewing can be more challenging. This is especially true for plus-size individuals or those without a sharply defined hourglass figure. Many believe there’s a single, “correct” waist location that must be found. However, this isn’t necessarily the case.
The Myth of the “Correct” Waist Location
You might have encountered advice suggesting your waist is invariably located at the crease formed when bending to the side, at navel level, where your hips begin to widen, or a specific distance above your belly button. But the truth is, there’s no universal rule dictating exactly where is the waist.
Human body proportions are incredibly diverse. A one-size-fits-all approach to waist measurement simply doesn’t account for this variation. For example, when bending sideways, many individuals present a gentle curve rather than a sharp angle indicating a defined waist. Therefore, instead of fixating on “where is my waist?”, a more pertinent question for sewing is, “where do I want the garment’s waistline to sit on my body?“. Forget the notion of a singular “true” waist location. It’s more relevant to pattern alteration and achieving the desired fit in your sewing projects.
Finding Your Most Flattering Waistline
Now that we understand that your waist location for sewing is a matter of choice, you have the freedom to decide. If your aim is to create a more streamlined silhouette (entirely optional, of course!), the most effective strategy is to identify your narrowest point. In experience working with diverse body shapes, this narrowest point often resides around the mid-rib cage area for many individuals. This is significantly higher than the commonly taught waist location at the natural waist or belly button. For some, this narrowest point might be approximately 4 inches below the bra band.
The croquis used in Curvy Sketchbooks is based on a real person, offering a visual representation of this higher narrow point. Observing the figure, you can see the narrowest point is situated high on the torso. The belly button is included in the image for proportional context, though it’s not part of the sketchbook figure itself. The belly button comparison is included because many instinctively measure at this lower point, which is frequently too low for a flattering waistline.
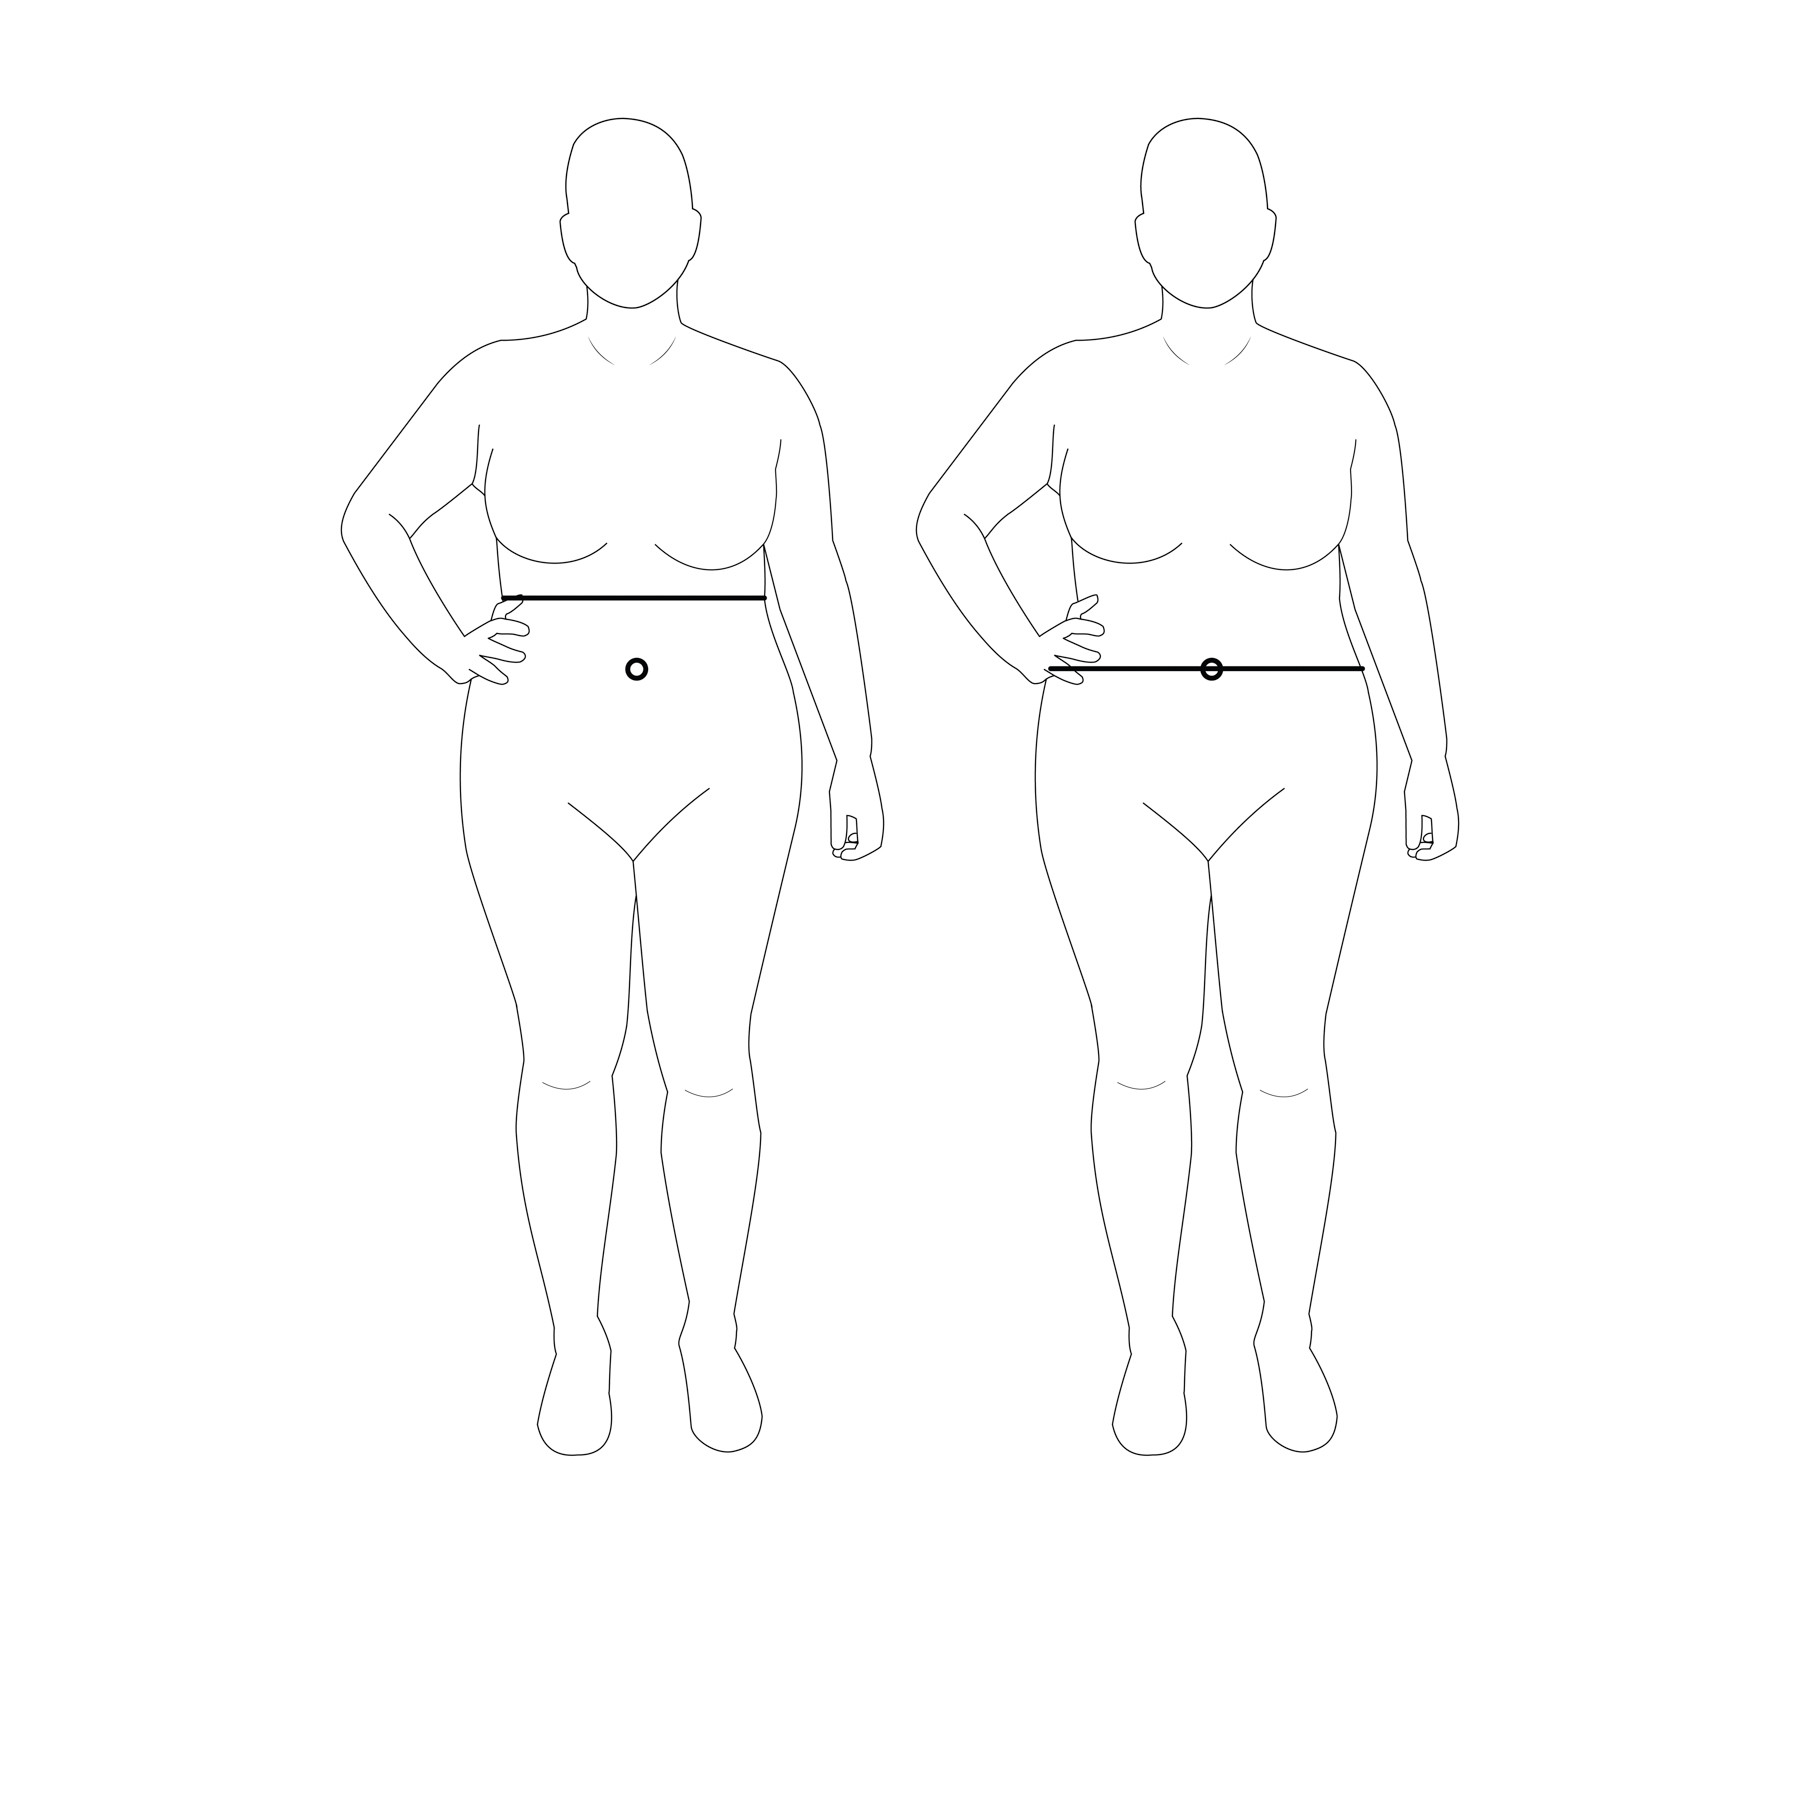 Illustration showing a figure with a high waist point marked, compared to a belly button location, emphasizing the difference in waist placement.
Here’s a visual example of this higher waist placement on a person:
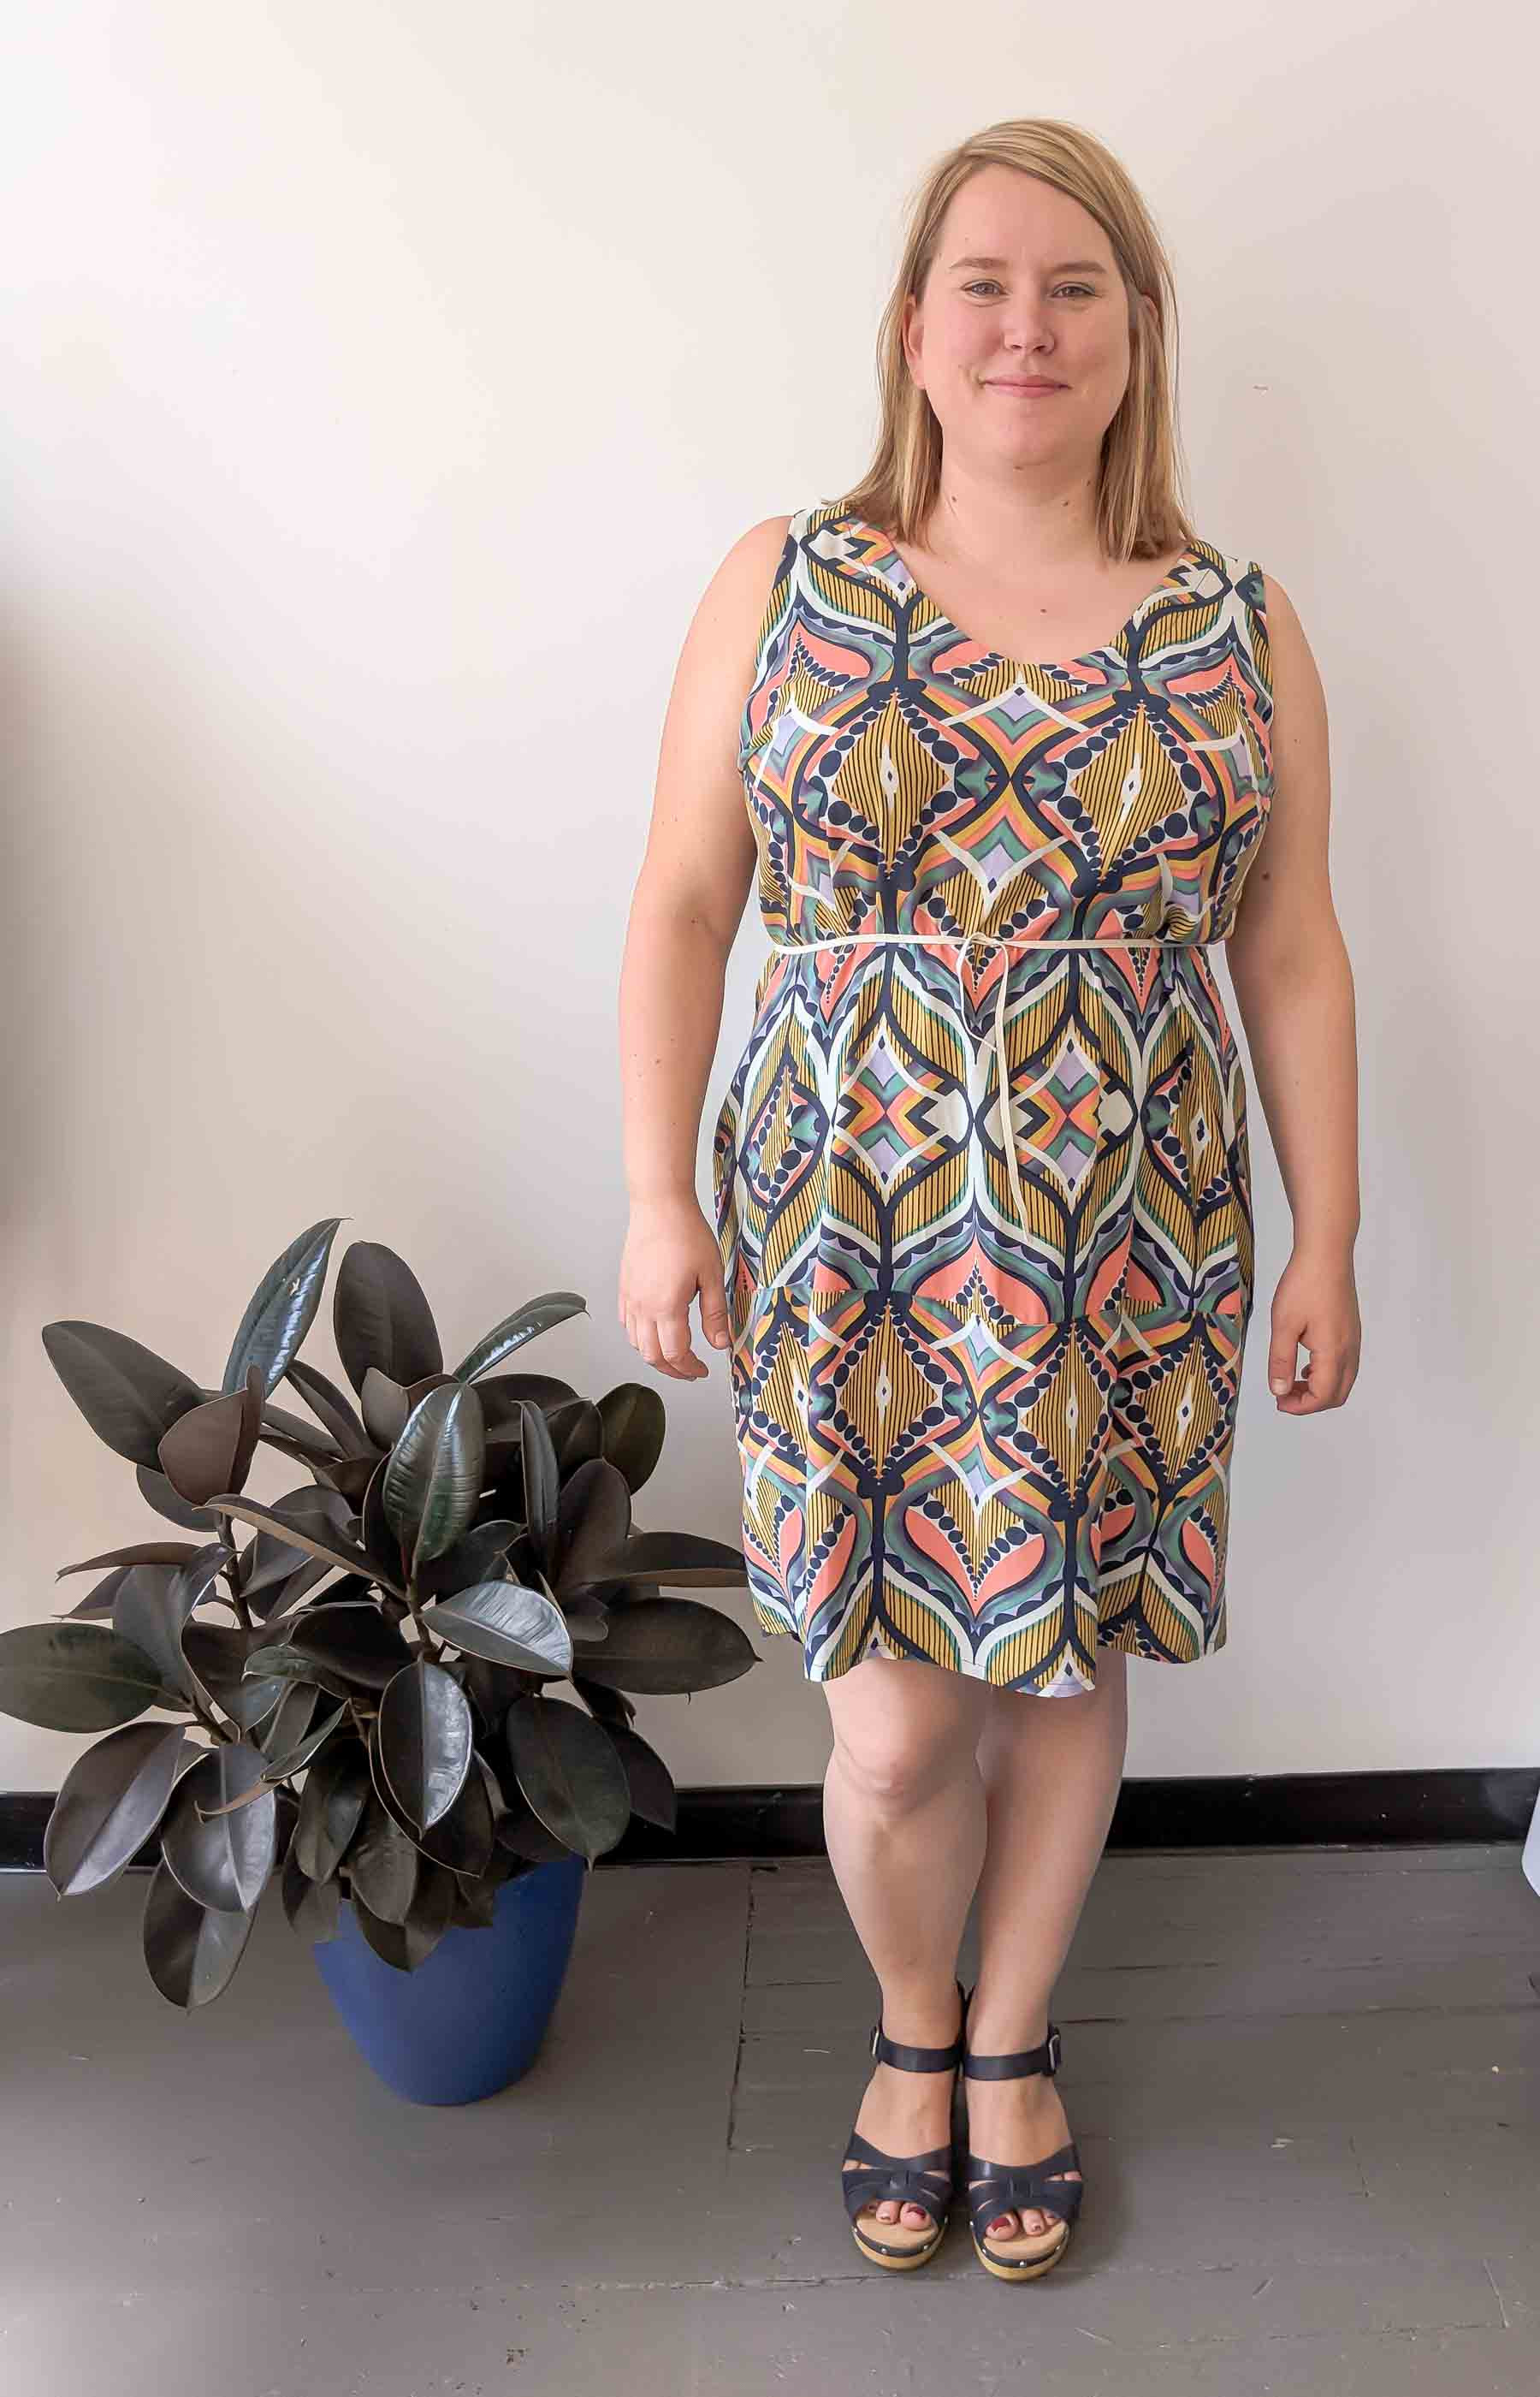 Image showing a woman's torso with a measuring tape indicating a high waistline, positioned above the natural waist and closer to the rib cage.
Conversely, using a more conventional, lower waist height can result in a less flattering silhouette:
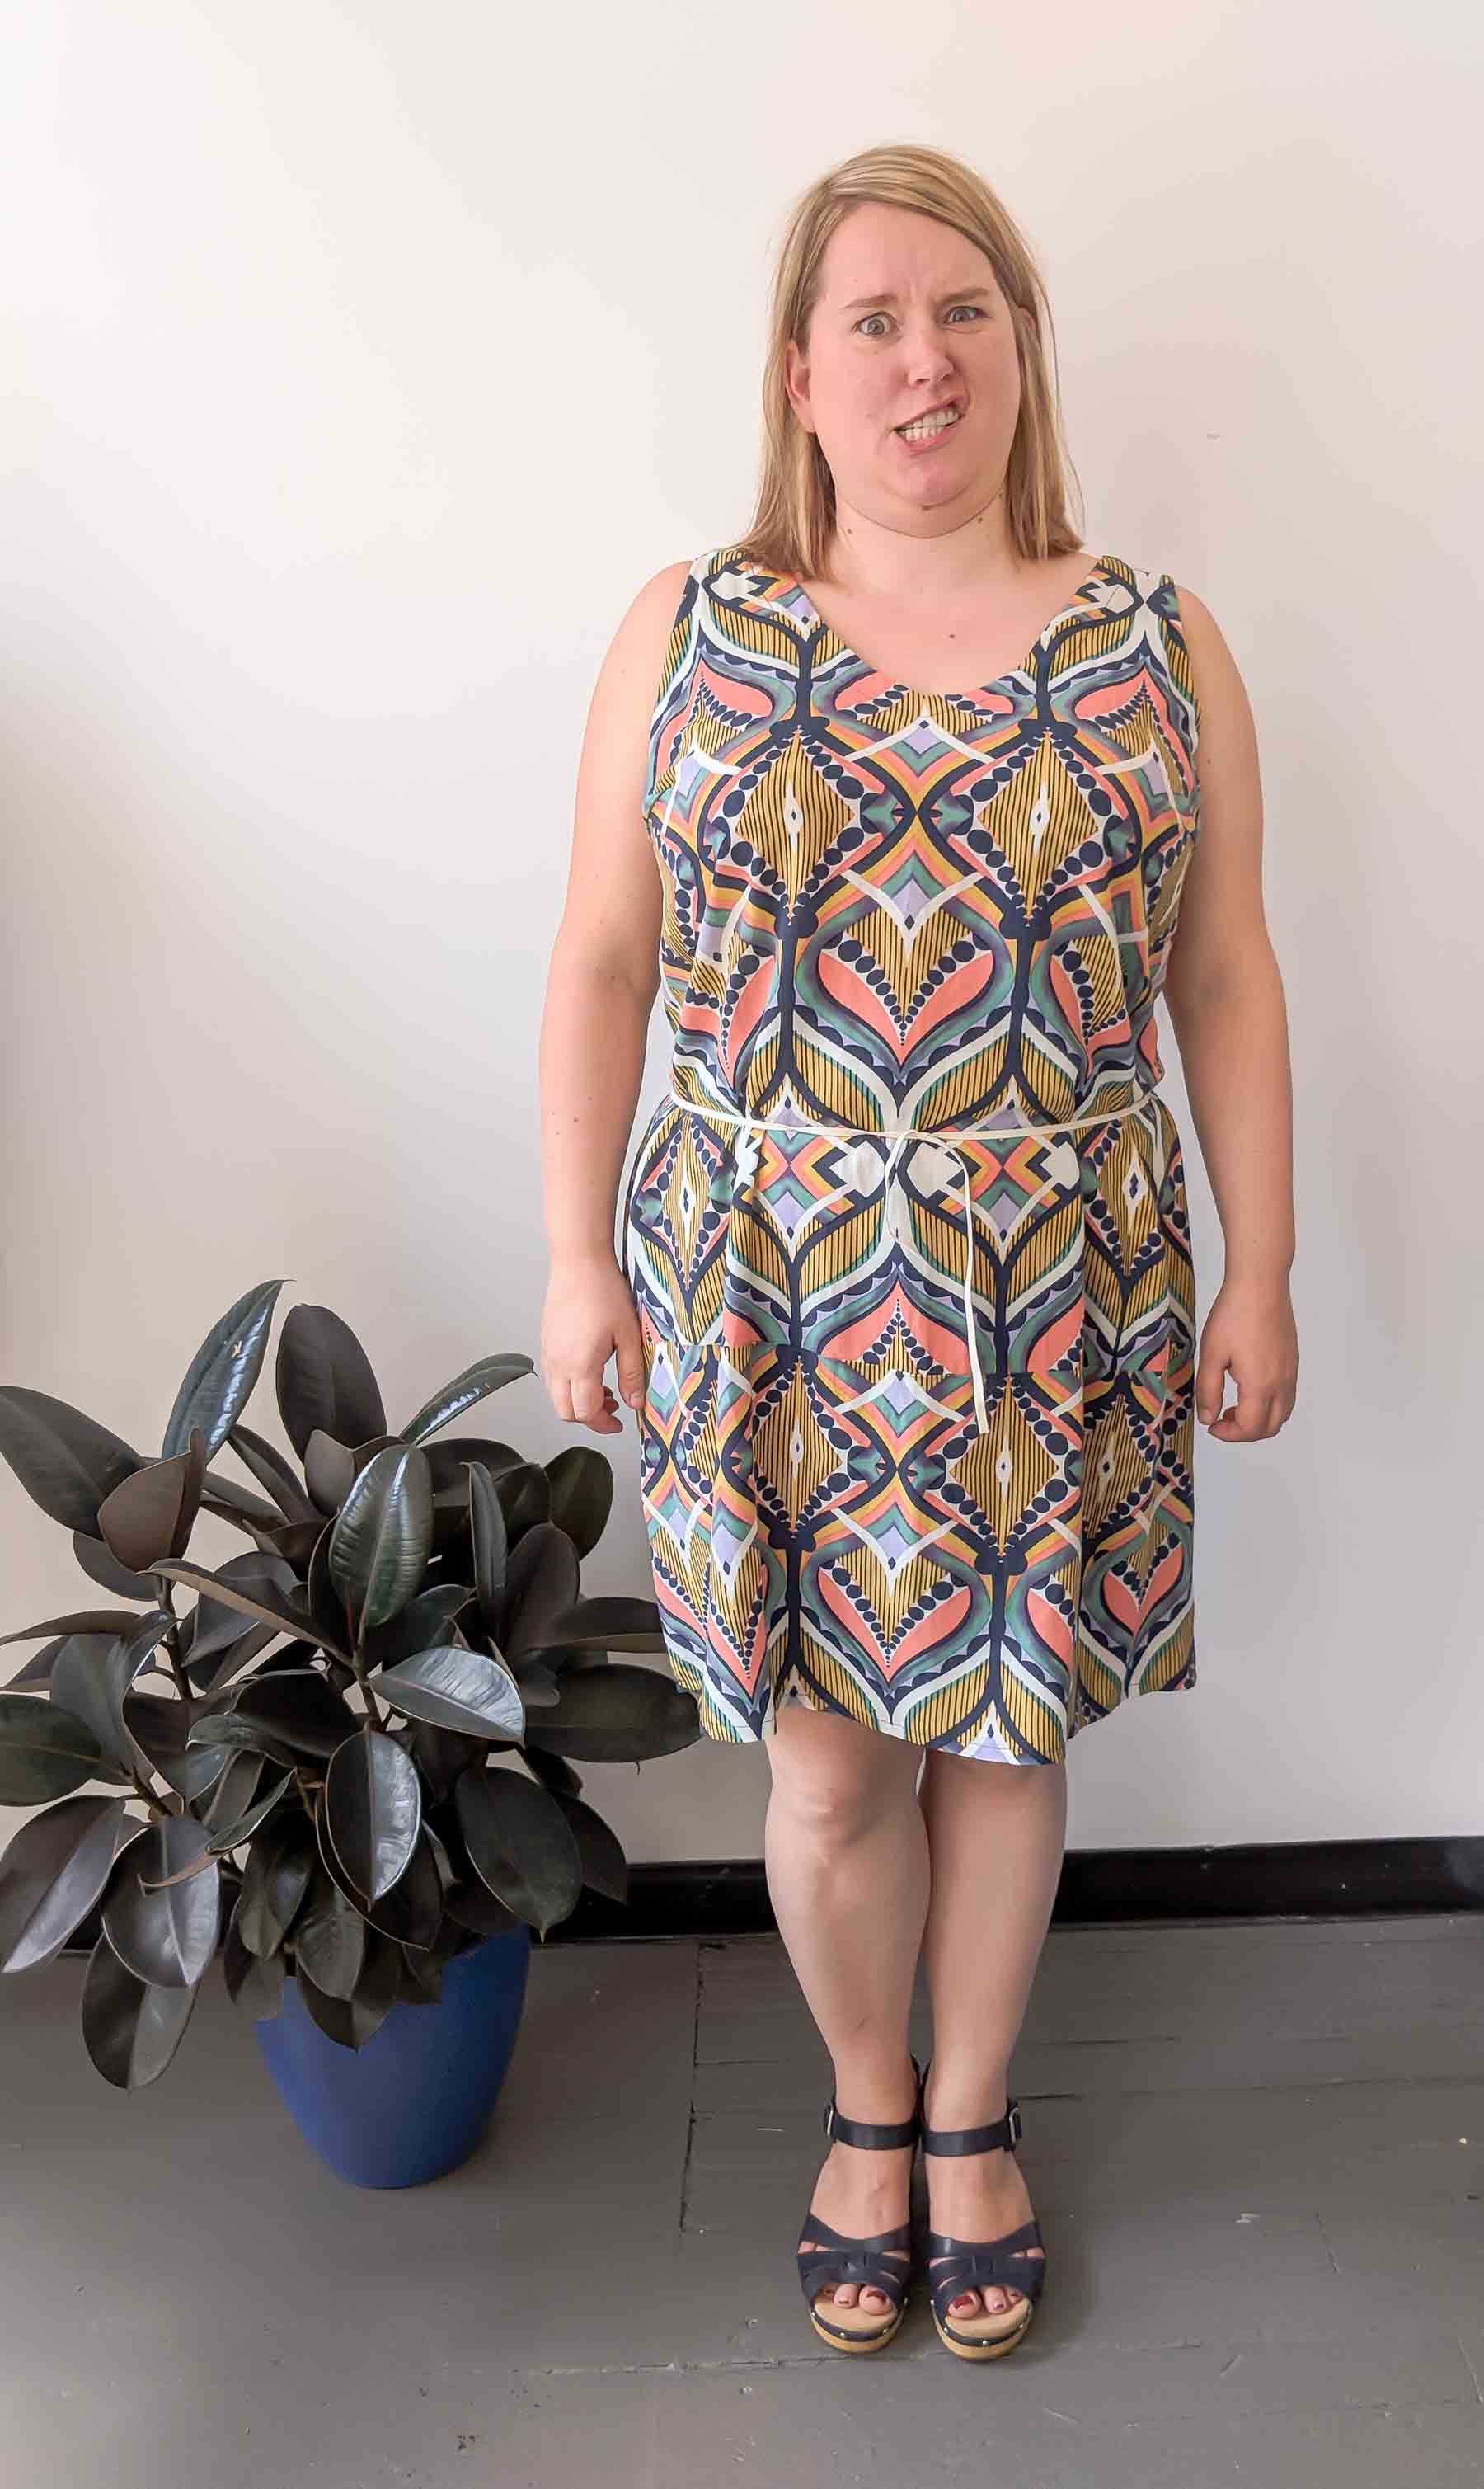 Image showing a woman's torso with a measuring tape indicating a lower, more traditional waistline, positioned at the natural waist and closer to the hips.
The prevalence of this higher narrow point is why many Cashmerette Patterns are designed with a “high” waist. Often, individuals who initially lengthen the bodices of these patterns find that the original, higher waist placement is actually more visually appealing.
Let’s consider how this applies to different body shapes:
-
Straight Body Shape: If you have a straighter figure with less differentiation between bust, waist, and hips, you have considerable flexibility! Waist placement becomes more about achieving your preferred upper-to-lower body proportion within the garment’s design.
-
Defined Waist (Hourglass): If you naturally possess a well-defined waist, feel free to use that point as your waist measurement! (Though you likely wouldn’t be struggling to locate it in the first place).
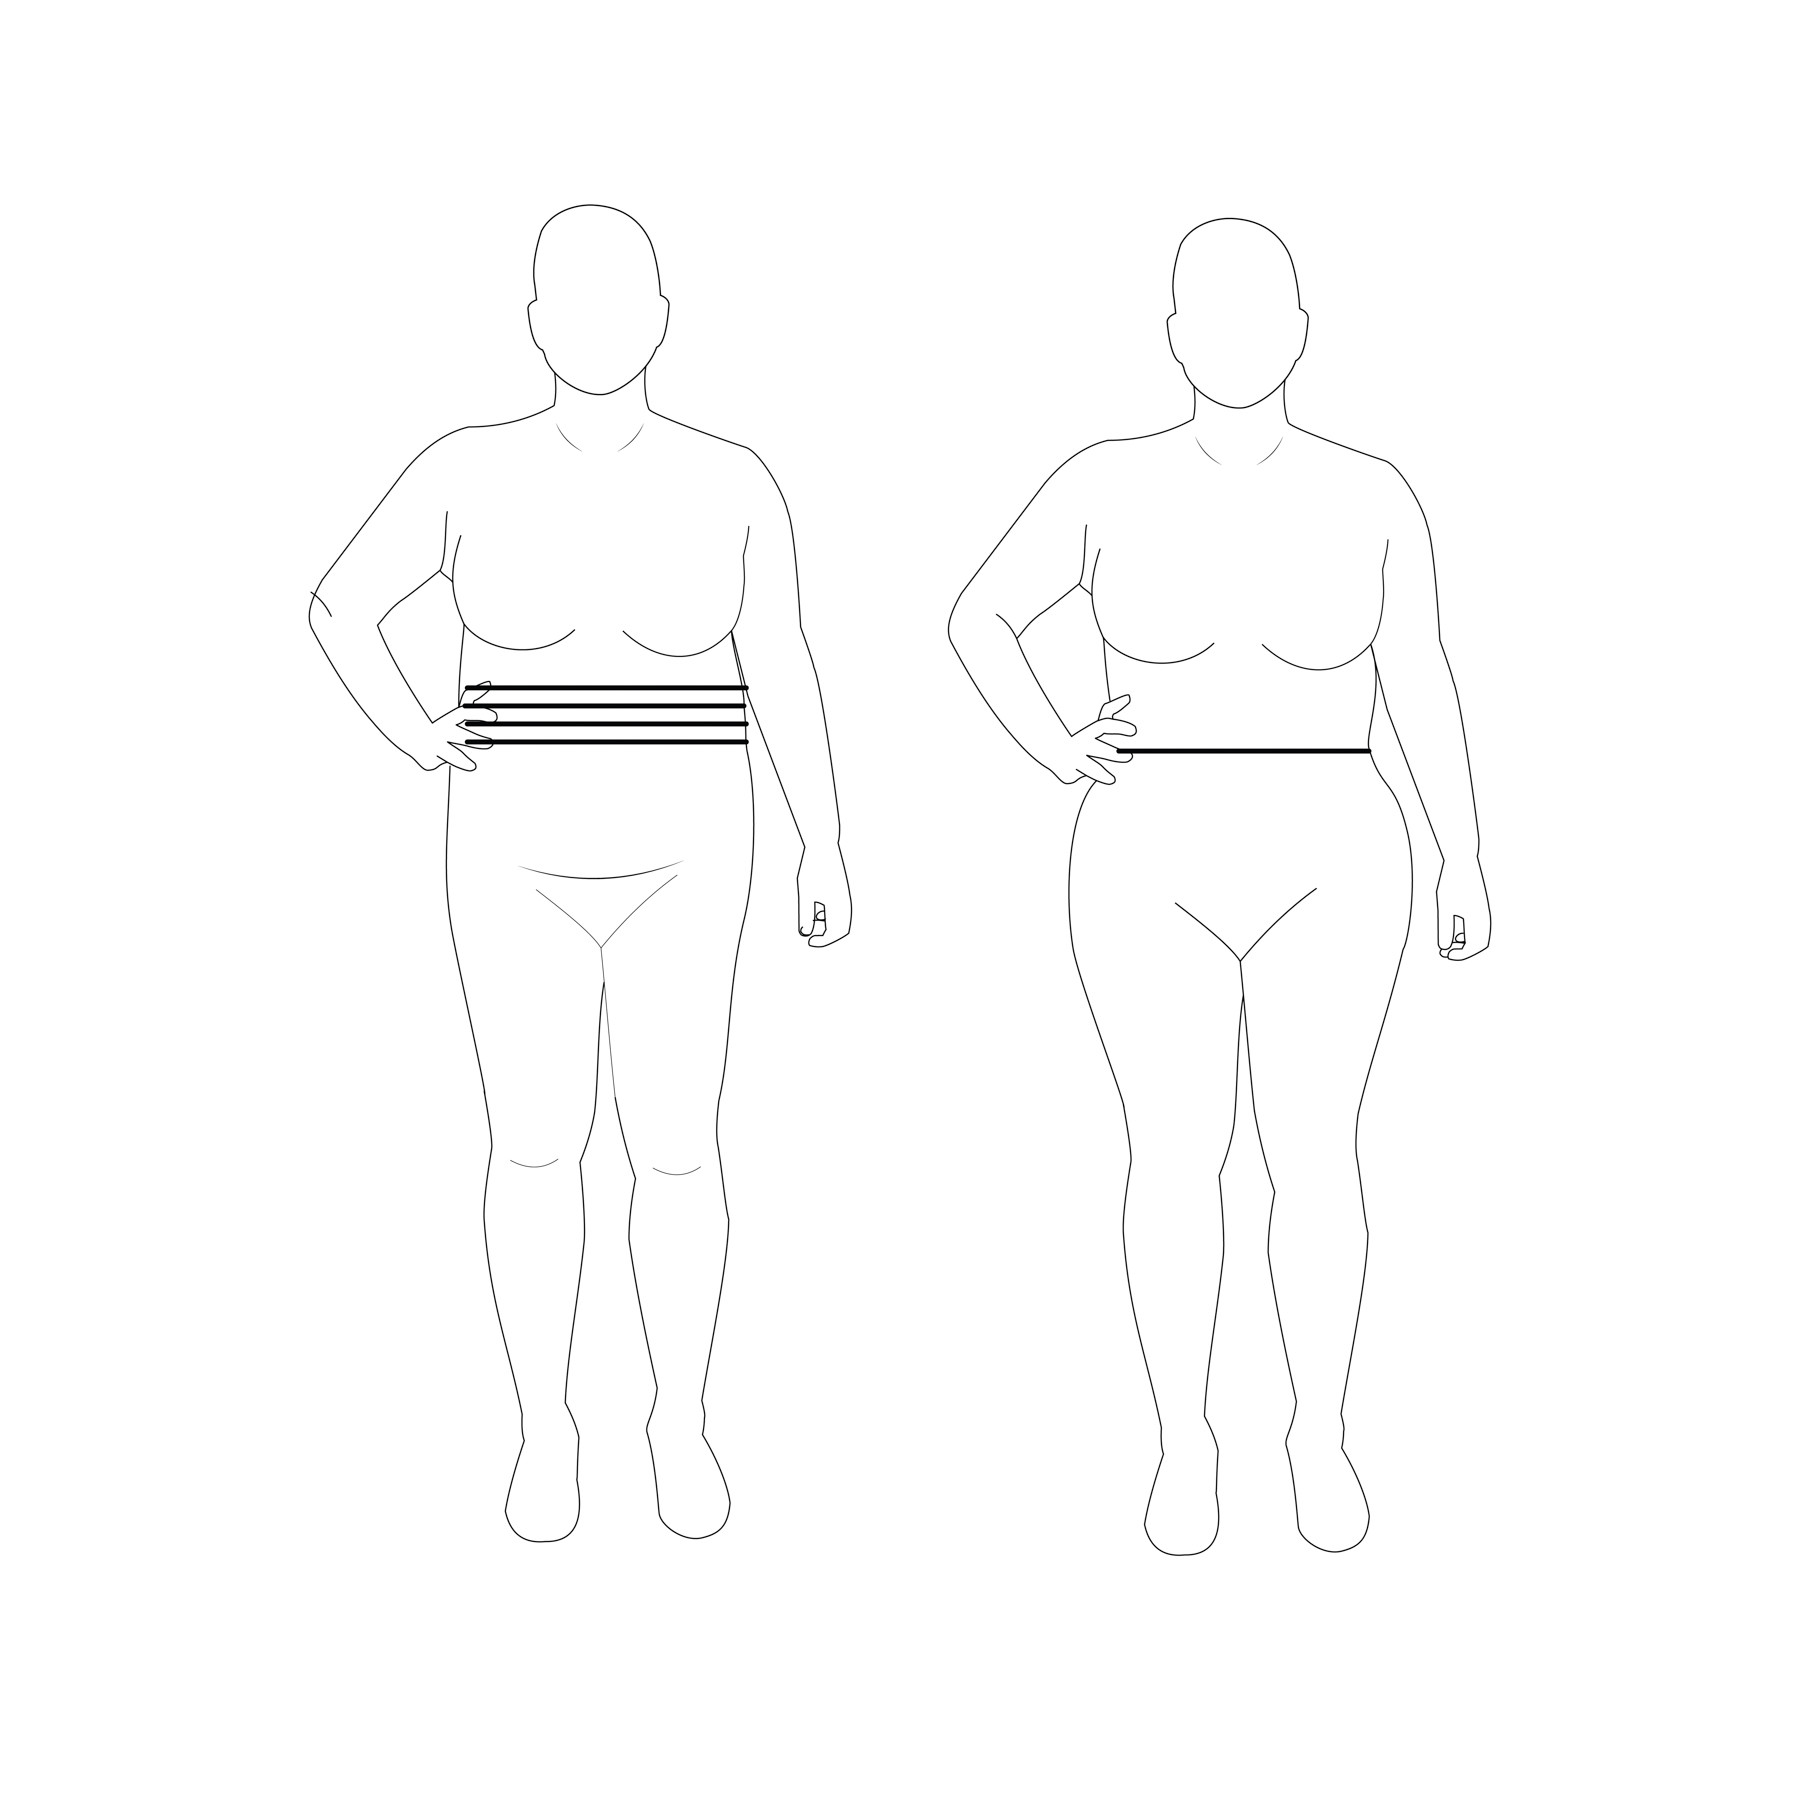 Illustration comparing a straight body shape and an hourglass body shape, highlighting the difference in waist definition.
- Apple Body Shape: For apple-shaped figures, where the waist is similar in size or larger than the bust or hips, positioning the waist a few inches below the bra band usually creates a more balanced and flattering look. Avoid feeling compelled to measure at the widest point of your midsection.
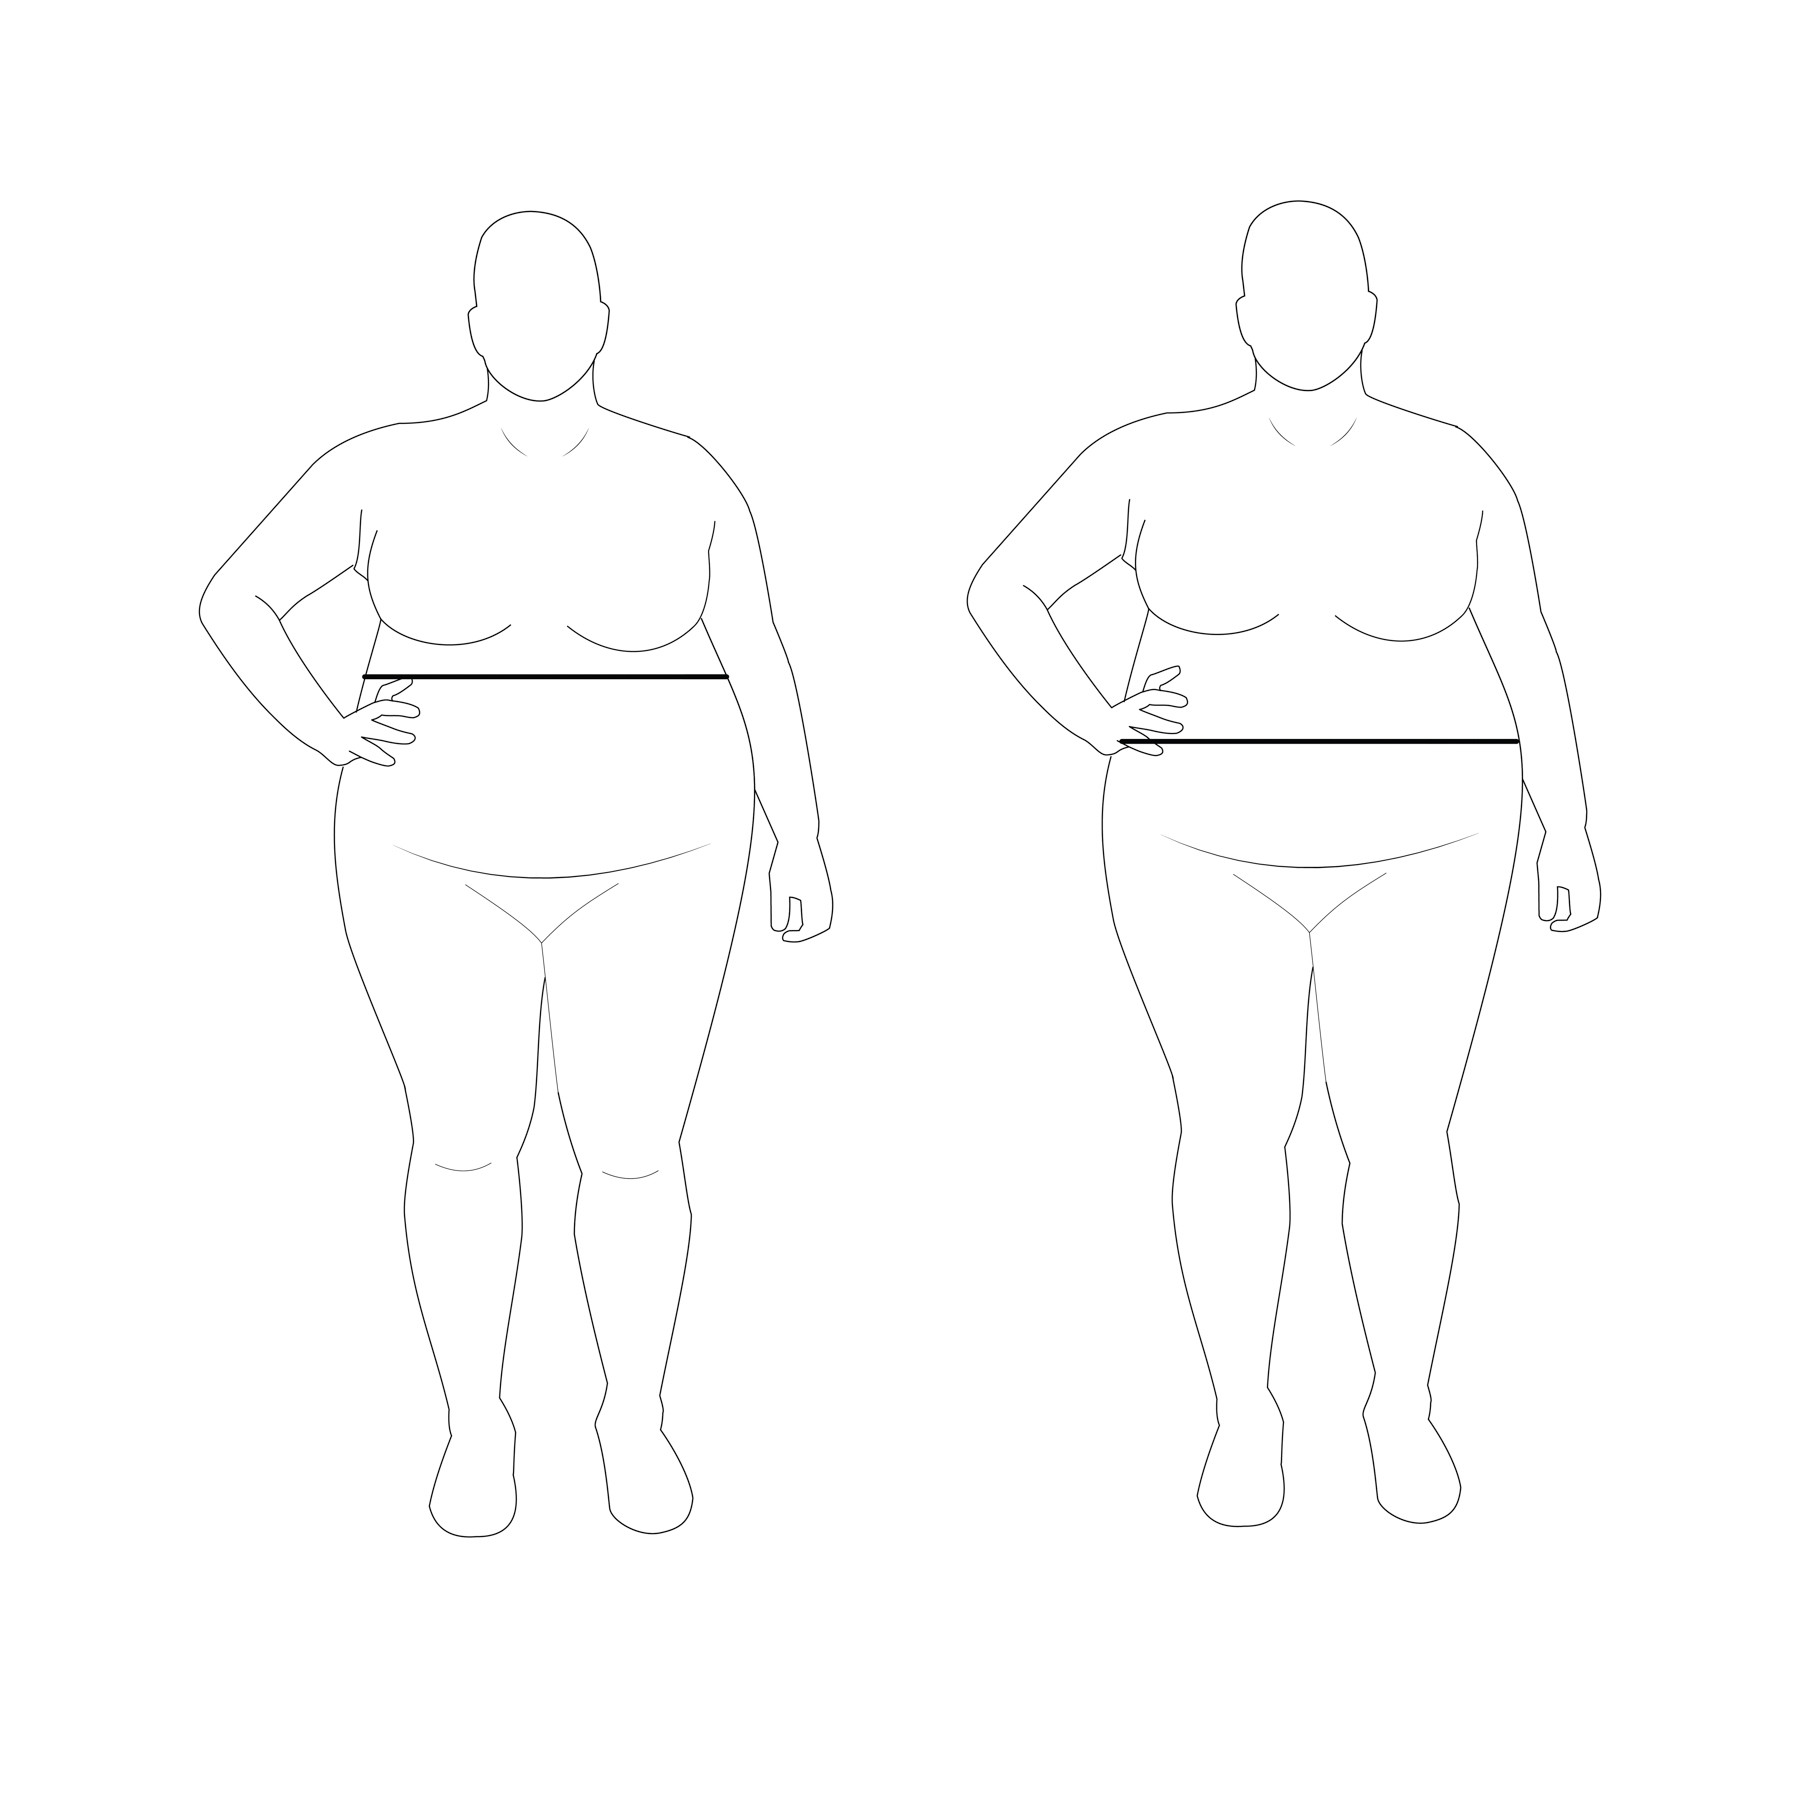 Illustration comparing waistline placement on an apple body shape, showing a flattering higher waist and a less flattering waistline at the widest part of the tummy.
- Waistline Height Comparison: The following comparison illustrates the visual impact of waistline placement on a dress. The higher waistline allows the garment to cinch in at the waist, creating definition. In contrast, a lower waistline alters the silhouette, eliminating waist definition. The lower waistline can also sometimes project a more dated aesthetic, though this is largely a matter of personal preference.
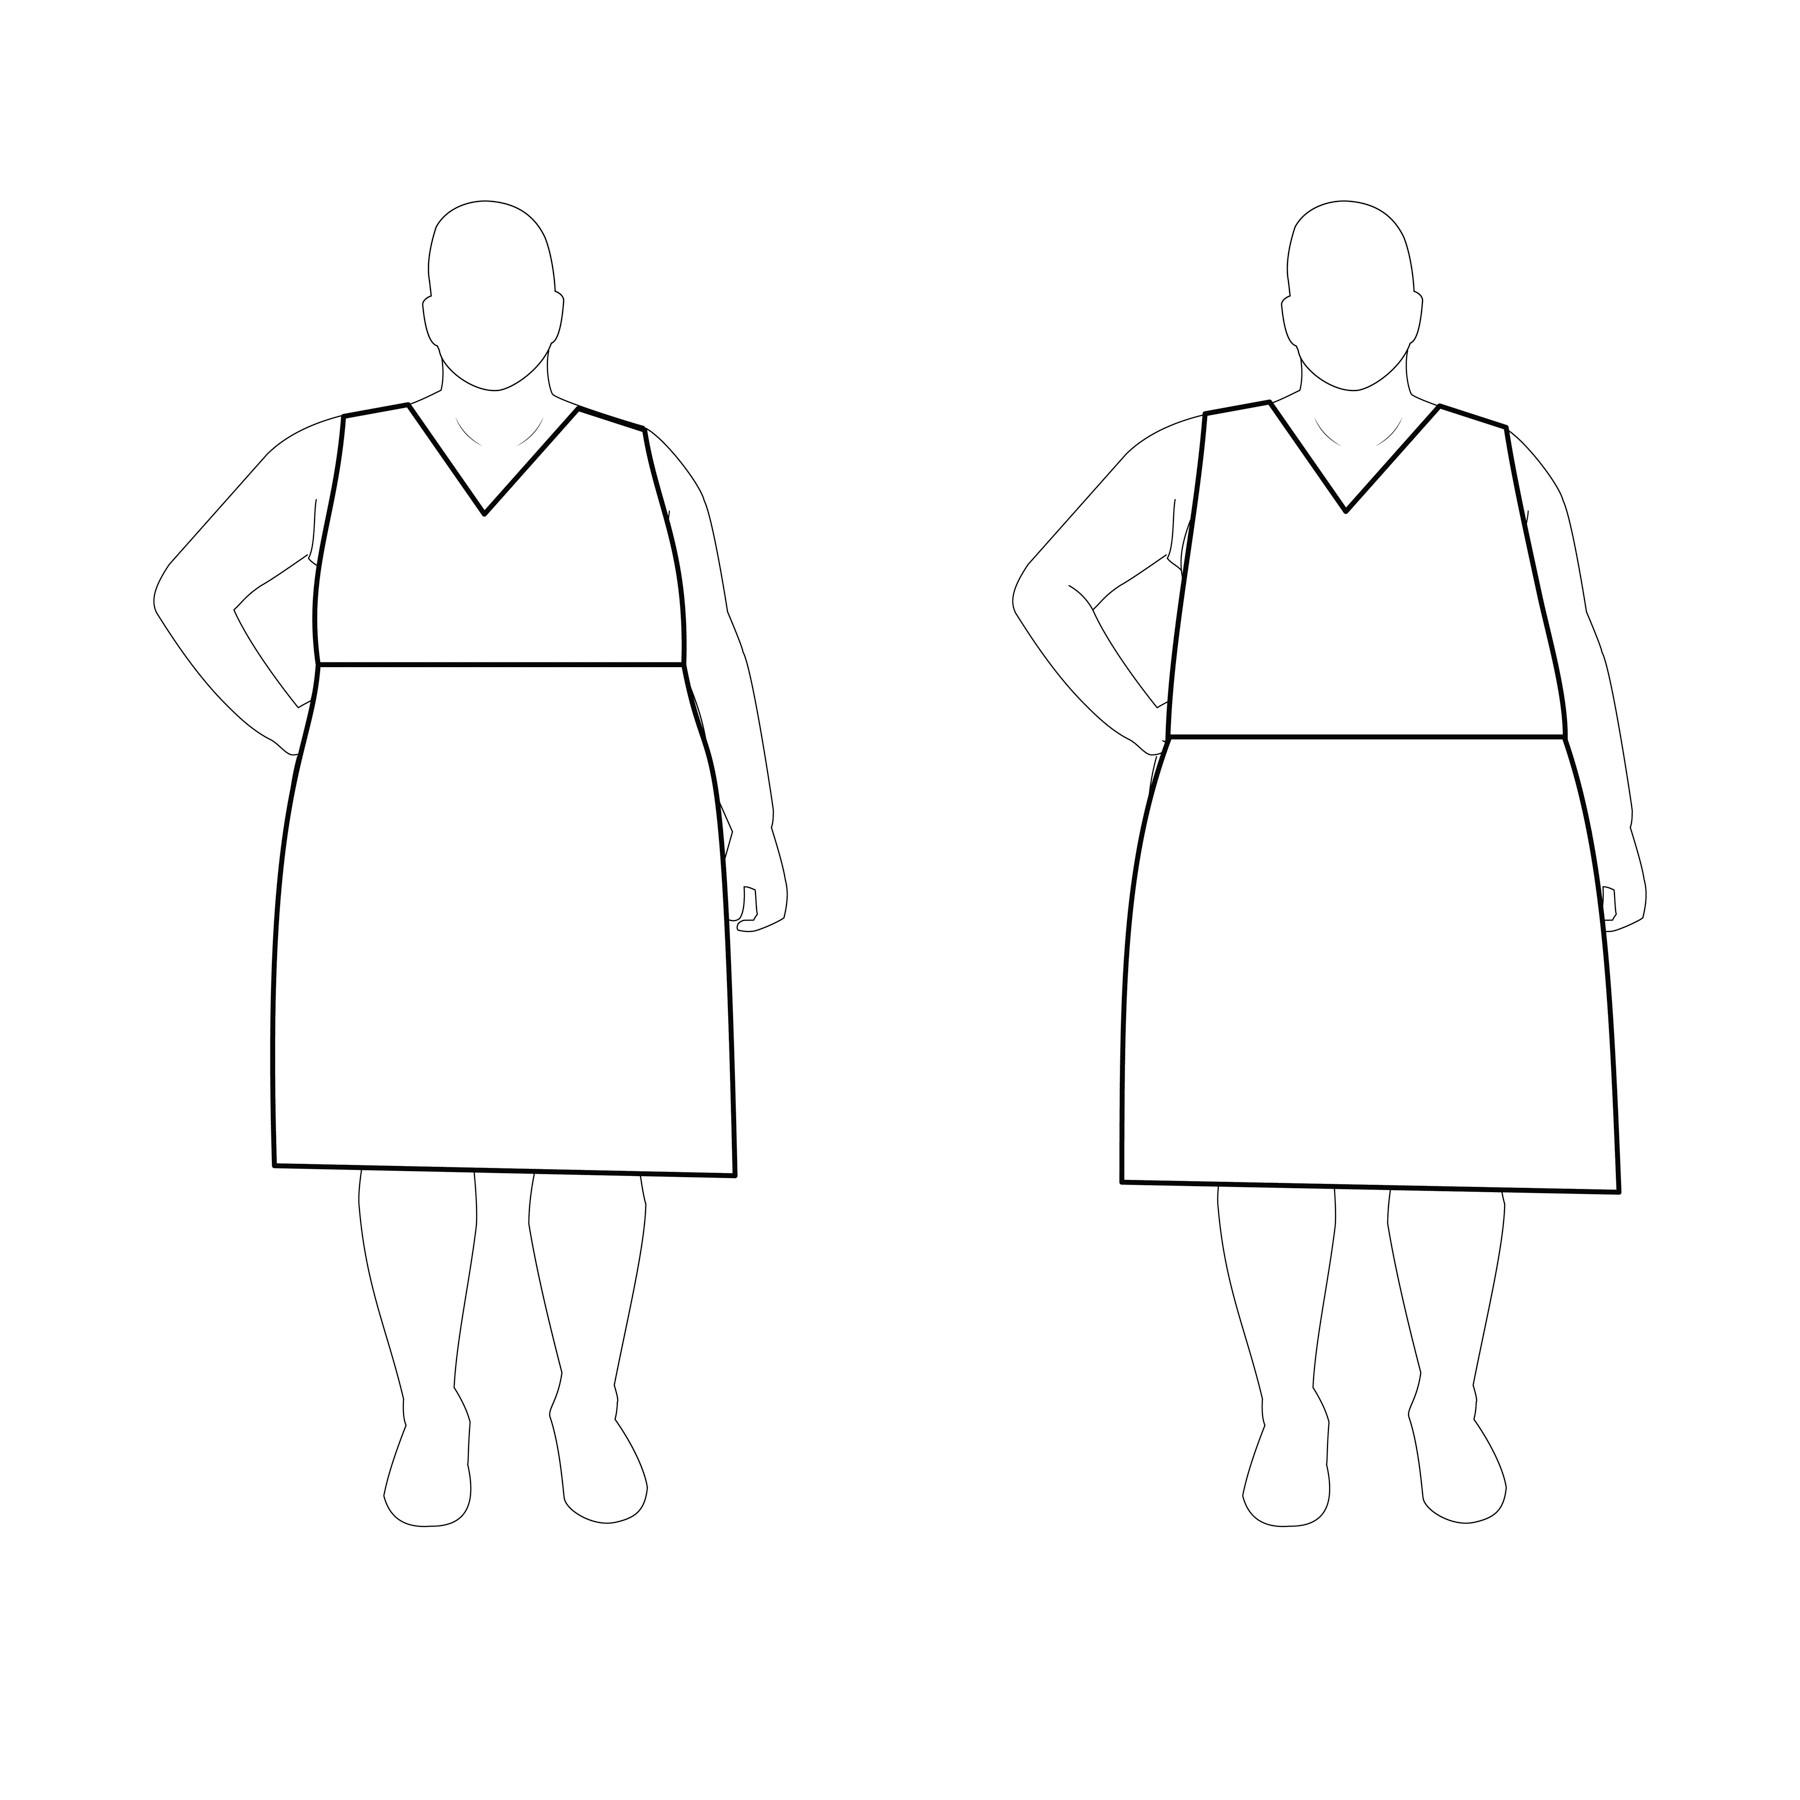 Image comparing two dress silhouettes on the same figure, one with a higher waistline creating definition, and the other with a lower waistline resulting in a straighter silhouette.
Here’s a specific example using the Appleton Dress to illustrate the effect of waist height:
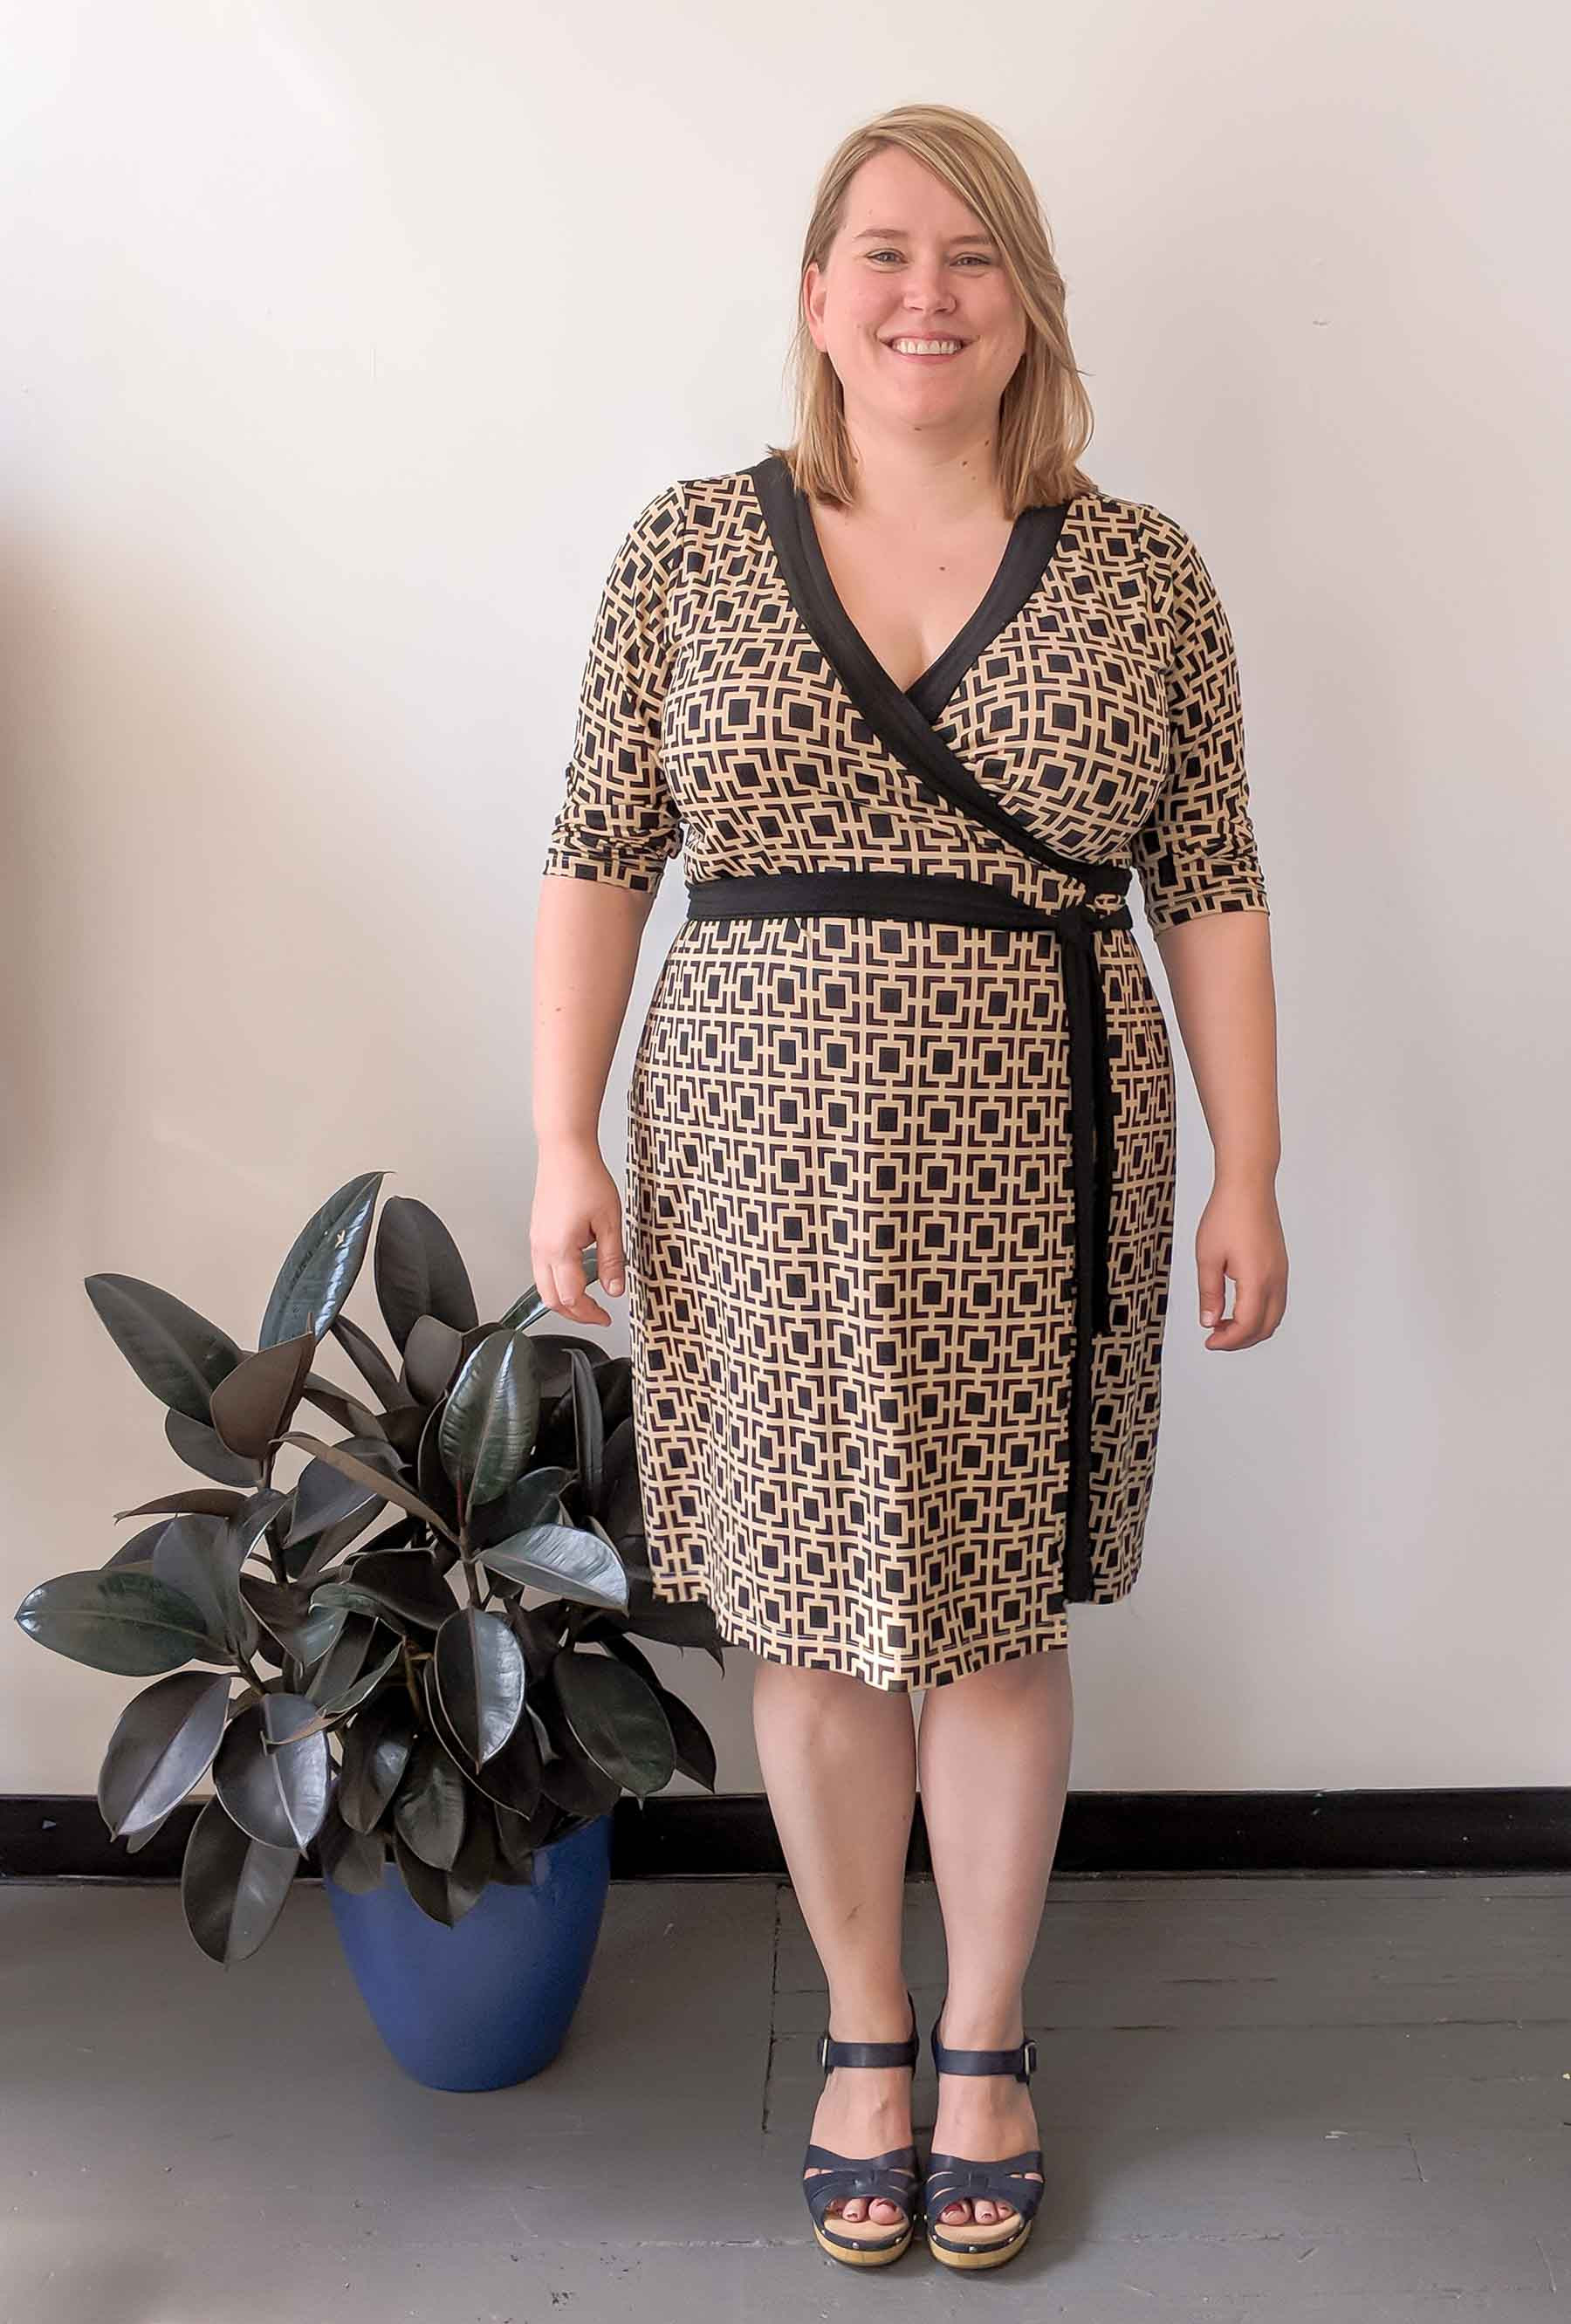 Image of a woman wearing the Appleton Dress with a higher waistline, showing a defined and flattering fit.
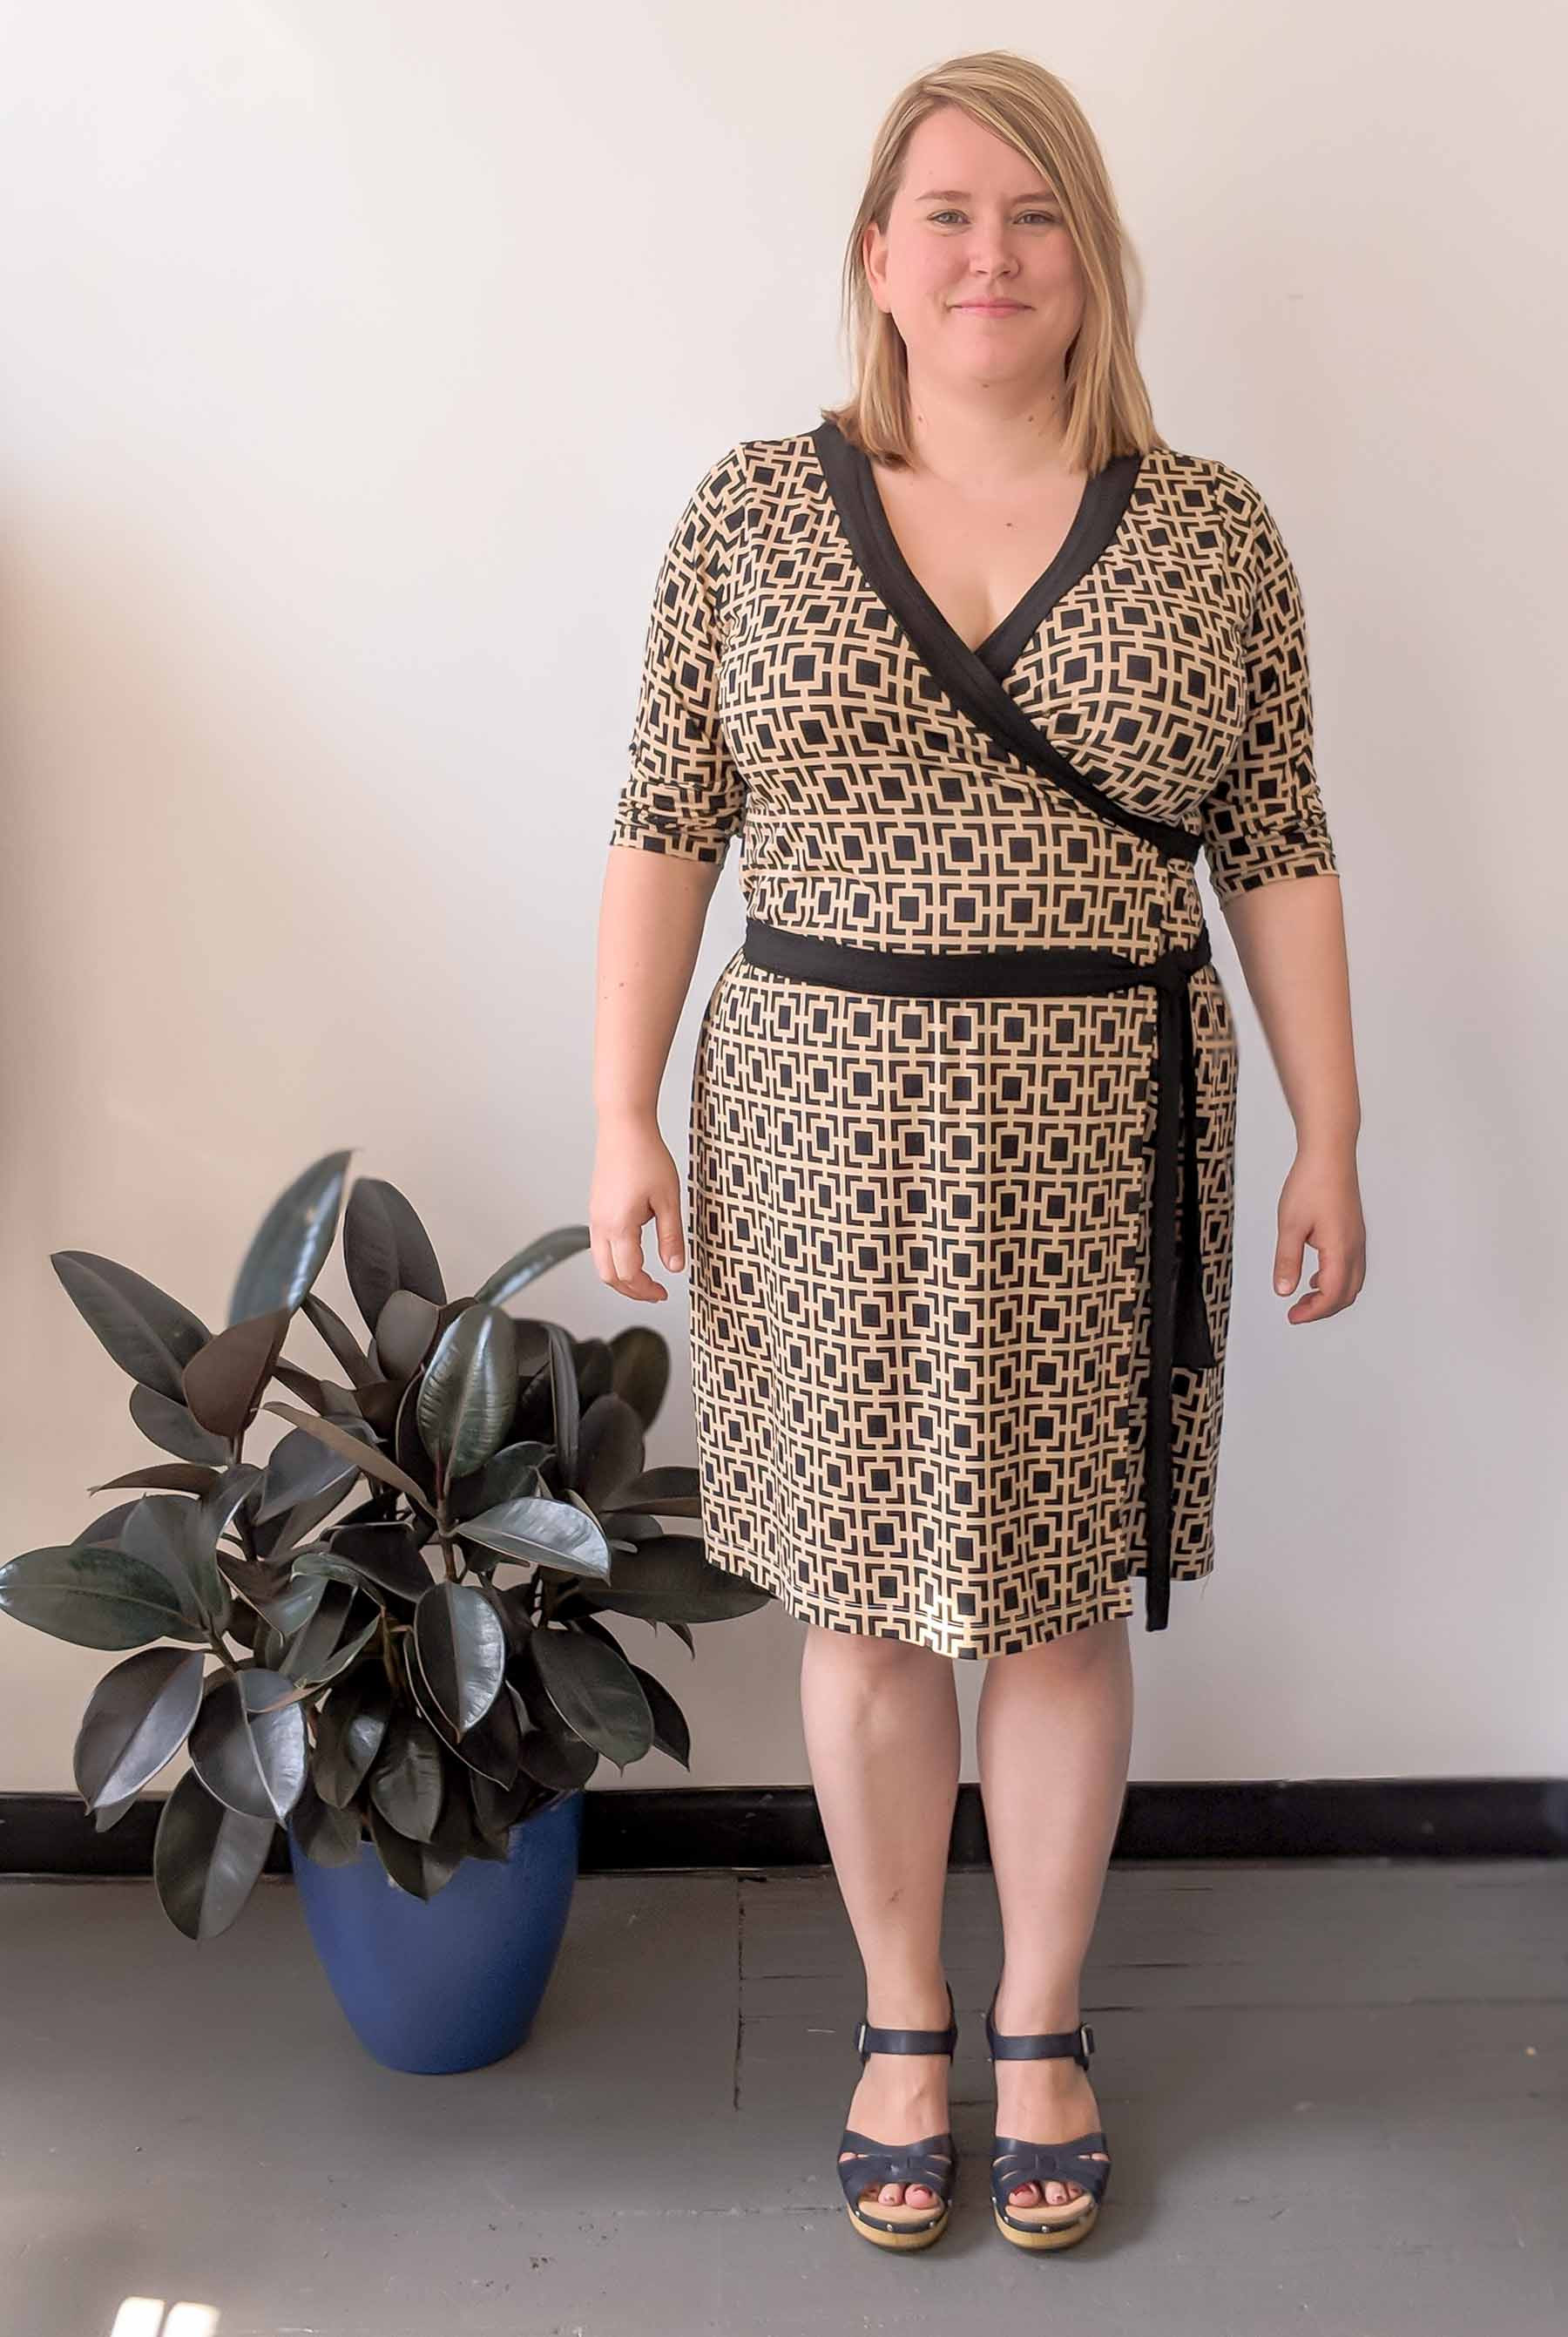 Image of a woman wearing the Appleton Dress with a lower waistline, showing a less defined and potentially less flattering fit.
Another advantage of a higher waistline is that it often allows skirts to drape smoothly and skim over the tummy area. A lower waistline can sometimes cause the skirt to protrude outwards more abruptly.
Waist Placement for Different Garments
Skirts
When sewing skirts, choosing your waist location is essentially deciding where you want the skirt to begin on your body. The primary consideration is that if you opt for a waistline a few inches higher than the pattern’s intended design, you might need to lengthen the skirt to maintain the original hem length and proportions. Observe how a higher waist placement can enhance the overall proportions of a skirt:
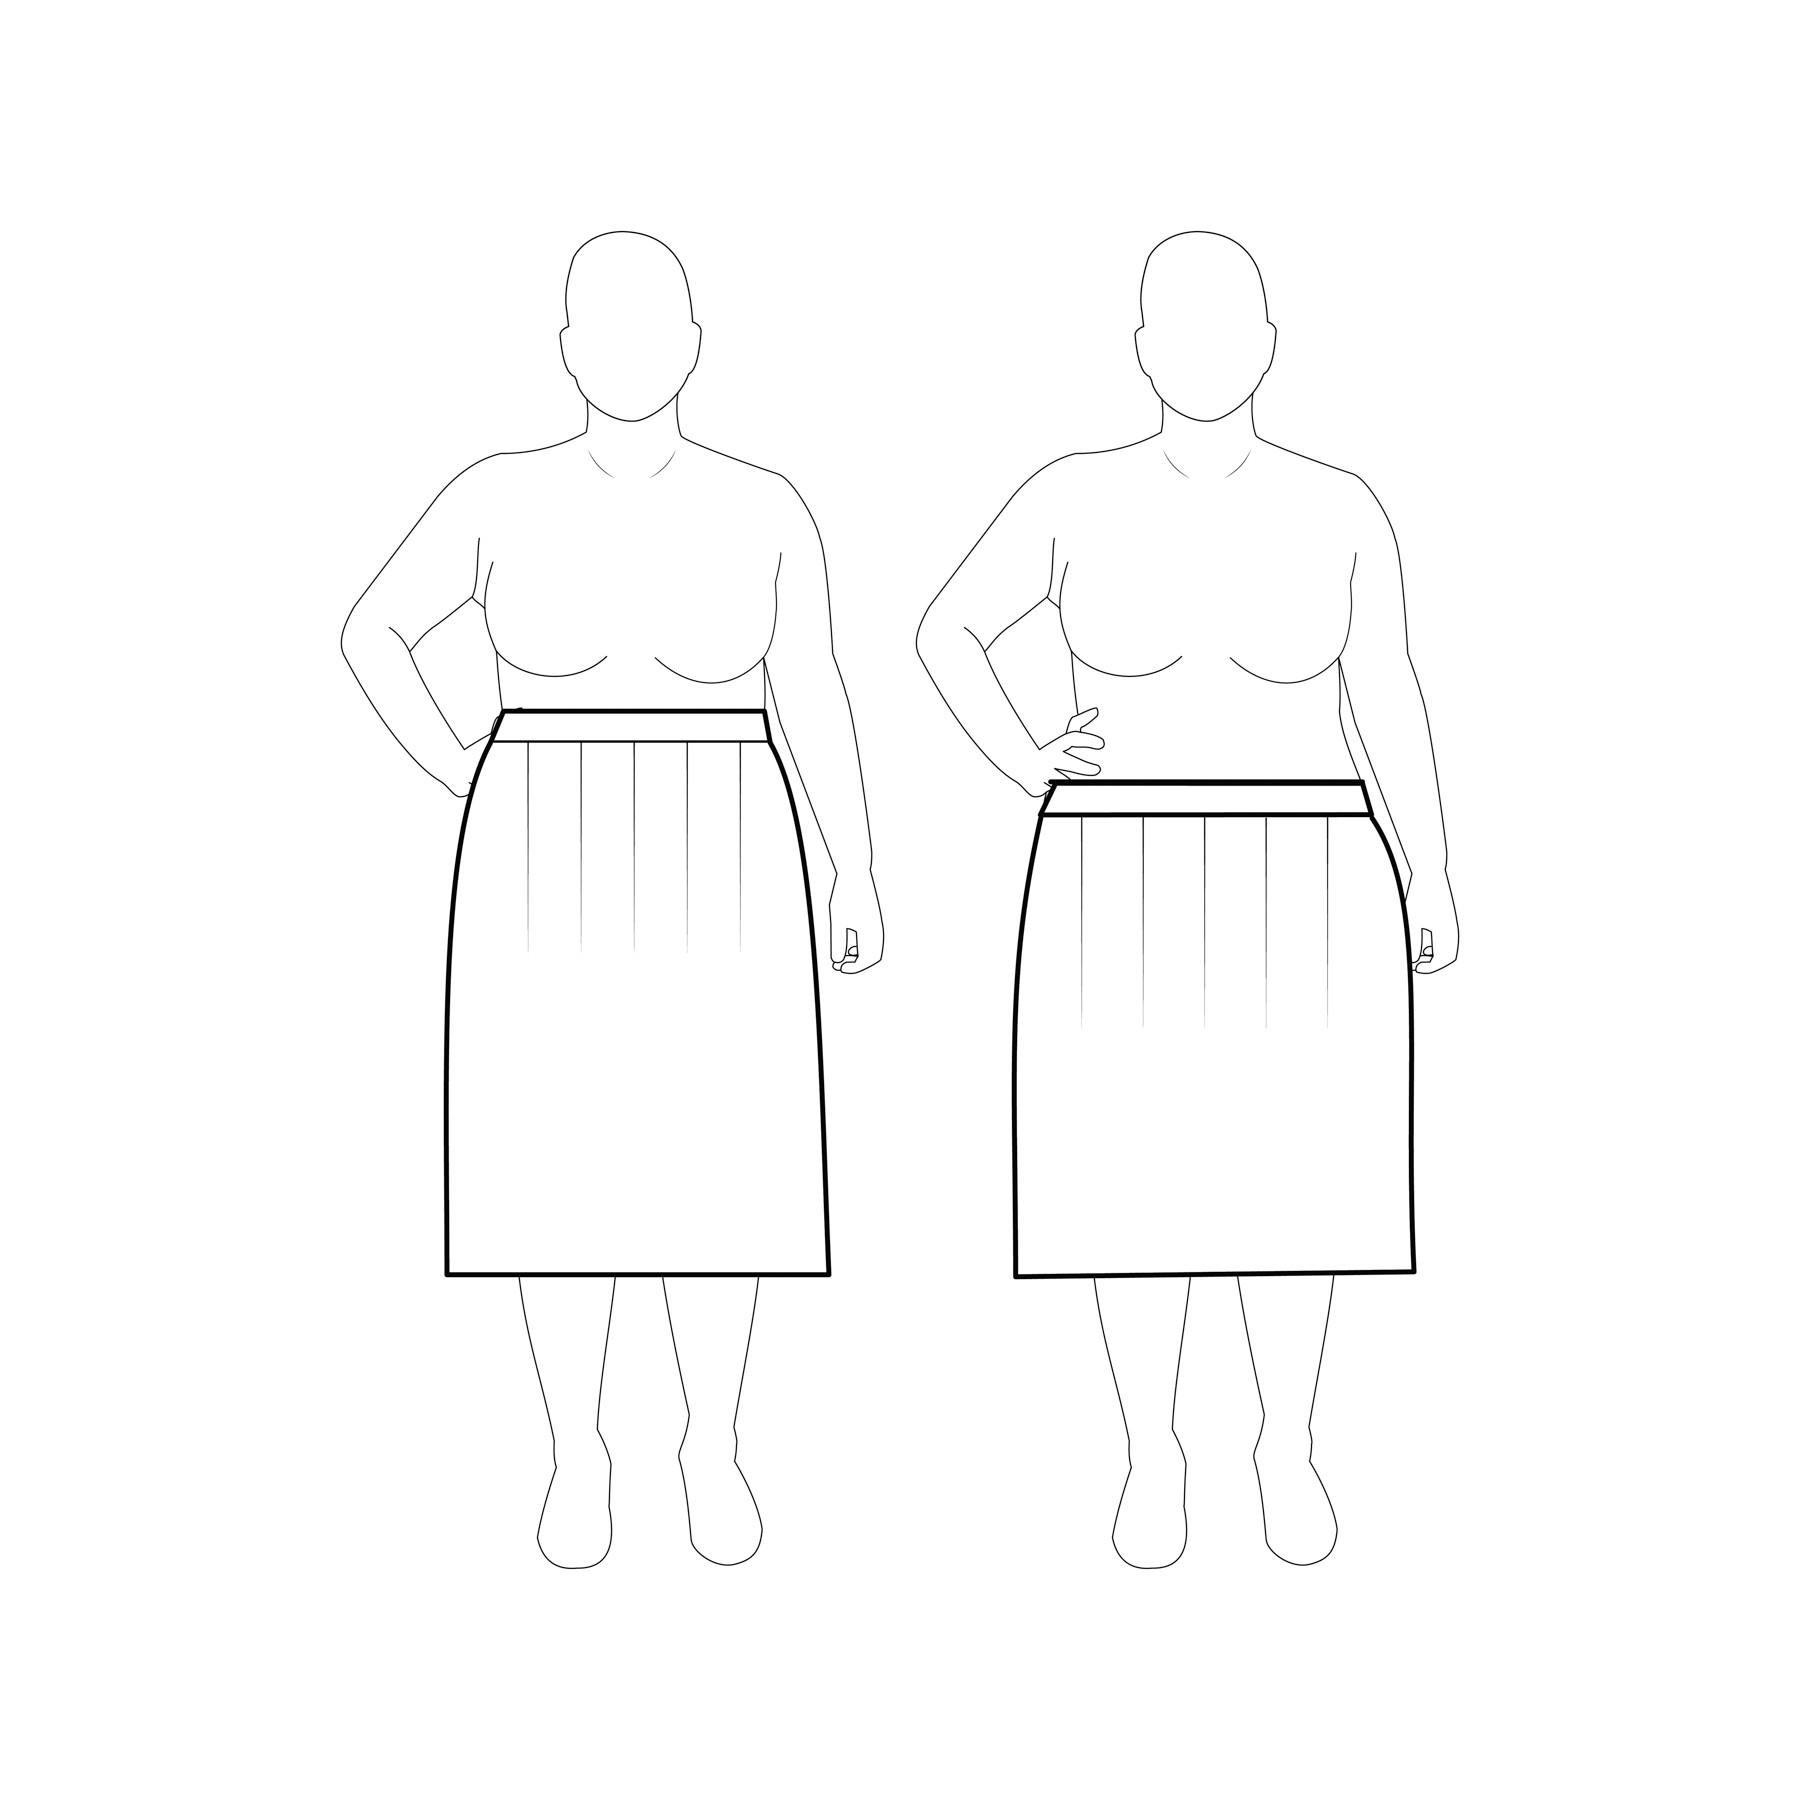 Image comparing two skirt silhouettes on the same figure, one with a higher waistline creating a more elongated and balanced look, and the other with a lower waistline.
Dresses, Fitted Garments, and Waistline Seams
Unlike skirts, dresses or garments with fitted waistlines or waist seams will likely require adjustments depending on your chosen waist location.
It’s important to remember that pattern alterations for waist height are common and often necessary for everyone, regardless of body shape. A designer’s standard waist height assumption may not align with individual body proportions.
Fortunately, adjusting waist height is usually a straightforward alteration, especially when patterns include lengthen/shorten lines (as is the case with all Cashmerette Patterns!). To raise a waistline, you’ll cut along the designated line, overlap the pattern pieces to reduce the desired length, tape them together, and then smooth out the side seams. To lengthen, you’ll separate the pieces and fill the gap with tissue paper. Keep in mind that altering the waistline height will also affect the proportions of the lower portion of the garment. You might need to adjust the skirt or bottom section accordingly, shortening or lengthening it to maintain balance.
Here’s an illustration of how lowering the waistline on the Rivermont Dress would necessitate lengthening the bodice and shortening the skirt portion:
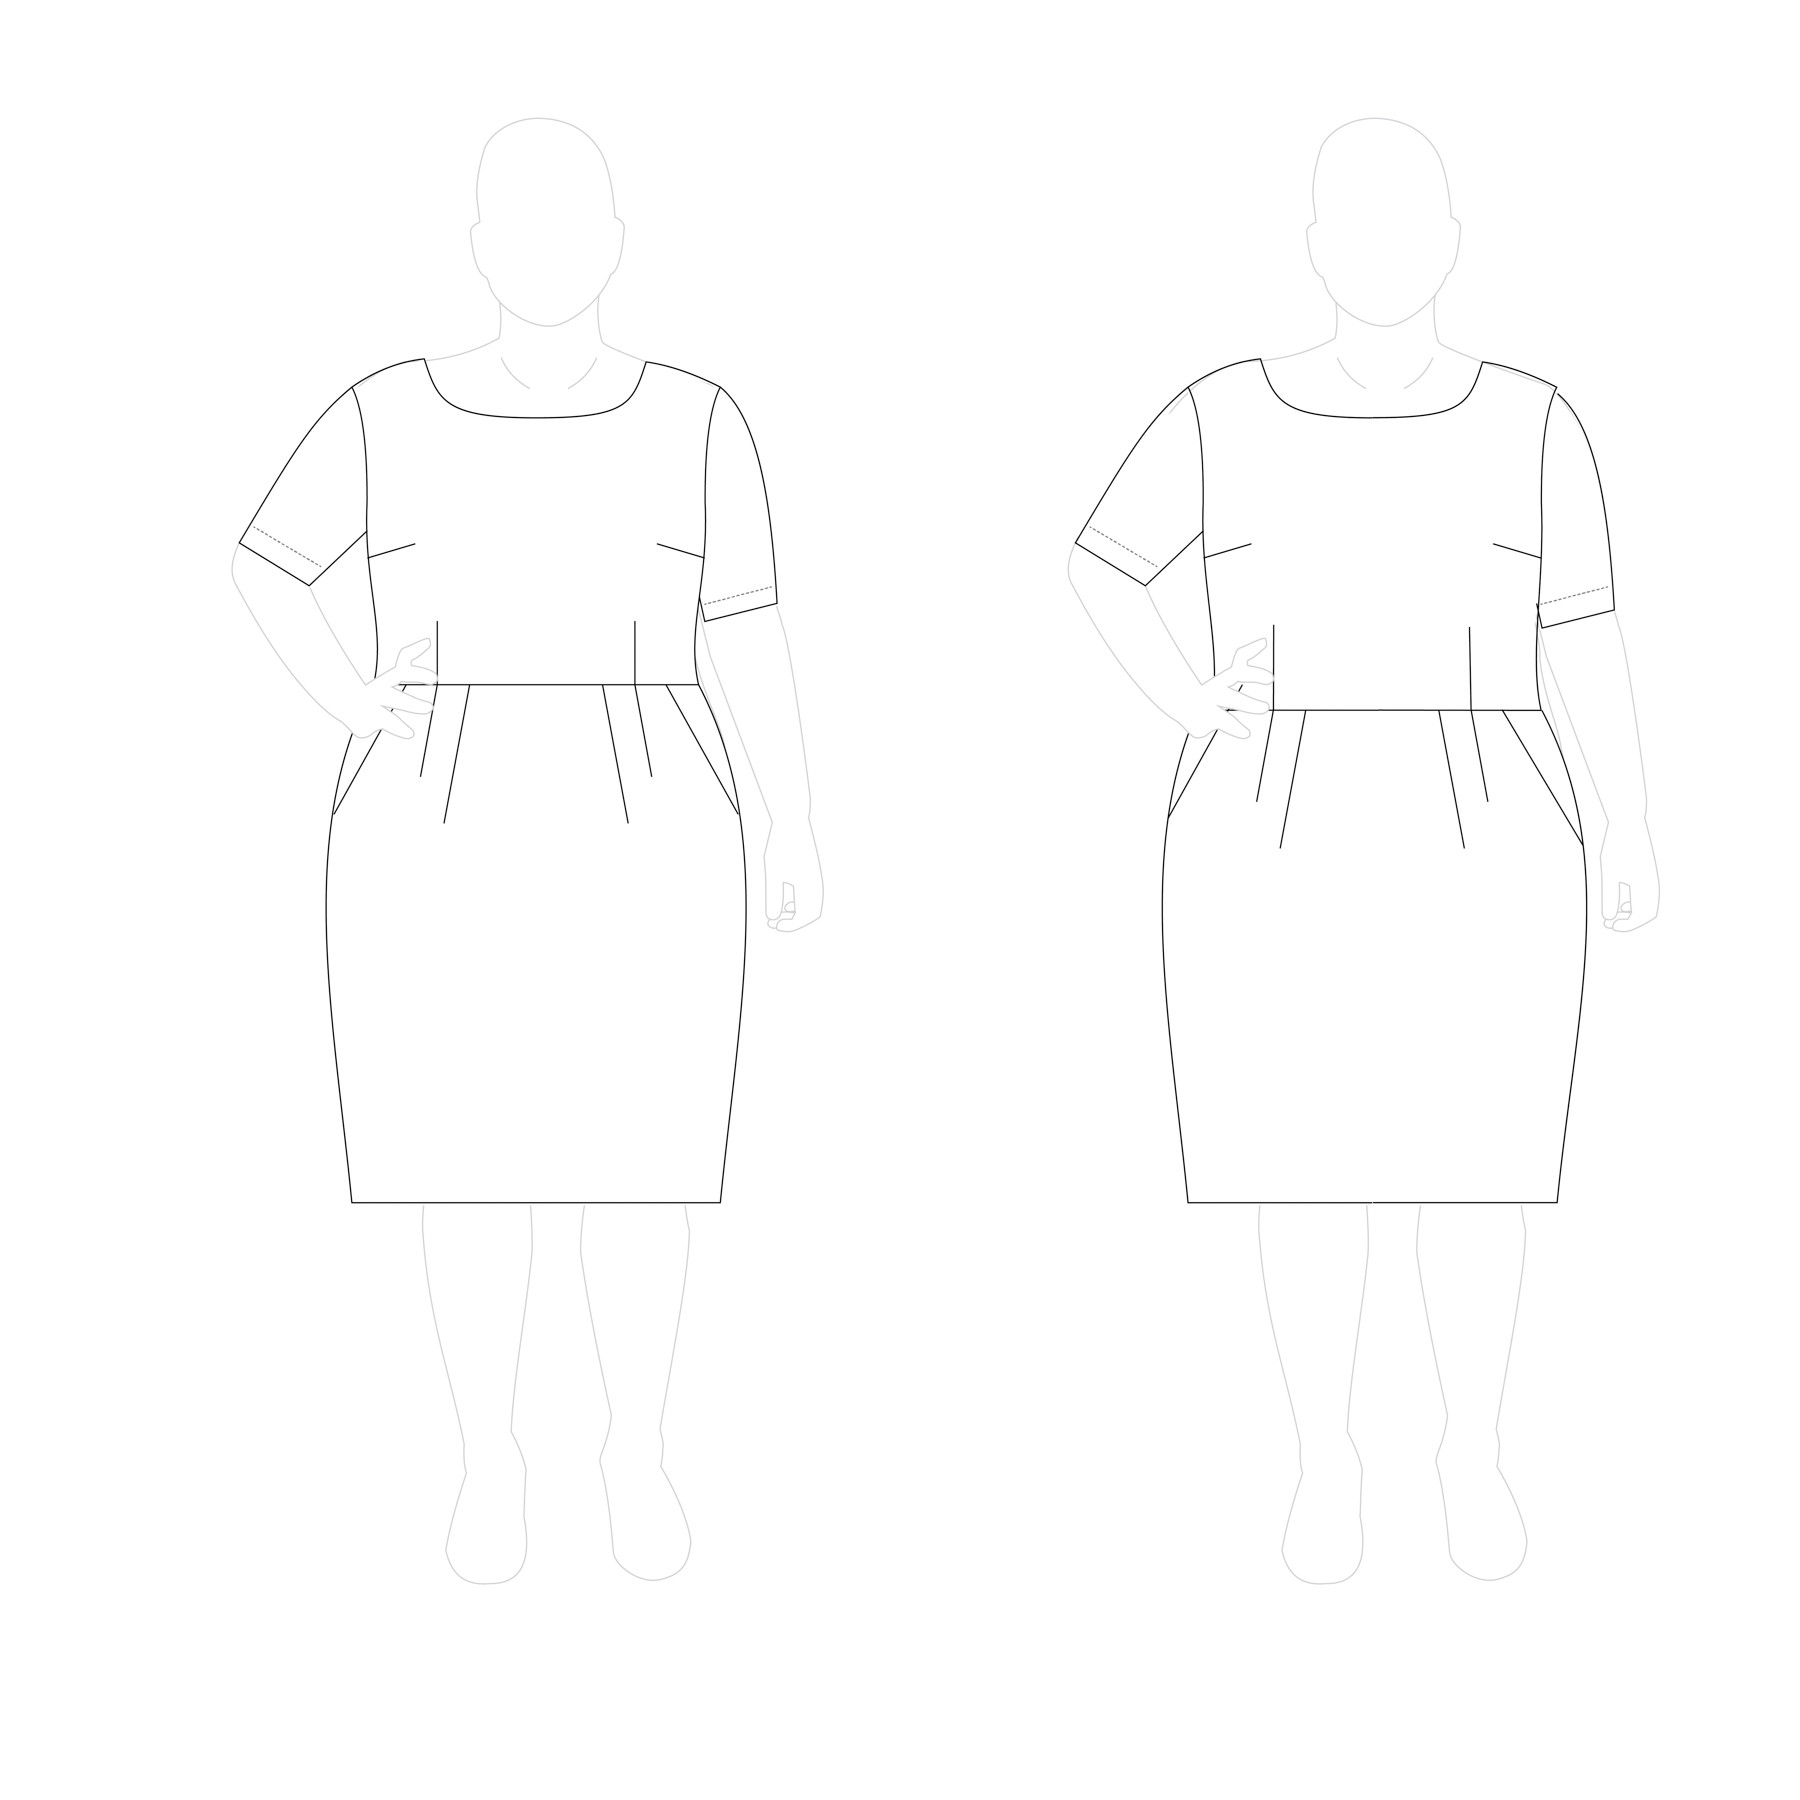 Diagram illustrating pattern alteration for lowering the waistline of a dress pattern, showing where to lengthen the bodice and shorten the skirt.
Hopefully, this guide clarifies the process of finding your waist for sewing! Are there any other measuring or fitting topics you’d like to see covered?