
Does Google Slides Automatically Save your work? Yes, Google Slides automatically saves your progress every few seconds to Google Drive, ensuring you never lose your important presentation data. At Savewhere.net, we understand the importance of hassle-free presentation creation, which is why we are diving deep into this feature and offering tips for managing your Google Slides effectively. Learn how you can use this feature to your advantage and explore additional strategies to maximize your financial savings with our resource that help you secure financial success, save more money, and achieve financial goals.
1. Understanding Google Slides Auto-Save Feature
Does Google Slides automatically save everything? Absolutely! Google Slides incorporates a robust auto-save feature that continually backs up your work to Google Drive. This functionality eliminates the need for manual saving and protects your presentations from unexpected data loss.
1.1 How Auto-Save Works
The auto-save feature in Google Slides operates in real-time. As you edit your slides, the application automatically saves your changes every few seconds. This constant background saving ensures that your latest edits are always preserved. According to Google Workspace support, the exact interval may vary depending on network conditions, but it typically occurs within a few seconds of each change.
1.2 Benefits of Auto-Save
- Data Loss Prevention: Auto-save eliminates the risk of losing your work due to unexpected crashes, power outages, or accidental closures.
- Real-Time Collaboration: When multiple users collaborate on a presentation, auto-save ensures everyone always sees the most up-to-date version.
- Seamless Workflow: You can focus entirely on creating and editing your slides without worrying about manually saving your progress.
1.3 Checking the Save Status
To confirm that your Google Slides presentation is being saved, look for the “Save Status” indicator. This indicator is usually located near the top of the screen, often displaying a message such as “Saving…” or “All changes saved in Drive.” This visual cue provides reassurance that your work is secure.
2. Ensuring Your Google Slides Are Always Saved
While Google Slides’ auto-save is reliable, several factors can affect its performance. To ensure your presentations are always saved, consider the following tips.
2.1 Stable Internet Connection
A stable and reliable internet connection is crucial for auto-save to function correctly. Google Slides saves your work directly to Google Drive, which requires an active internet connection. If your connection is unstable or frequently drops, your changes may not be saved promptly.
2.2 Browser Compatibility
Using a compatible and up-to-date web browser is essential. Google Slides works best with the latest versions of Google Chrome, Mozilla Firefox, Safari, and Microsoft Edge. Ensure your browser is updated to avoid compatibility issues that could interfere with auto-save.
2.3 Browser Extensions
Some browser extensions can interfere with the functionality of Google Slides, including the auto-save feature. If you experience issues with saving, try disabling extensions one by one to identify if any are causing the problem. Ad blockers, script blockers, and privacy extensions are common culprits.
2.4 Google Drive Sync Issues
Occasionally, Google Drive may experience sync issues that prevent files from saving correctly. If you suspect a problem with Google Drive, check the Google Workspace Status Dashboard for any reported outages or disruptions. Restarting your browser or computer can also help resolve sync issues.
3. Recovering Unsaved Changes in Google Slides
Despite the reliability of auto-save, situations may arise where you need to recover unsaved changes. Here’s how to handle such scenarios.
3.1 Checking Version History
Google Slides maintains a detailed version history of your presentations. This feature allows you to revert to previous versions of your file, making it invaluable for recovering accidentally deleted content or unsaved changes.
Steps to Access Version History:
- Open your Google Slides presentation.
- Click on File in the menu bar.
- Select Version history and then See version history.
- A sidebar will appear, showing different versions of your presentation with timestamps.
- Click on a version to preview it.
- If you find the version you want to restore, click Restore this version at the top.
3.2 Temporary Files and Browser Cache
In some cases, your browser may store temporary files or cache data that contains recent changes. Although not always reliable, checking these locations can sometimes help recover unsaved work.
Steps to Check Browser Cache:
- Open your browser’s settings or preferences.
- Look for the option to clear browsing data or cache.
- Before clearing, make sure to select only the cache and temporary files.
- After clearing, restart your browser and reopen your Google Slides presentation to see if any recent changes are recovered.
3.3 Offline Access
If you’ve enabled offline access for Google Slides, your changes may be stored locally on your device until an internet connection is re-established.
Enabling Offline Access:
- Open Google Drive.
- Click the Settings icon (gear icon) in the top right corner.
- Select Settings.
- In the Offline section, check the box for Create, open, and edit your recent Google Docs, Sheets, and Slides files on this device while offline.
- Click Done.
With offline access enabled, any changes made while offline will sync to Google Drive once you reconnect to the internet.
4. Optimizing Google Slides for Better Performance
To ensure Google Slides runs smoothly and auto-save functions effectively, consider these optimization tips.
4.1 Reduce File Size
Large presentations with many images and videos can slow down Google Slides and affect auto-save performance. Reducing the file size can improve overall performance.
Methods to Reduce File Size:
- Compress Images: Use image compression tools to reduce the size of images in your presentation without significantly affecting quality.
- Optimize Videos: Use compressed video formats or link to videos hosted on platforms like YouTube rather than embedding large video files directly into your slides.
- Remove Unnecessary Elements: Delete any unused slides, images, or formatting elements that contribute to file size.
4.2 Close Unnecessary Tabs
Having too many tabs open in your browser can consume system resources and slow down Google Slides. Close any unnecessary tabs to free up memory and processing power.
4.3 Update Your System
Ensure your operating system and device drivers are up to date. Updates often include performance improvements and bug fixes that can enhance the performance of Google Slides.
4.4 Clear Browser Cache Regularly
Clearing your browser cache regularly can prevent performance issues. Cached data can accumulate over time and slow down your browser, affecting the responsiveness of Google Slides.
5. Best Practices for Collaborative Presentations
Collaborating on Google Slides presentations can be highly efficient, but it’s essential to follow best practices to avoid conflicts and ensure smooth teamwork.
5.1 Communicate Effectively
Clear communication is key to successful collaboration. Use chat, email, or other communication tools to coordinate tasks, discuss changes, and resolve any conflicts that may arise.
5.2 Assign Clear Roles
Assign specific roles and responsibilities to each team member. This helps to avoid duplication of effort and ensures that all aspects of the presentation are covered.
5.3 Use Comments and Suggestions
Google Slides provides powerful commenting and suggestion features. Use these tools to provide feedback, propose changes, and discuss ideas directly within the presentation.
5.4 Avoid Simultaneous Editing
While Google Slides allows multiple users to edit simultaneously, it can sometimes lead to conflicts. Encourage team members to avoid editing the same slides simultaneously to minimize the risk of overwriting each other’s work.
5.5 Regularly Review Version History
Periodically review the version history to track changes and ensure that all edits are accurate and consistent with the overall goals of the presentation.
6. Exploring AI Tools to Enhance Google Slides
AI tools can significantly enhance your Google Slides experience, providing features like automatic slide generation, design suggestions, and content enhancement. Here are some top AI tools to consider:
6.1 Plus AI for Google Slides
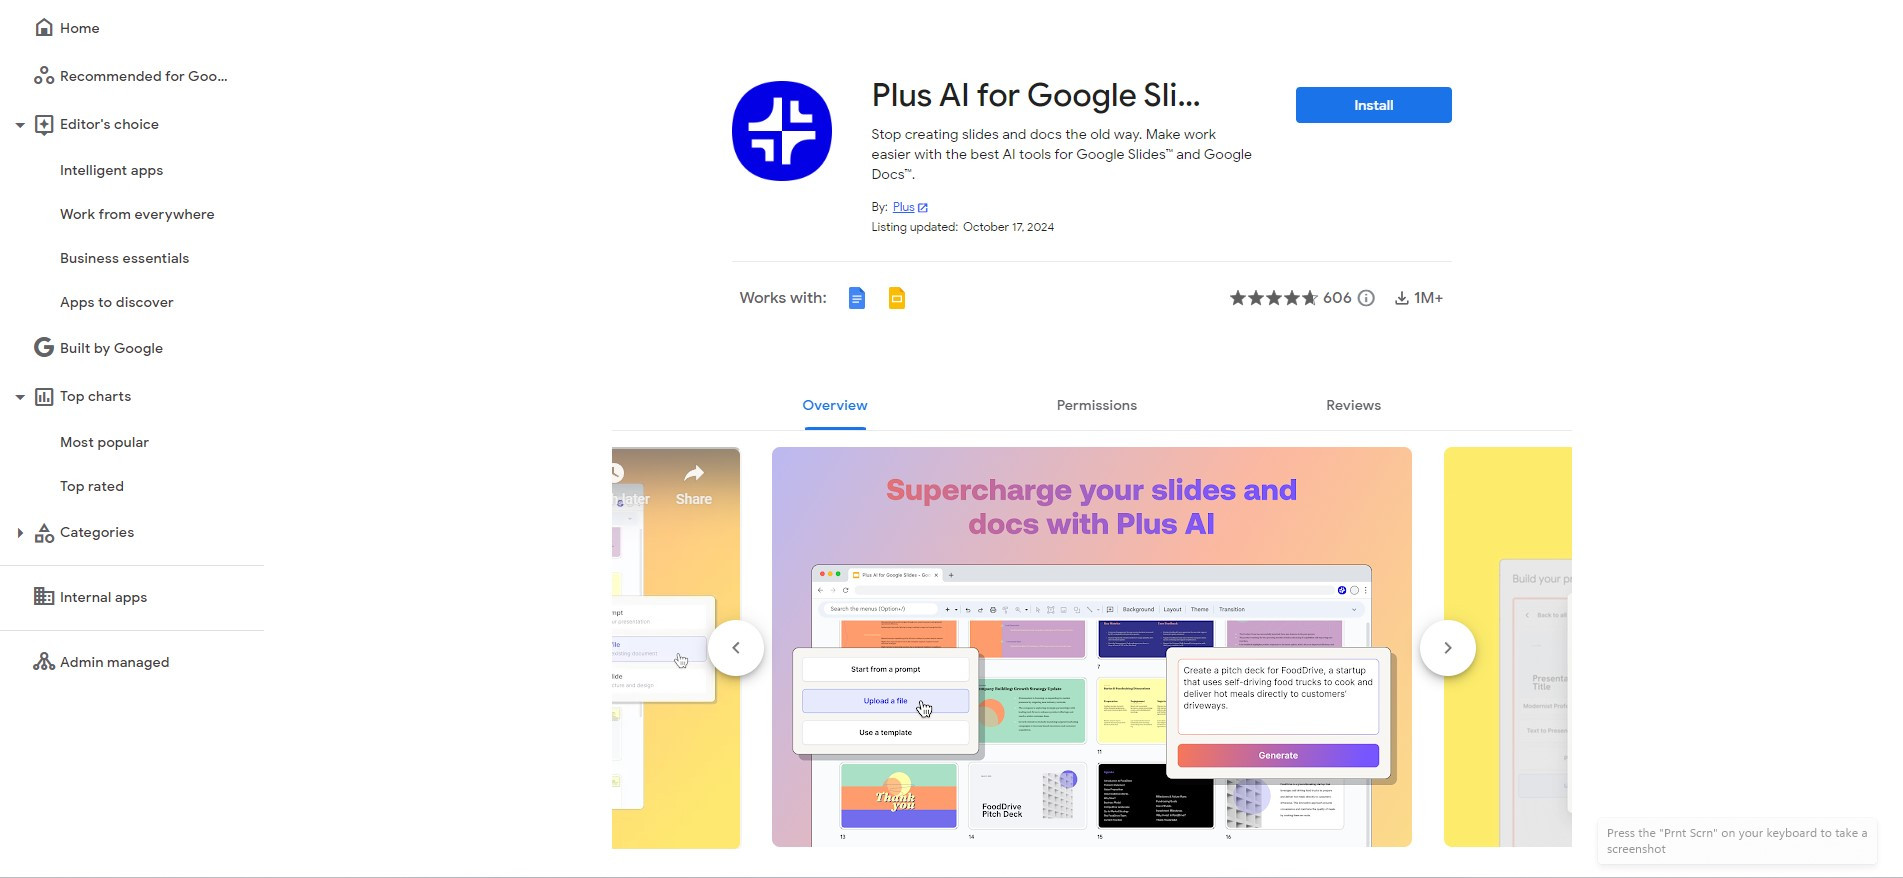 Plus, AI for Google Slides
Features:
- AI-Powered Slide Generation: Generates full presentations or individual slides from scratch based on your input.
- Smart Editing and Reformatting: Rewrites existing slides or converts plain text into visually appealing slides.
- Custom Theme Design: Designs custom presentation themes based on your descriptions.
- Multi-Language Support: Supports multiple languages for creating presentations or translating slides.
Pros:
- Seamless integration with Google Slides.
- Time-saving features for quick presentation creation.
- Professional-quality outputs.
- User-friendly interface.
Cons:
- May require a paid subscription for full-feature access.
- Dependency on an internet connection.
6.2 SlidesAI.io
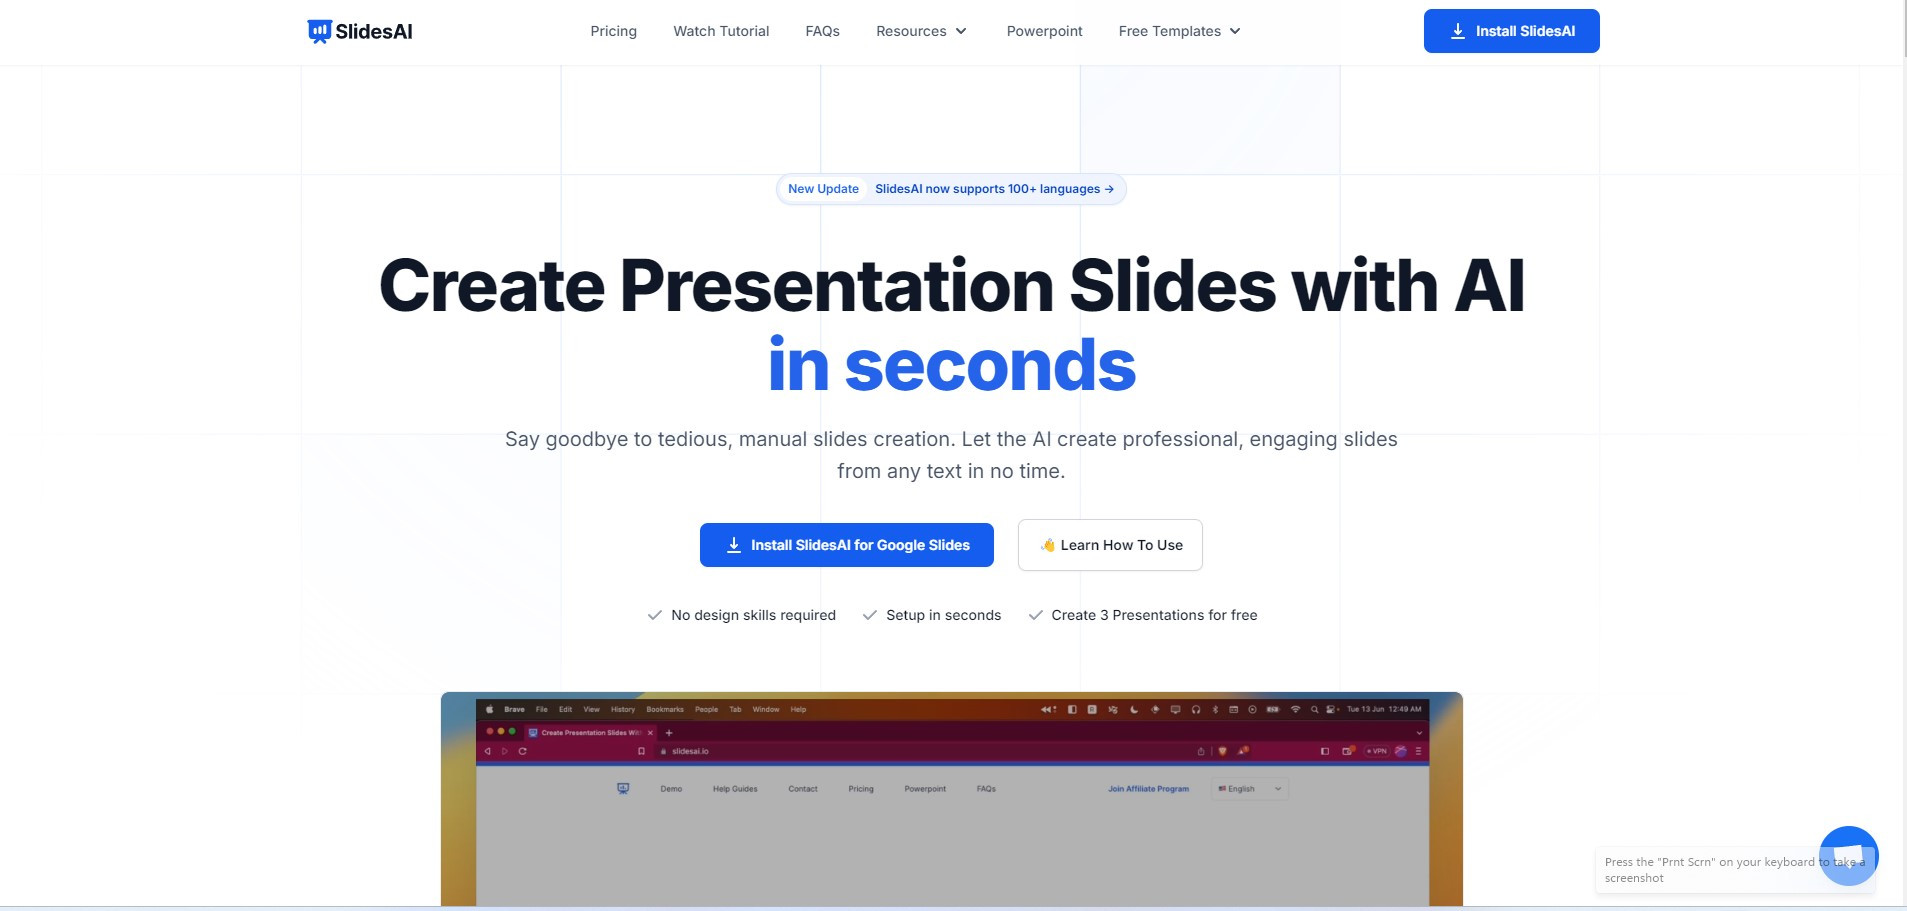 SlidesAI.io
Features:
- Text-to-Slides Conversion: Converts text input into a structured presentation.
- Multiple Presentation Types: Offers various presentation types, including general, educational, sales, and conference presentations.
- AI Image Suggestions: Suggests relevant images for your slides.
- Customizable Color Schemes: Allows users to choose from existing color presets or customize their own.
Pros:
- Easy to use with minimal input required.
- Supports over 100 languages.
- Time-efficient for converting existing content into presentations.
Cons:
- Limited control over specific design elements.
- May require fine-tuning of AI-generated content.
6.3 Gamma
 Gamma
Gamma
Features:
- AI-Powered Content Generation: Generates presentations based on simple prompts.
- Interactive Presentation Formats: Creates interactive and web-like presentations.
- Collaborative Editing: Supports real-time collaboration.
- Data Visualization: Interprets data and creates visually appealing charts and graphs.
Pros:
- Innovative approach to presentation creation.
- Versatile output formats (presentations, documents, websites).
- User-friendly interface.
Cons:
- May not integrate directly with Google Slides, requiring export/import.
6.4 MagicSlides
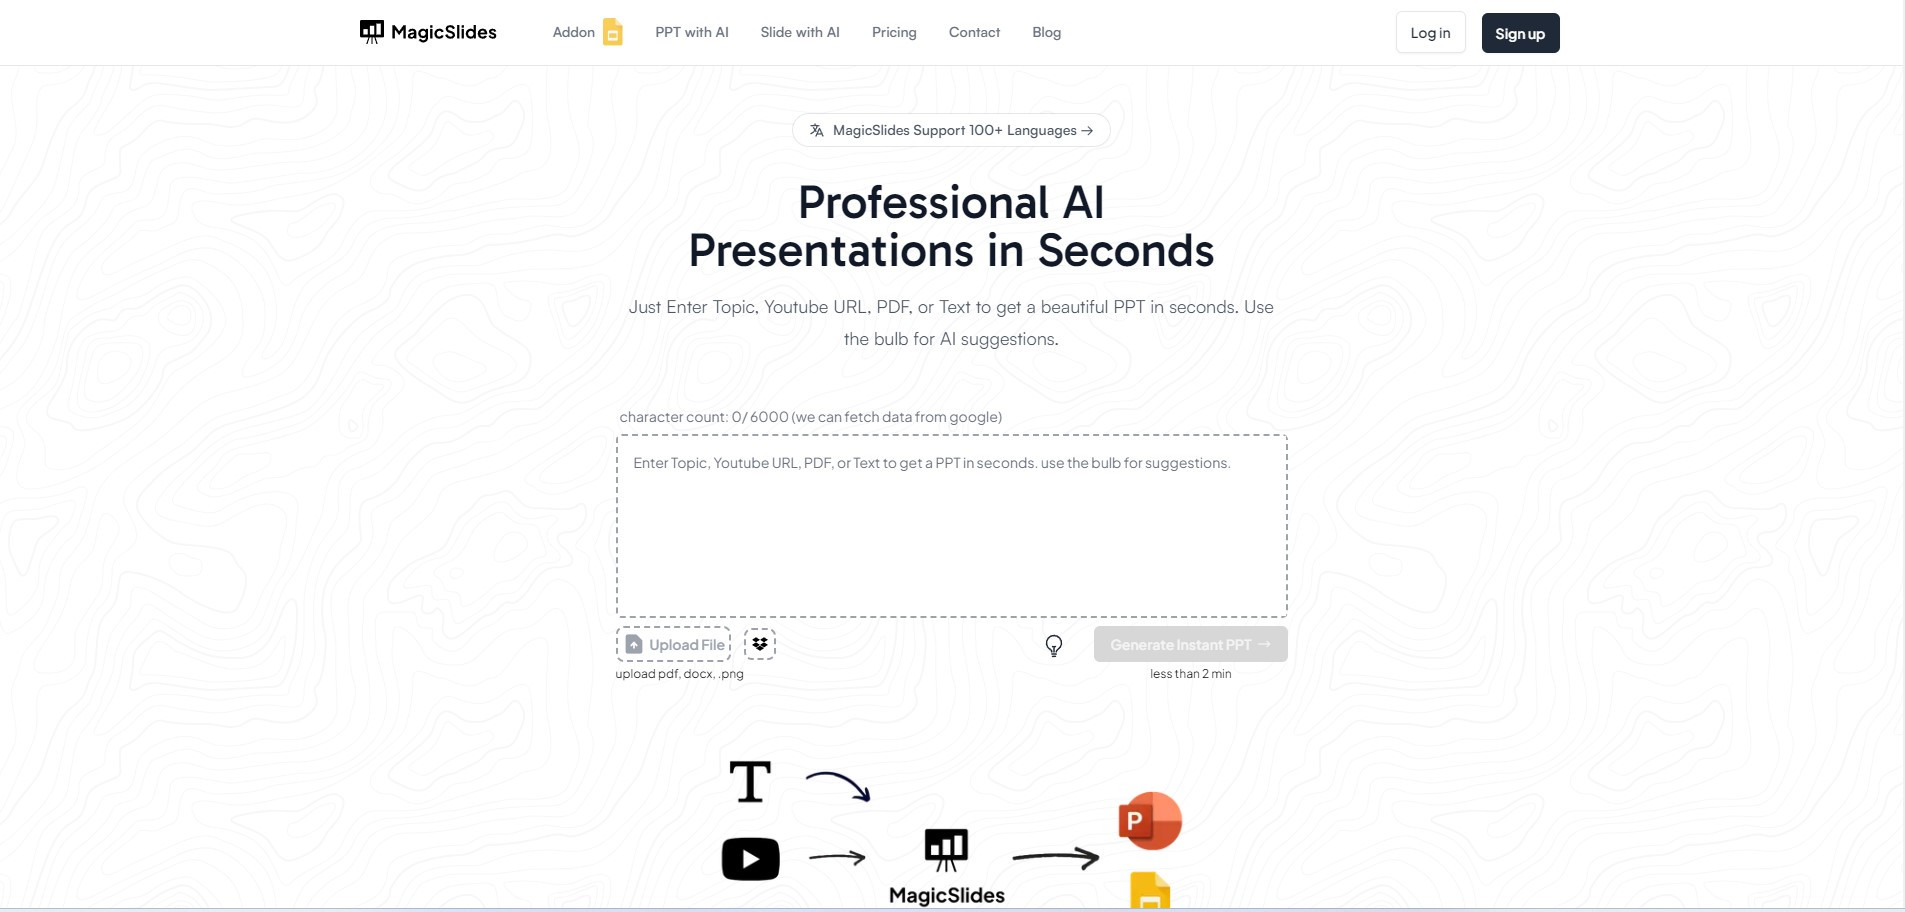 MagicSlides
Features:
- AI-Driven Slide Creation: Generates entire slide decks or individual slides based on user prompts.
- Smart Layout Suggestions: Suggests appropriate layouts to present your information effectively.
- Content Enhancement: Rewrites and refines your slide content.
- Image and Icon Integration: Suggests and integrates relevant images and icons.
Pros:
- Direct integration with Google Slides.
- Easy-to-use interface.
- Time-saving features.
Cons:
- May have limitations in complex design customizations.
- Requires internet connection for AI features.
7. Saving Money While Using Google Slides
Using Google Slides not only enhances your presentation creation but also offers cost-effective benefits. Here are ways to save money while using Google Slides:
7.1 Leverage Free Templates
Google Slides offers a variety of free templates for different types of presentations. These templates save you time and effort in designing slides from scratch. Take advantage of these pre-designed layouts to create professional-looking presentations without incurring design costs.
7.2 Utilize Free Graphics and Images
Enhance your presentations with free graphics and images from resources like Unsplash, Pexels, and Pixabay. These platforms offer a wide range of high-quality visuals that you can use without paying for stock photos.
7.3 Collaborate Effectively
Google Slides’ collaboration features allow multiple users to work on the same presentation simultaneously. This eliminates the need for multiple licenses or software copies, saving your organization money. Effective collaboration also reduces the time spent on revisions and edits.
7.4 Store Presentations in Google Drive
Google Slides presentations are stored in Google Drive, which offers free storage space. This eliminates the need for expensive external storage devices or cloud storage subscriptions. Utilize Google Drive’s storage capabilities to keep your presentations organized and accessible from anywhere.
7.5 Use keyboard shortcuts
Mastering keyboard shortcuts can significantly speed up your workflow and reduce the time spent on presentation tasks. Here are some essential shortcuts:
General:
Ctrl + C(orCmd + Con Mac): CopyCtrl + X(orCmd + Xon Mac): CutCtrl + V(orCmd + Von Mac): PasteCtrl + Z(orCmd + Zon Mac): UndoCtrl + Y(orCmd + Yon Mac): RedoCtrl + A(orCmd + Aon Mac): Select AllCtrl + F(orCmd + Fon Mac): FindCtrl + K(orCmd + Kon Mac): Insert LinkCtrl + S(orCmd + Son Mac): Although Google Slides auto-saves, this can still be used to ensure the latest version is saved.Ctrl + P(orCmd + Pon Mac): Print
Navigation:
Up Arrow: Move selection upDown Arrow: Move selection downLeft Arrow: Move selection leftRight Arrow: Move selection rightPage Up: Go to previous slidePage Down: Go to next slideHome: Go to first slideEnd: Go to last slide
Formatting:
Ctrl + B(orCmd + Bon Mac): BoldCtrl + I(orCmd + Ion Mac): ItalicCtrl + U(orCmd + Uon Mac): UnderlineCtrl + [(orCmd + [on Mac): Decrease font sizeCtrl + ](orCmd + ]on Mac): Increase font sizeCtrl + Shift + L(orCmd + Shift + Lon Mac): Left alignCtrl + Shift + E(orCmd + Shift + Eon Mac): Center alignCtrl + Shift + R(orCmd + Shift + Ron Mac): Right alignCtrl + Shift + J(orCmd + Shift + Jon Mac): Justify alignCtrl + Shift + 7(orCmd + Shift + 7on Mac): Numbered listCtrl + Shift + 8(orCmd + Shift + 8on Mac): Bulleted list
Slide Manipulation:
Ctrl + M(orCmd + Shift + Mon Mac): Insert new slideCtrl + D(orCmd + Don Mac): Duplicate selected object or slideDeleteorBackspace: Delete selected object or slide
By using these shortcuts, you can significantly cut down on the time spent navigating menus and performing repetitive tasks, allowing you to focus more on content and design.
8. Addressing Common Issues with Google Slides Auto-Save
Even with a robust system, you might encounter occasional issues with Google Slides’ auto-save feature. Here’s how to troubleshoot some common problems:
8.1 Slow Saving or Syncing
Issue: Changes take a long time to save, or the presentation doesn’t seem to sync properly.
Solutions:
- Check Internet Connection: Ensure you have a stable and strong internet connection.
- Reduce File Size: Large images and videos can slow down the saving process. Compress media or use linked resources.
- Close Unnecessary Tabs: Too many open tabs can consume system resources and slow down your browser.
- Clear Browser Cache: Accumulated cache data can cause performance issues.
8.2 Changes Not Saving
Issue: You make edits, but they don’t appear to be saved.
Solutions:
- Check Save Status: Look for the “All changes saved in Drive” message at the top of the screen. If it says “Saving…” for an extended period, there might be an issue.
- Refresh the Page: Sometimes, simply refreshing the browser page can resolve syncing issues.
- Try a Different Browser: Use a different browser to see if the problem persists.
- Disable Browser Extensions: Some extensions can interfere with Google Slides’ functionality.
8.3 Conflicts During Collaboration
Issue: Multiple users editing the same slide simultaneously can lead to conflicts and lost changes.
Solutions:
- Communicate Clearly: Coordinate with your team to avoid simultaneous editing.
- Use Comments and Suggestions: Provide feedback and propose changes using the commenting feature.
- Review Version History: Regularly check the version history to ensure all edits are accurate.
8.4 Offline Access Issues
Issue: Problems with editing or syncing changes when working offline.
Solutions:
- Enable Offline Access: Ensure offline access is enabled in Google Drive settings.
- Check Sync Status: Once back online, check that all changes have synced properly.
- Restart Google Drive: Restarting Google Drive can help resolve sync issues.
9. Frequently Asked Questions (FAQ) About Google Slides Auto-Save
9.1 Does Google Slides automatically save my work?
Yes, Google Slides automatically saves your work every few seconds to Google Drive. This feature eliminates the need for manual saving and protects your presentations from data loss.
9.2 How often does Google Slides auto-save?
Google Slides auto-saves every few seconds, though the exact interval may vary depending on your internet connection and the size of your presentation.
9.3 Can I manually save my Google Slides presentation?
While Google Slides automatically saves your work, you can manually save a copy by going to File > Make a copy. This creates a separate copy of your presentation.
9.4 How do I recover an older version of my Google Slides presentation?
To recover an older version, go to File > Version history > See version history. You can then select and restore a previous version of your presentation.
9.5 What happens if my internet connection drops while using Google Slides?
If your internet connection drops, Google Slides will attempt to save your changes locally. Once the connection is restored, it will automatically sync your changes to Google Drive.
9.6 Can browser extensions affect Google Slides auto-save?
Yes, some browser extensions can interfere with Google Slides auto-save. Try disabling extensions one by one to see if any are causing the issue.
9.7 Is there a way to disable auto-save in Google Slides?
No, there is no way to disable the auto-save feature in Google Slides. It is designed to ensure your work is always saved and protected.
9.8 How do I ensure my Google Slides are always saved?
To ensure your Google Slides are always saved, maintain a stable internet connection, use a compatible browser, avoid conflicting browser extensions, and regularly check the save status.
9.9 What should I do if Google Slides is not saving my changes?
If Google Slides is not saving your changes, check your internet connection, refresh the page, try a different browser, and disable browser extensions. You can also check Google Drive for any sync issues.
9.10 Does Google Slides offline access affect auto-save?
Yes, with offline access enabled, changes made while offline are stored locally and synced to Google Drive once you reconnect to the internet, ensuring your work is saved.
10. Save Money with Google Slides and Savewhere.net
Leveraging Google Slides for presentations can be a cost-effective solution for individuals and businesses. By taking advantage of its auto-save feature, free templates, and collaborative tools, you can create professional presentations without spending a fortune on additional software or services. Google Slides ensures your work is always backed up, allowing you to focus on delivering impactful presentations with confidence.
At Savewhere.net, we’re dedicated to helping you save money and make the most of your resources. Whether you’re a student, professional, or business owner, our platform offers valuable tips and strategies for managing your finances effectively. Explore our website to discover more ways to save money, find great deals, and achieve your financial goals.
Ready to unlock more savings and financial opportunities? Visit Savewhere.net today and start your journey towards financial success!
Address: 100 Peachtree St NW, Atlanta, GA 30303, United States
Phone: +1 (404) 656-2000
Website: savewhere.net
