When you’re craving crispy, delicious egg rolls, the first thought might be: “Egg roll wrappers, where to buy?” You’re likely picturing a quick trip to the grocery store, grabbing a pack of frozen wrappers, and getting straight to cooking. But what if the best place to get egg roll wrappers isn’t in the freezer aisle at all? What if it’s actually your own kitchen?
While pre-made wrappers are convenient, learning how to make egg roll wrappers at home opens up a world of flavor and freshness you just can’t get from a package. Plus, it’s surprisingly simple! Forget about thawing frozen blocks or dealing with wrappers that crack and tear. With just a few basic ingredients, you can create perfectly pliable and crispy egg roll wrappers that will elevate your homemade Asian dishes to a whole new level.
 Learn how to make egg roll wrappers at home with just 3 ingredients! It
Why Ditch the Store-Bought and Make Your Own Egg Roll Wrappers?
You might be wondering, “If I can easily find Egg Roll Wrappers Where To Buy, why bother making them myself?” It’s a fair question! But homemade egg roll wrappers offer several advantages that make the small effort incredibly worthwhile:
- Unbeatable Freshness: Nothing beats the taste of freshly made. Homemade wrappers have a delicate flavor and texture that pre-packaged versions simply can’t match. They fry up crispier and have a more satisfying bite.
- Cost-Effective: Think about the cost of those store-bought wrappers. Often, you end up using only half the pack and the rest goes to waste. Making them at home with pantry staples like flour, water, and baking powder is significantly cheaper.
- Control Over Ingredients: When you make your own, you know exactly what’s going into your food. No preservatives or mystery ingredients – just simple, wholesome components. This is especially great for those with dietary sensitivities or who prefer clean eating.
- Surprisingly Quick and Easy: The recipe is incredibly straightforward. If you’ve ever made pancakes or crepes, you’ll find this technique very similar. From mixing the batter to cooking the wrappers, the whole process takes less than 15 minutes!
- Superior Texture: Homemade wrappers are designed to be thin and crisp up beautifully when fried. They avoid the sometimes doughy or chewy texture you can get with store-bought options.
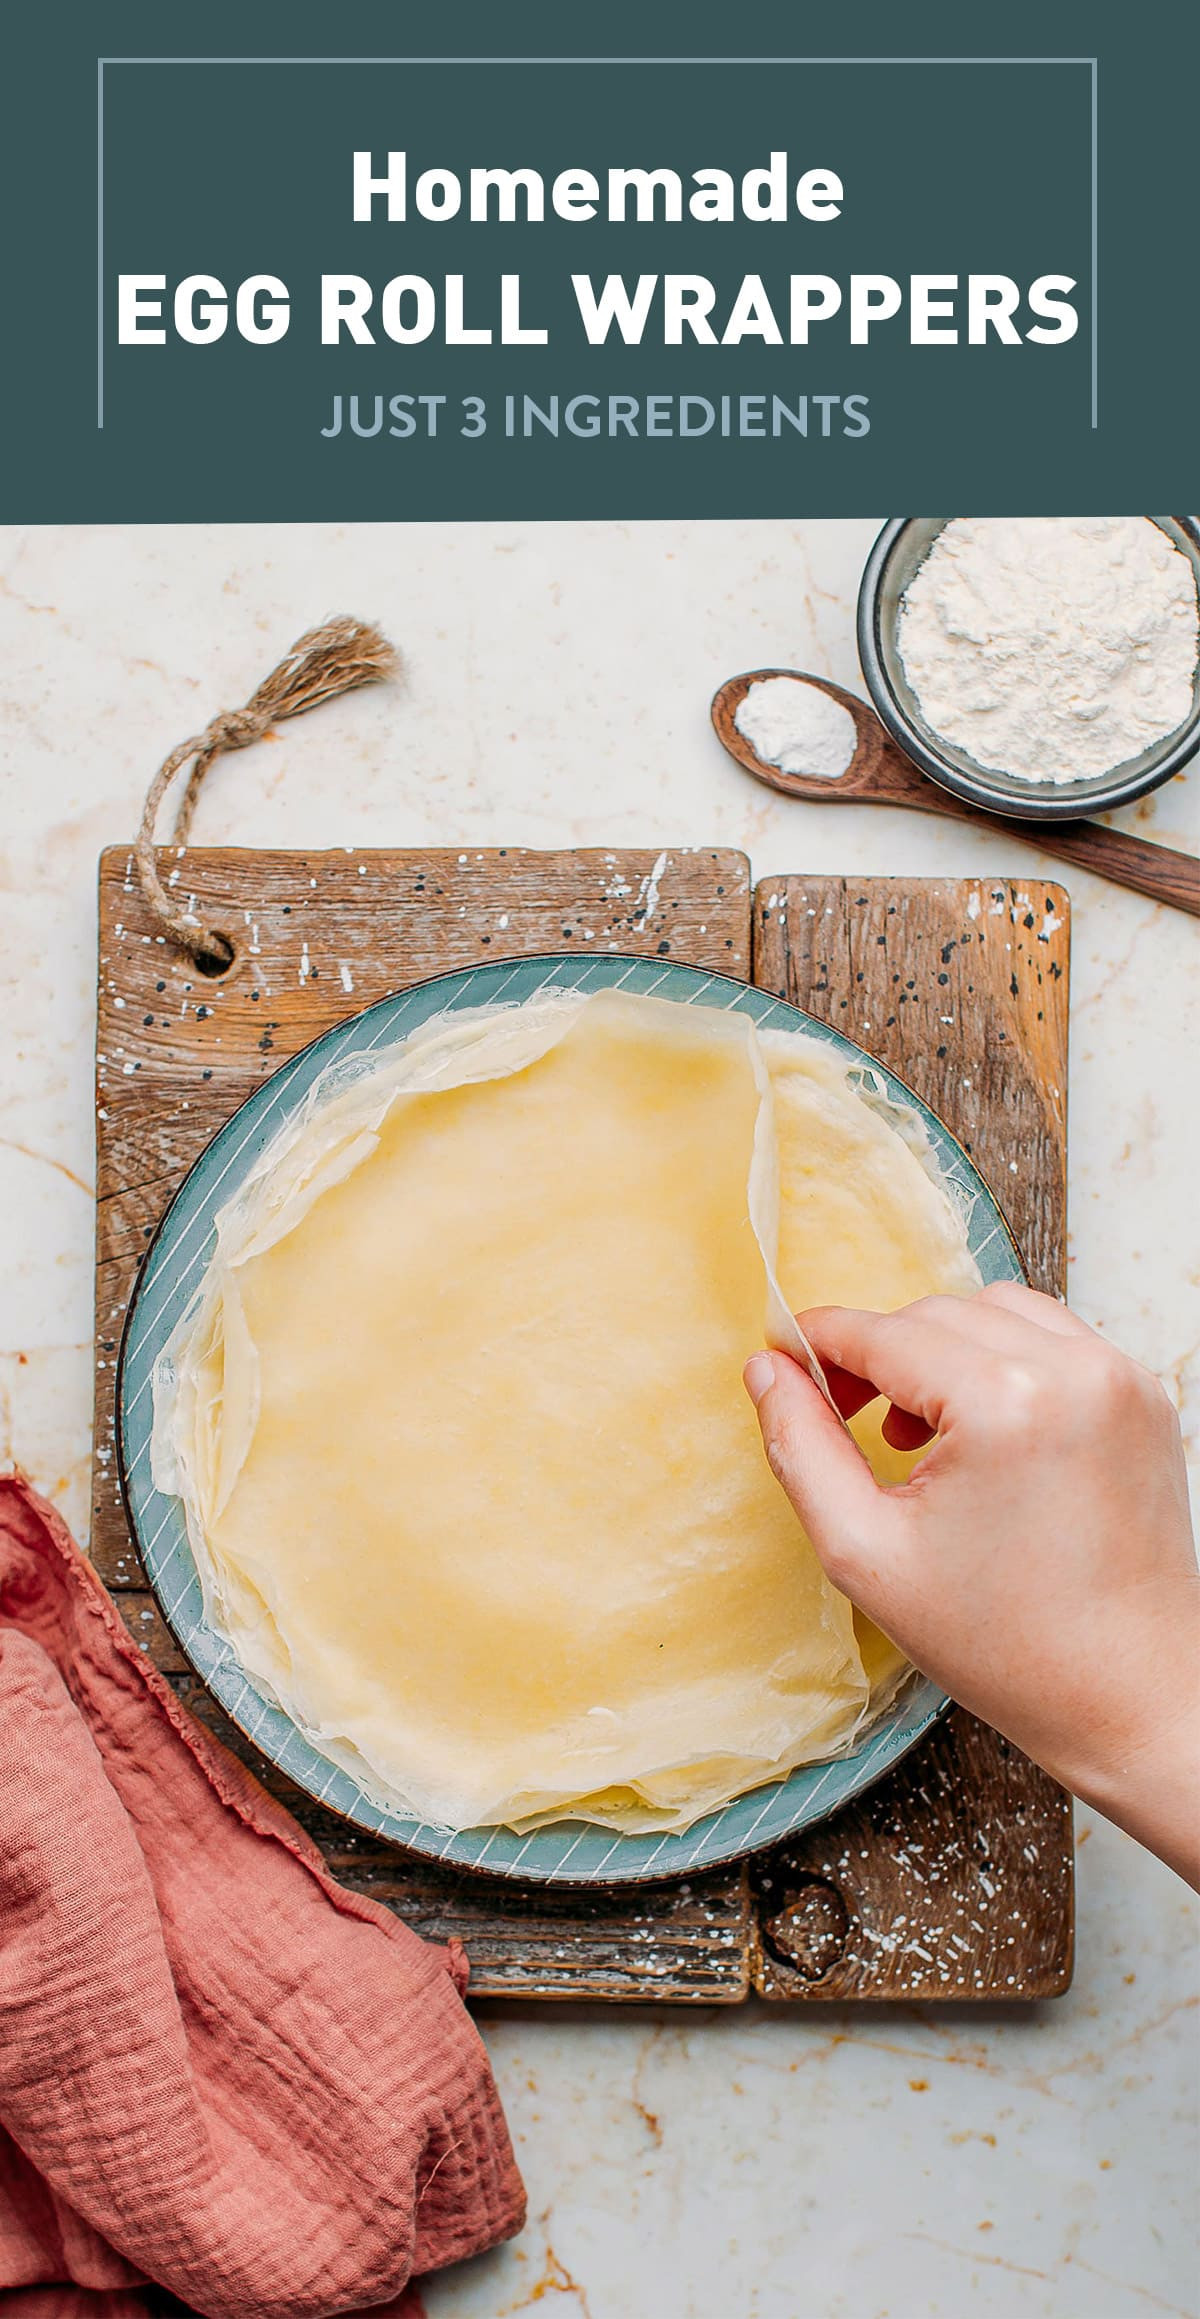
 Homemade egg roll wrappers on a plate.
Simple Ingredients for Perfect Homemade Wrappers
The beauty of this recipe lies in its simplicity. You only need a handful of ingredients, most of which you probably already have in your kitchen:
- All-Purpose Flour: The foundation of our wrappers. All-purpose flour provides the right structure and texture. No need for fancy flours here!
- Water: The liquid component that binds the flour together and creates the batter.
- Baking Powder: This is the secret ingredient for crispy wrappers! Baking powder helps them puff up slightly and achieve that perfect golden-brown color when fried.
- Salt (Optional): A pinch of salt enhances the flavor and balances the overall taste, but it’s not strictly necessary.
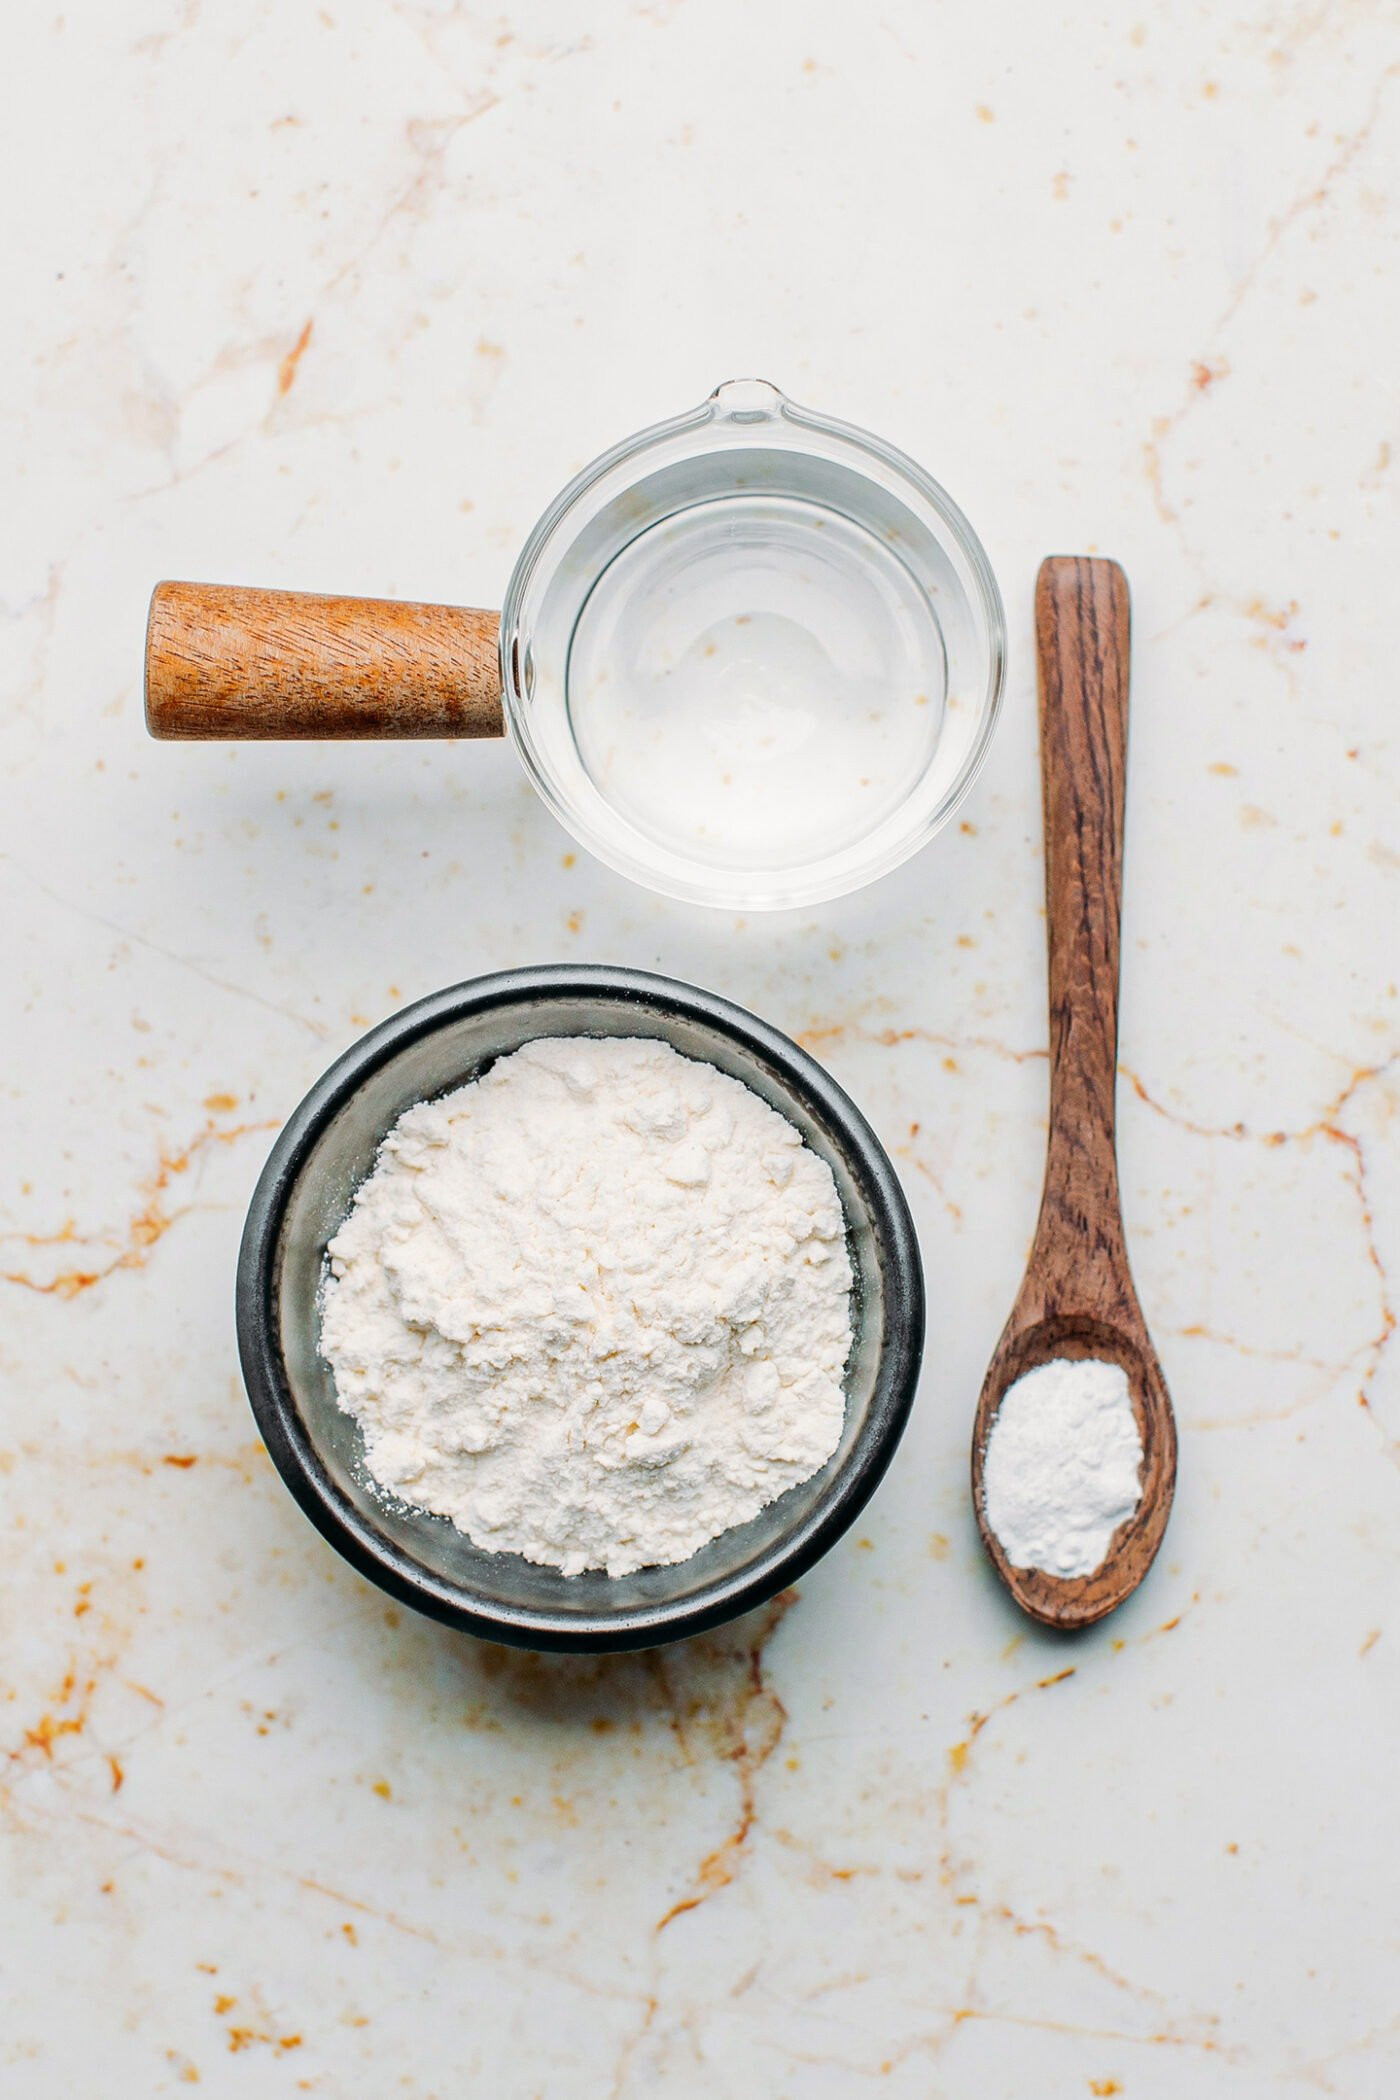 Ingredients like flour, water, and baking powder.
Mastering the Art: How to Make Egg Roll Wrappers Step-by-Step
While some methods for making egg roll wrappers involve rolling out dough or swirling wet batter, this recipe utilizes an easier and more reliable technique: brushing. This method ensures thin, even wrappers every time.
Essential Tools:
- Non-stick Crepe Pan: A non-stick crepe pan is crucial for this recipe. Its shallow sides and even heat distribution make cooking the wrappers a breeze. Avoid using a cast iron pan as it can get too hot and make it difficult to control the cooking process.
- Pastry Brush: A pastry brush is your painting tool for creating these delicate wrappers. A standard pastry brush with natural bristles works best. Silicone brushes are not recommended as they can result in thicker wrappers.
Let’s get started:
- Combine Dry Ingredients: In a mixing bowl, whisk together the all-purpose flour, baking powder, and salt (if using). Ensure they are well combined to avoid clumps.
- Add Water and Whisk: Gradually pour in the water while whisking continuously. Mix until you have a smooth, liquid batter. It will be quite thin, similar to crepe batter – this is exactly what you want! For the smoothest results, especially if you notice any lumps, you can strain the batter through a fine-mesh sieve.
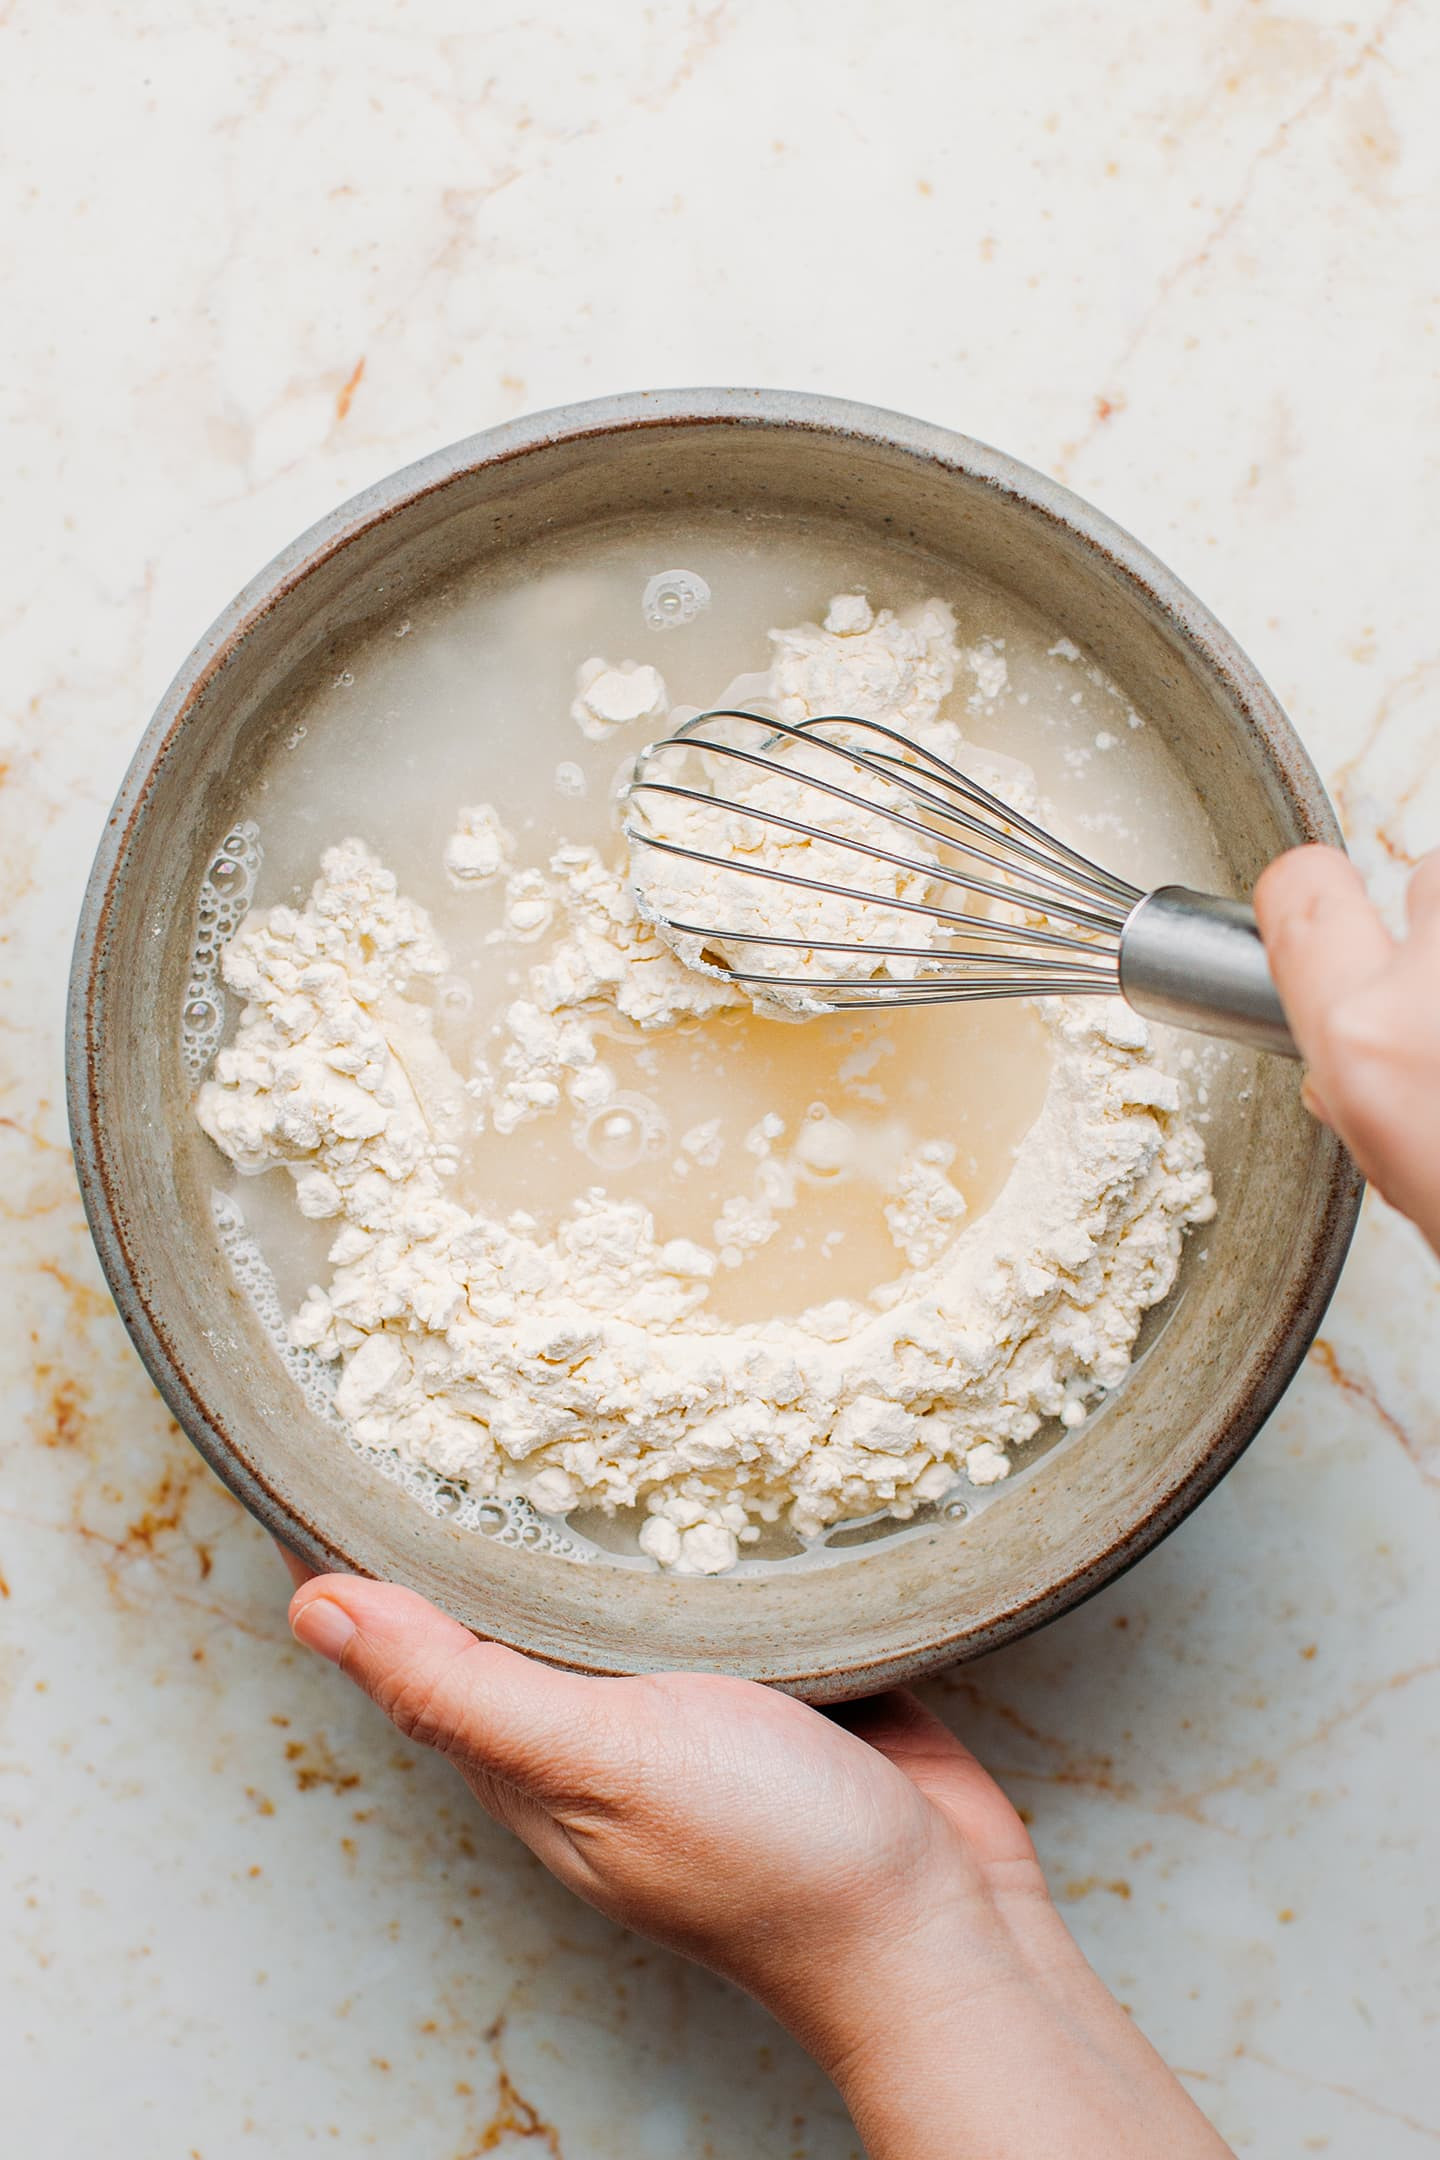 Whisking flour with water in a bowl.
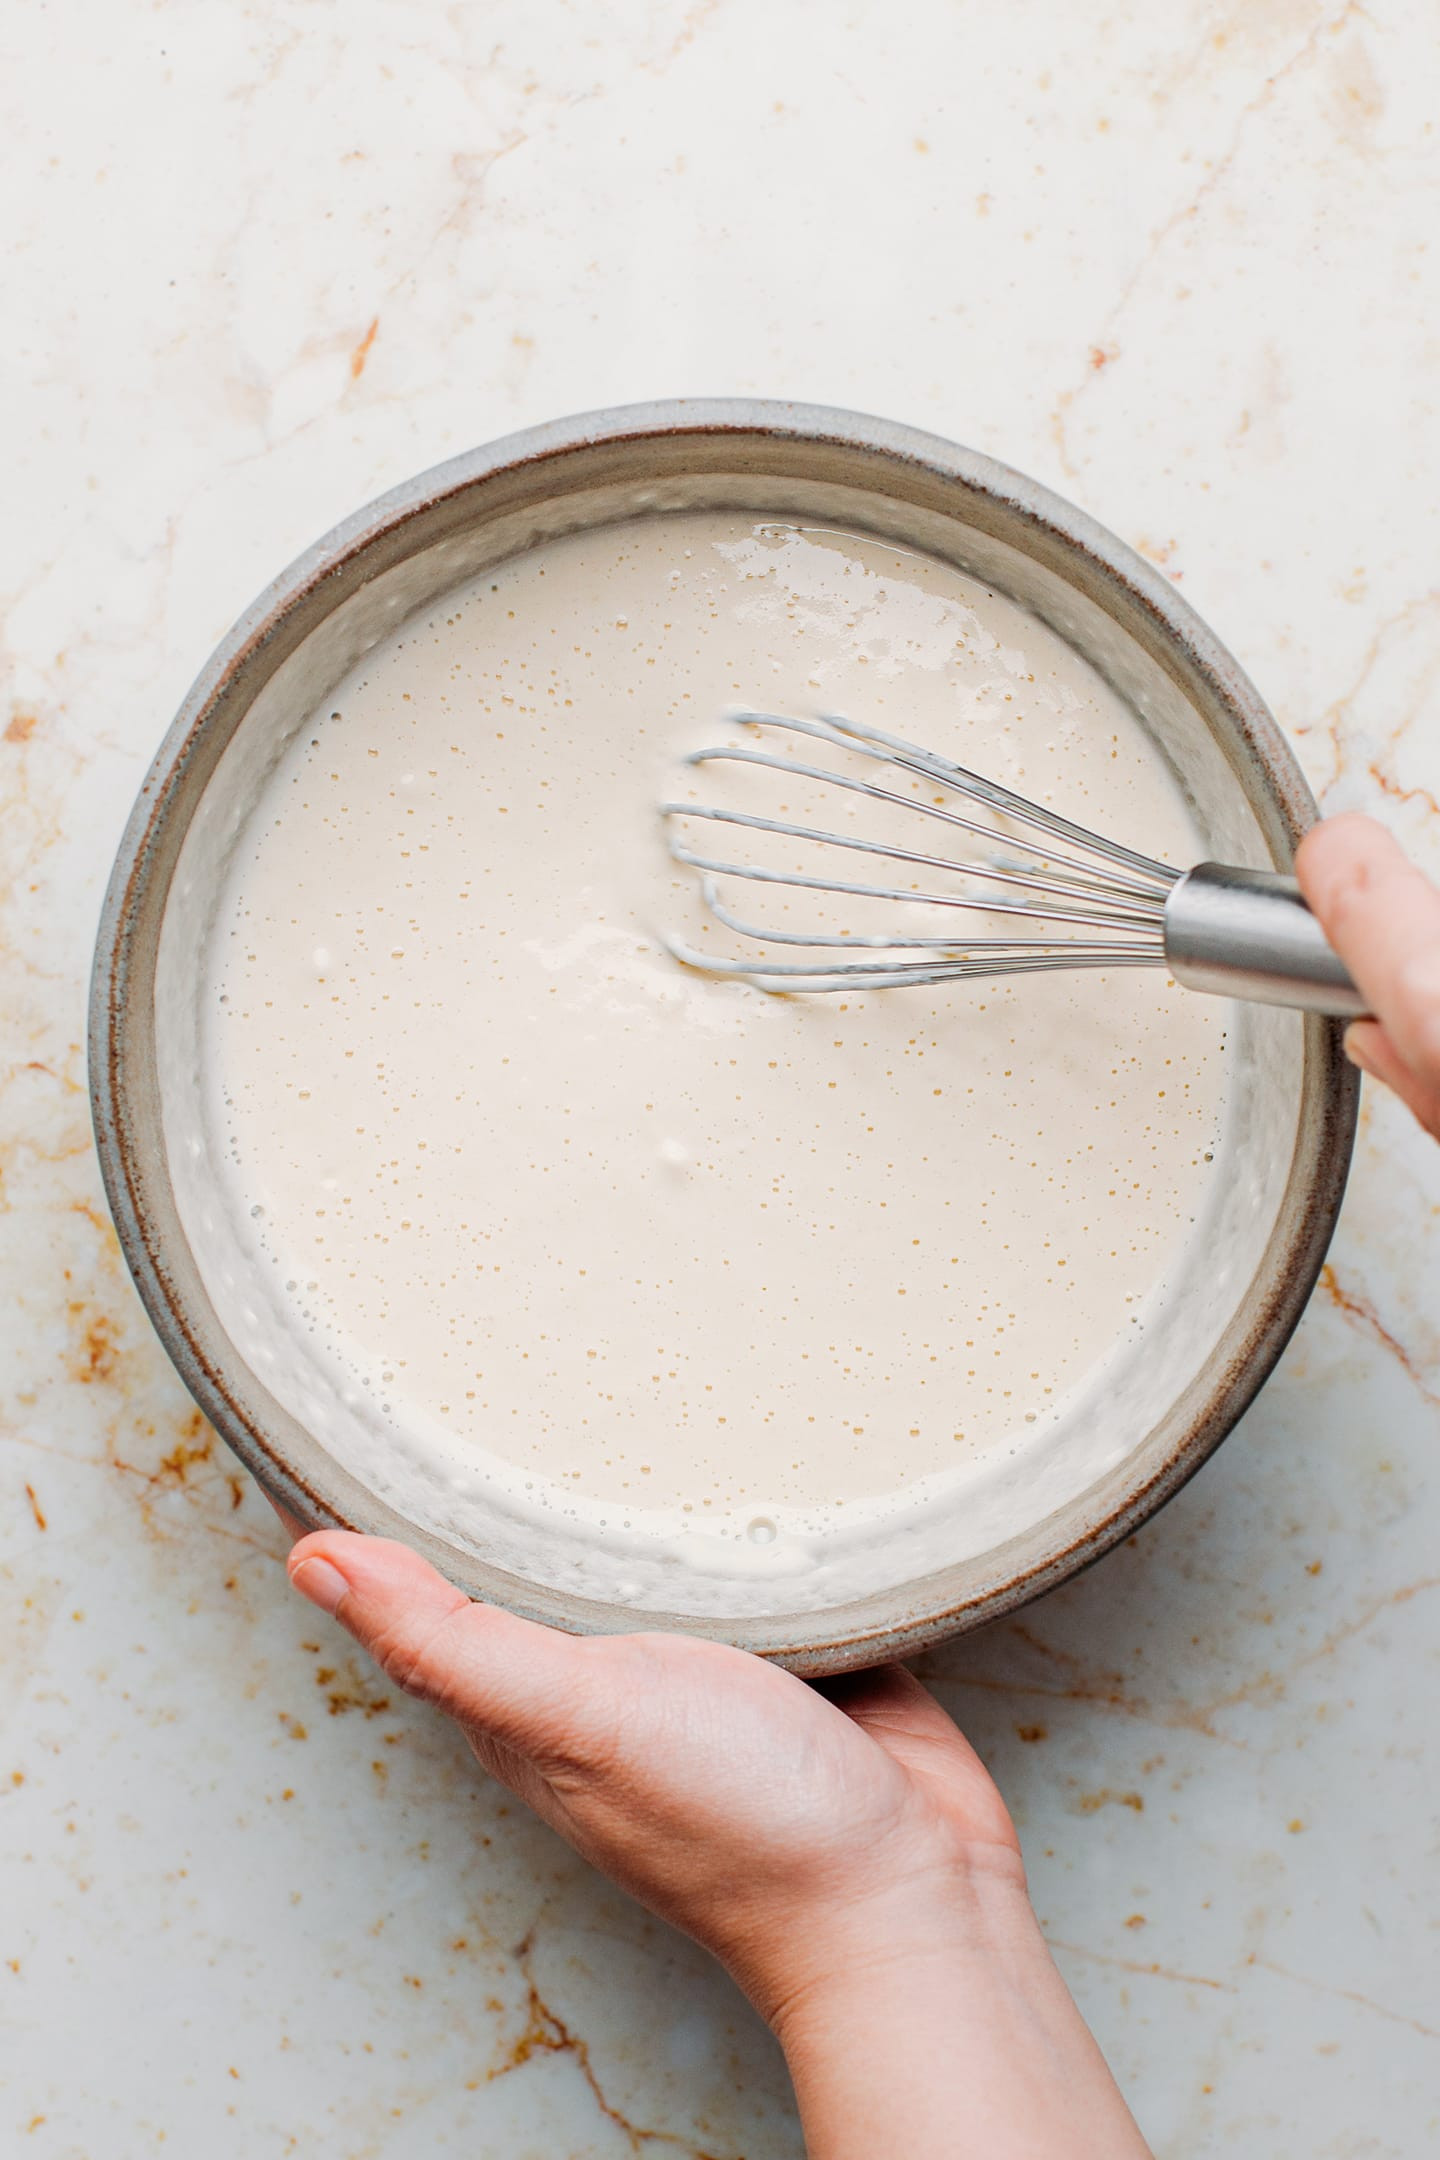 Whisking flour with water, salt, and baking powder in a mixing bowl.
- Heat the Pan: Place your non-stick crepe pan over low-medium heat. It’s important to keep the heat relatively low to give you enough time to brush the batter evenly before it cooks too quickly.
- Brush the Wrapper: Dip your pastry brush into the batter, ensuring it’s well coated. Quickly and lightly brush the batter onto the hot pan in a circular motion, starting from the center and moving outwards. Aim for a circle about 8 inches (20cm) in diameter. Re-dip your brush and continue brushing to fill in any gaps and create an even, thin layer. About 12-15 brushstrokes are usually sufficient. Think of it like painting a delicate circle on the pan.
- Cook Briefly: The wrapper will cook very quickly – within seconds of brushing. As it cooks, the batter will transform from white to a slightly translucent, light yellow color with a matte appearance. Cook for only 15-20 seconds, or just until it sets. Overcooking will make the wrappers dry and brittle, causing them to crack when you try to roll them later.
- Remove from Pan: Using a thin spatula, carefully lift one edge of the wrapper. Gently use your fingers to peel the wrapper away from the pan and transfer it to a plate.
- Clean the Pan: Before making the next wrapper, use a clean paper towel to wipe the pan clean of any batter residue. This ensures each wrapper cooks evenly and doesn’t stick. Repeat the brushing and cooking process with the remaining batter. Remember to clean the pan between each wrapper.
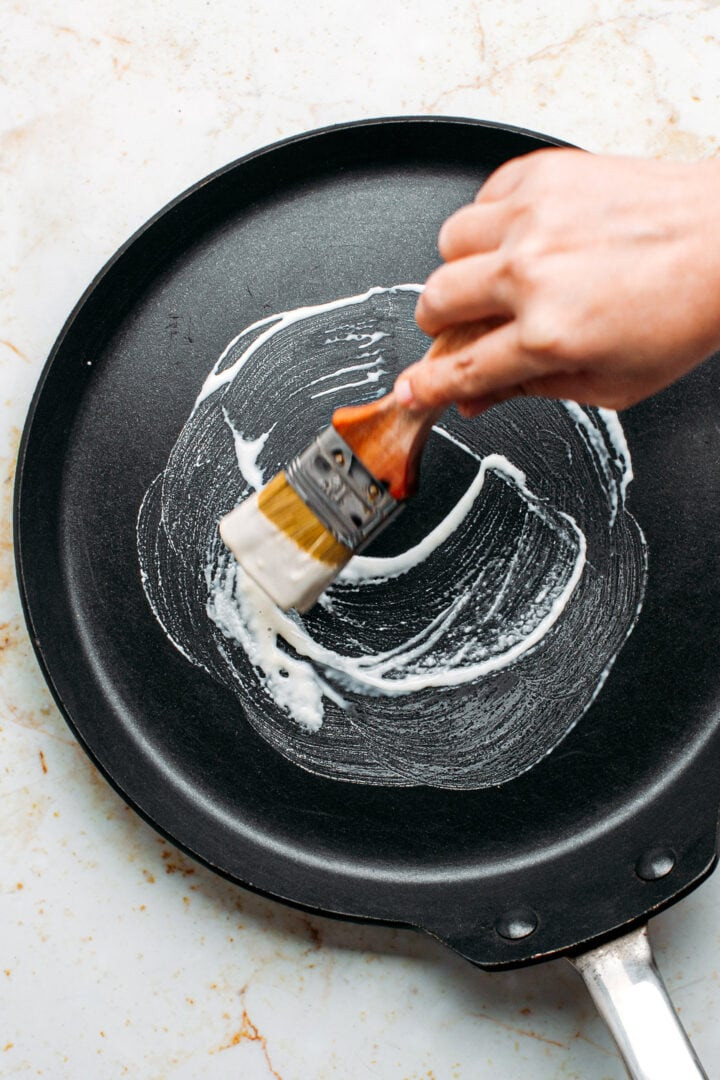 Brushing some flour batter on a non-stick pan.
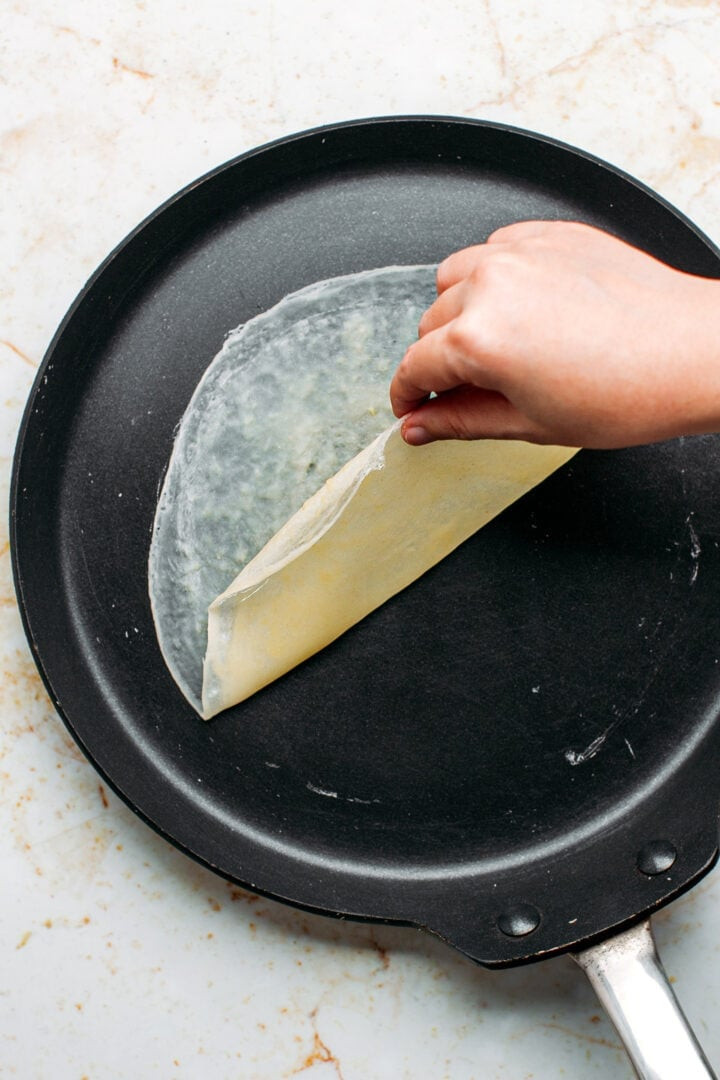 Removing an egg roll wrapper from a pan.
Beyond Egg Rolls: Creative Uses for Your Homemade Wrappers
While perfect for classic egg rolls, these versatile wrappers can be used in a variety of delicious ways:
- Spring Rolls: For a lighter, fresh option, use these wrappers to make spring rolls. Simply fill them with fresh vegetables, herbs, and protein, and serve with a dipping sauce. (Note: These are wheat-based wrappers, not traditional rice paper spring roll wrappers, but they can still be used effectively for a heartier spring roll).
- Samosas: Get creative and use them to make samosa-style pastries filled with spiced potatoes, peas, or lentils.
- Apple Pie Egg Rolls: For a sweet treat, fill them with apple pie filling and fry for a fun dessert.
Storing Your Homemade Egg Roll Wrappers
- Best Used Fresh: Homemade egg roll wrappers are best used the same day you make them. They tend to dry out and become sticky if stored for too long.
- Short-Term Storage: If you need to store them for a few hours, you can keep them at room temperature on a plate, tightly covered with plastic wrap, for up to 12 hours.
- Freezing: Freezing the cooked wrappers is not recommended as they can become soggy upon thawing. However, you can assemble your egg rolls and freeze them before frying.
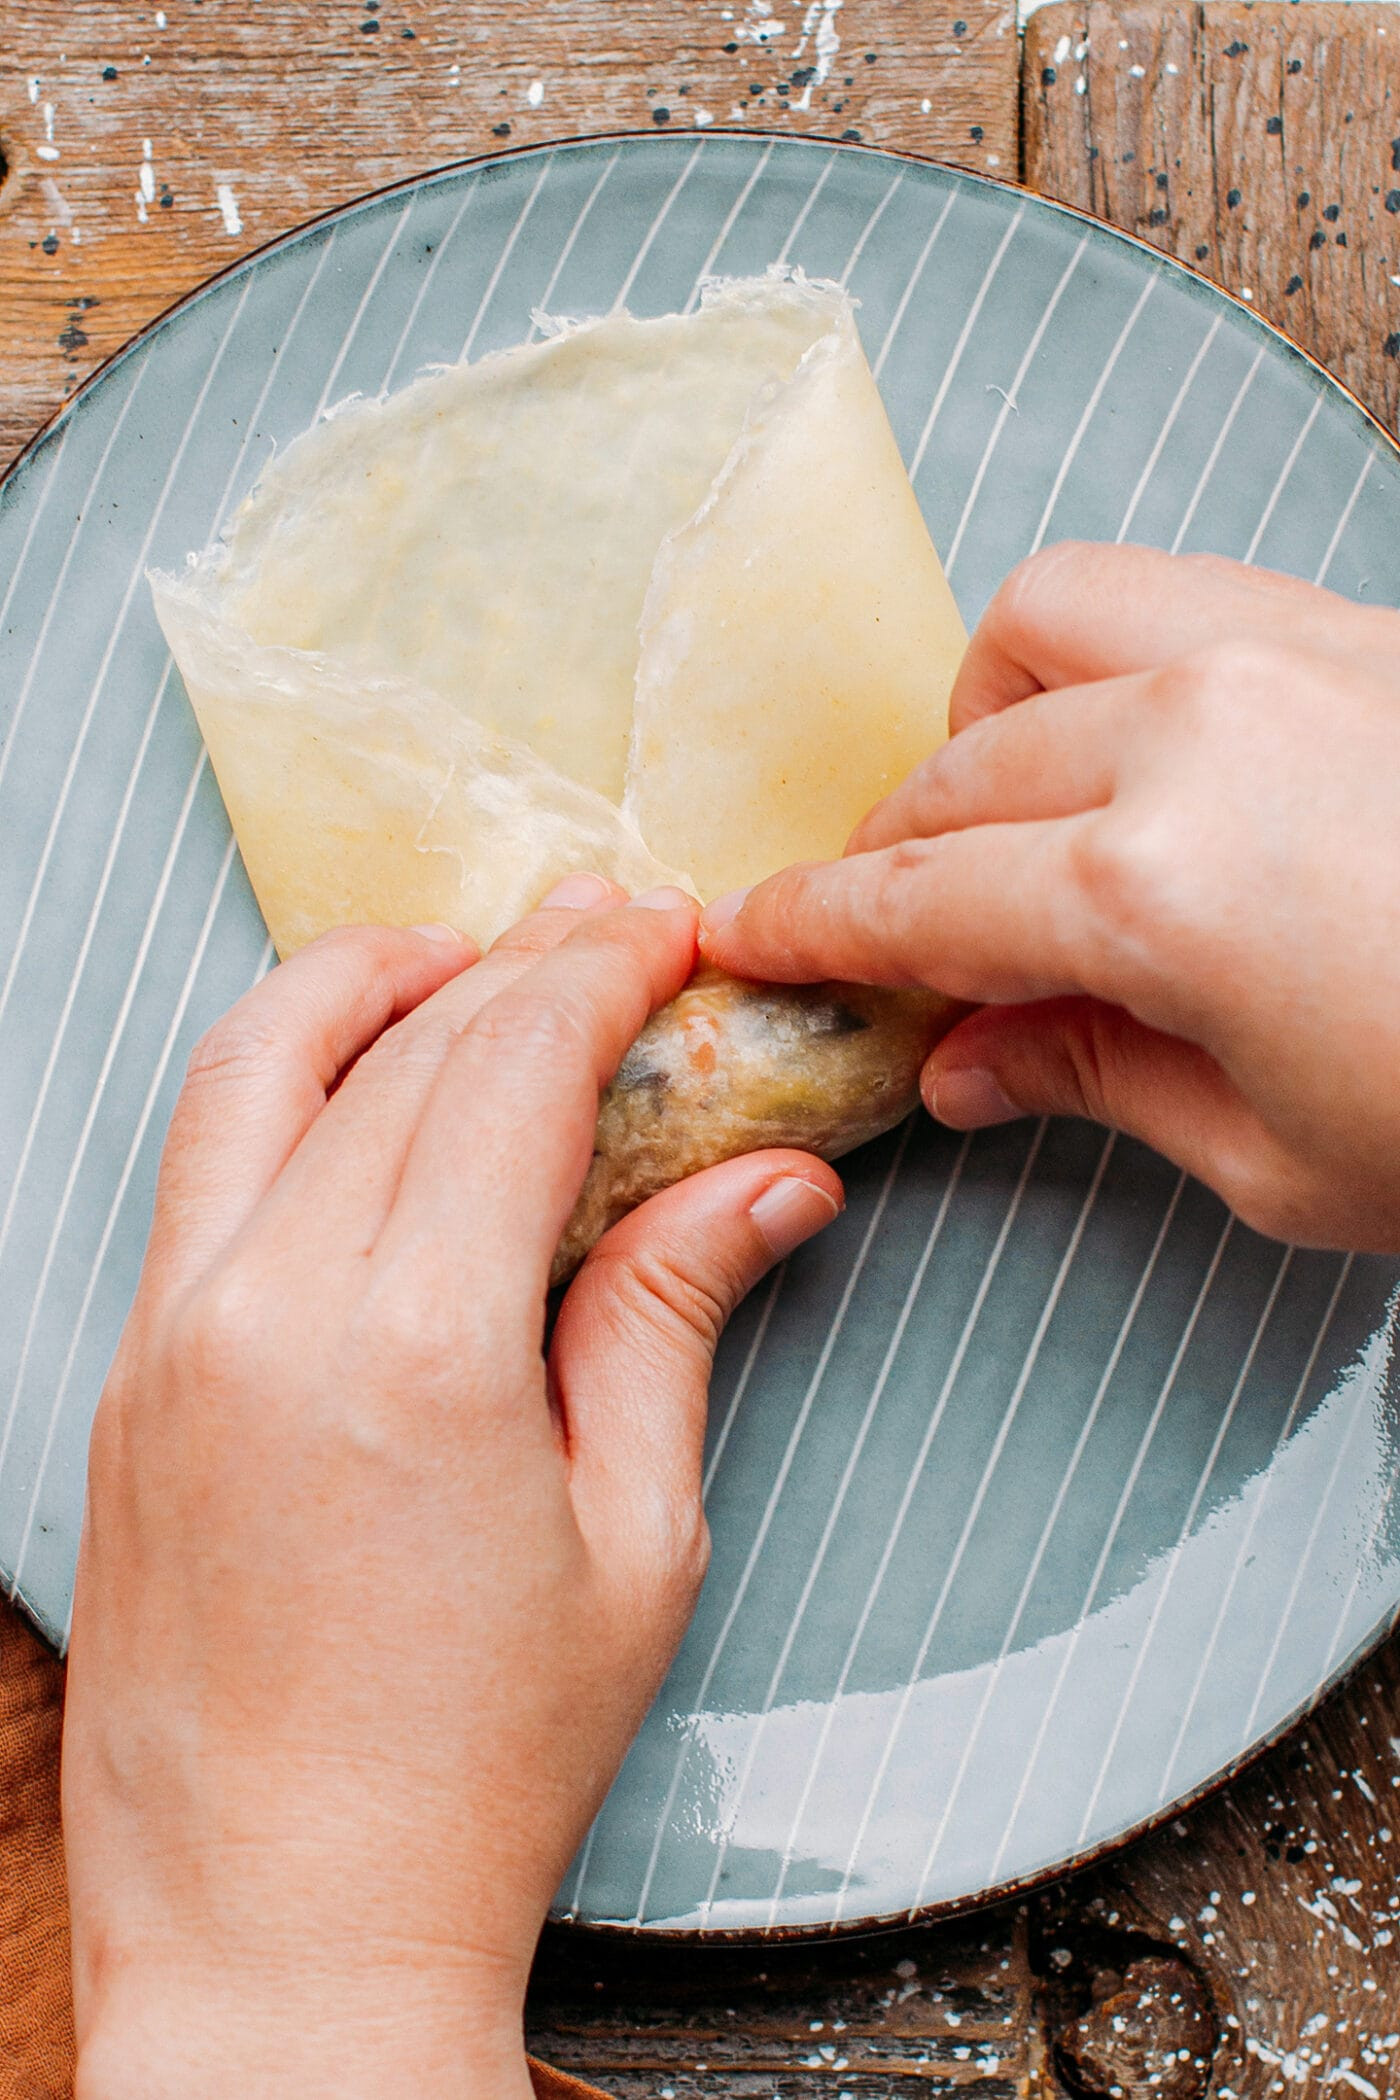 Rolling out an egg roll.
 Close up of an uncooked egg roll.
Tips for Egg Roll Wrapper Success
- Non-Stick Pan is Key: Using a non-stick crepe pan is absolutely essential for this recipe. Since no oil is used during cooking, the non-stick surface prevents the wrappers from sticking and tearing.
- Low to Medium Heat: Maintaining a low to medium heat is crucial. Too high heat will cause the batter to cook too quickly and unevenly, making it difficult to brush and resulting in burnt spots.
- Thickness Matters: Avoid making the wrappers too thin or too thick. Too thin and they will be fragile and tear easily. Too thick and they will be tough and may crack when rolled. Practice makes perfect!
- Use Them Promptly: These wrappers are best used within a few hours of making them. As they sit, they can become sticky and harder to work with. If making ahead, prepare them no more than 3 hours before you plan to use them.
Frequently Asked Questions (FAQs)
Can I make these wrappers gluten-free?
While this recipe is designed for all-purpose flour, you can experiment with a 1:1 gluten-free flour blend. The results may vary slightly in texture, but it should be possible to adapt the recipe for gluten-free diets.
Why use a brush to spread the batter?
The brushing technique is key to achieving ultra-thin wrappers. Pouring the batter would result in thicker, less delicate wrappers. Brushing allows for precise control over the thickness and ensures even cooking.
Can I use a silicone pastry brush?
It’s recommended to use a traditional pastry brush with natural bristles. Silicone brushes tend to create thicker wrappers that are more prone to breaking during frying.
How do I know when the wrappers are cooked?
The wrappers are ready when the batter loses its raw, white appearance and turns a slightly translucent, light yellow color with a matte finish. They should be cooked very briefly, about 15-20 seconds per side.
Can I use these wrappers in an air fryer?
Yes! These homemade wrappers work wonderfully in air fryer recipes. Simply fill and roll your egg rolls, then air fry until golden brown and crispy.
 Close up of a fried vegan egg roll.
So, next time you’re wondering “egg roll wrappers where to buy?”, remember you have an even better option right in your own kitchen! Making your own egg roll wrappers is not only easy and cost-effective, but it also delivers superior taste and texture. Give this simple recipe a try and you’ll be amazed at how much better homemade egg rolls (and more!) can be!
Explore More Asian-Inspired Recipes

⭐️ Enjoyed this recipe? Share your thoughts in the comments below! And don’t forget to tag us on Facebook, Instagram, or Pinterest!
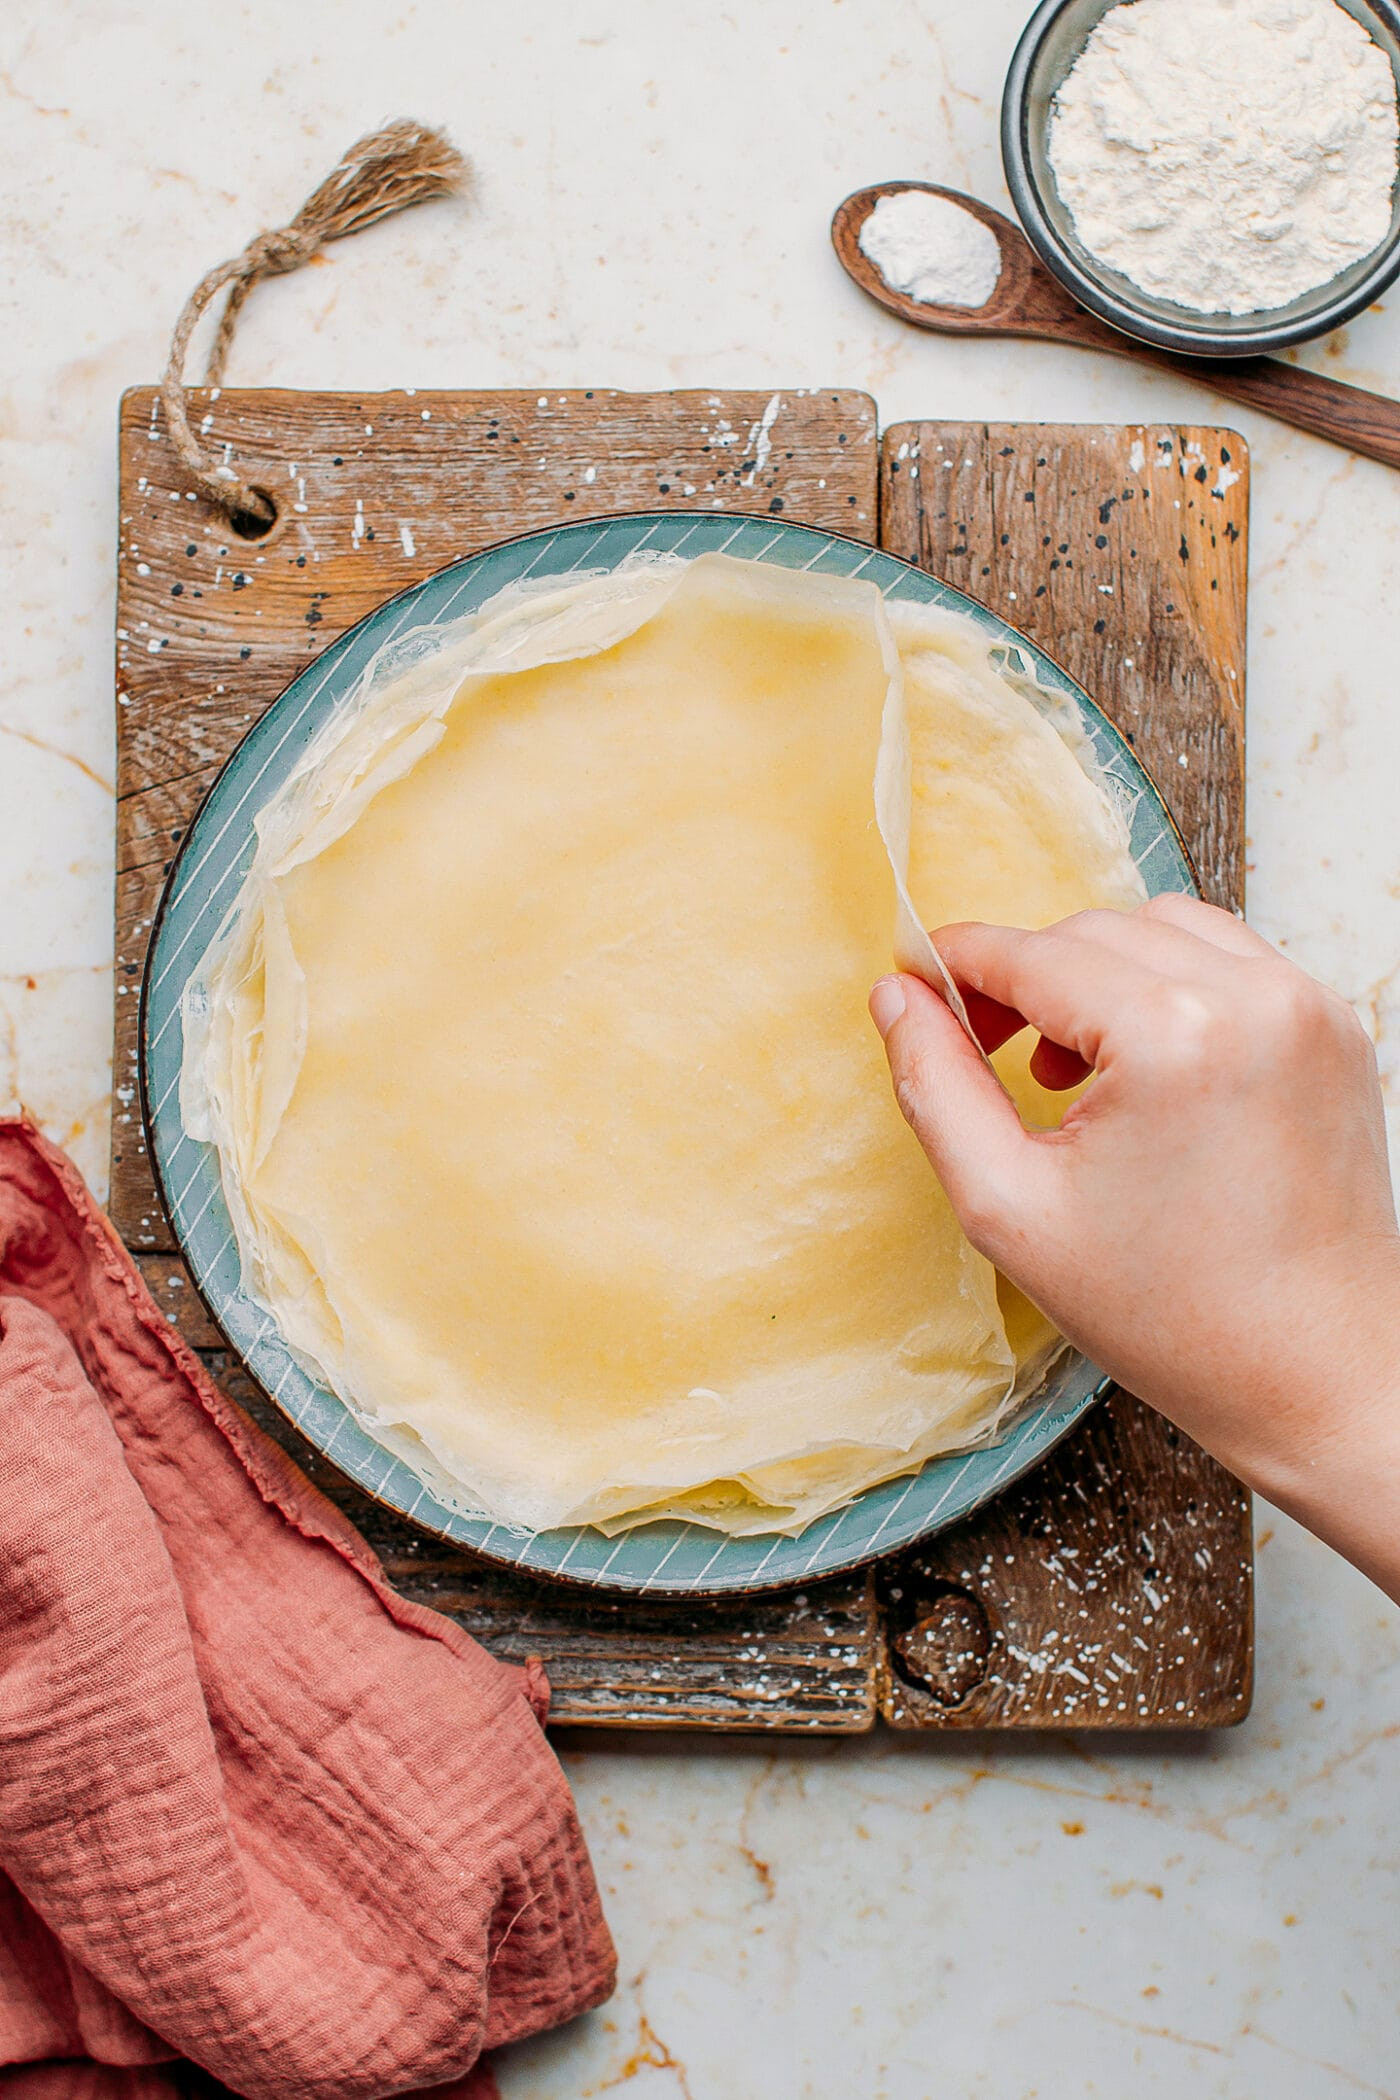
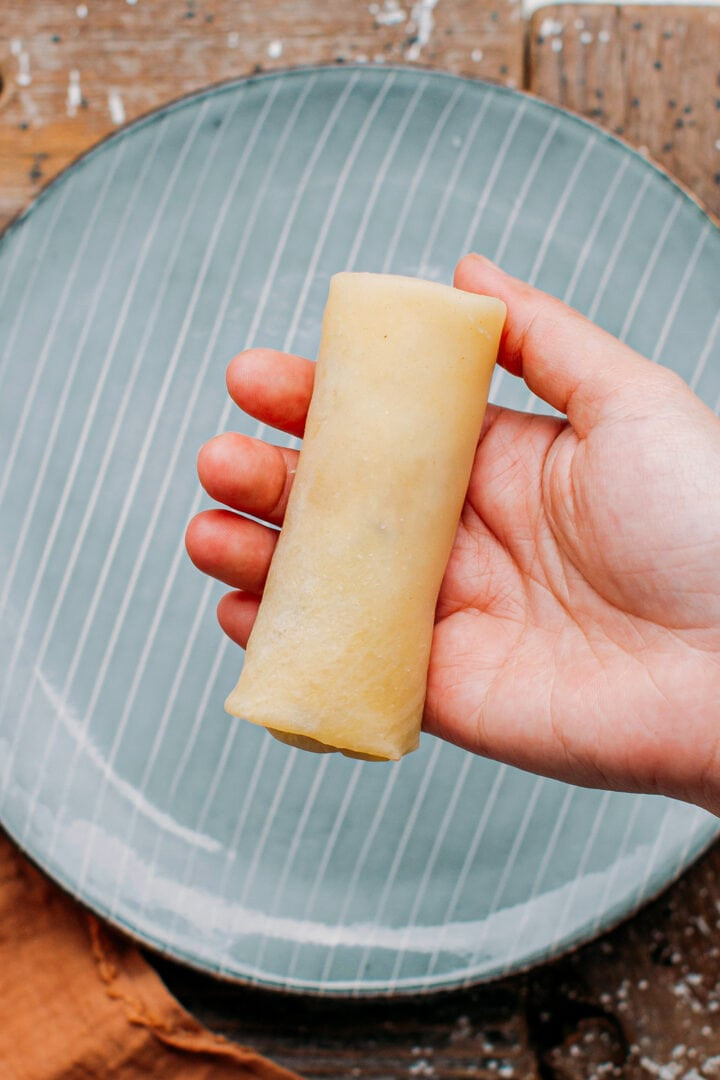
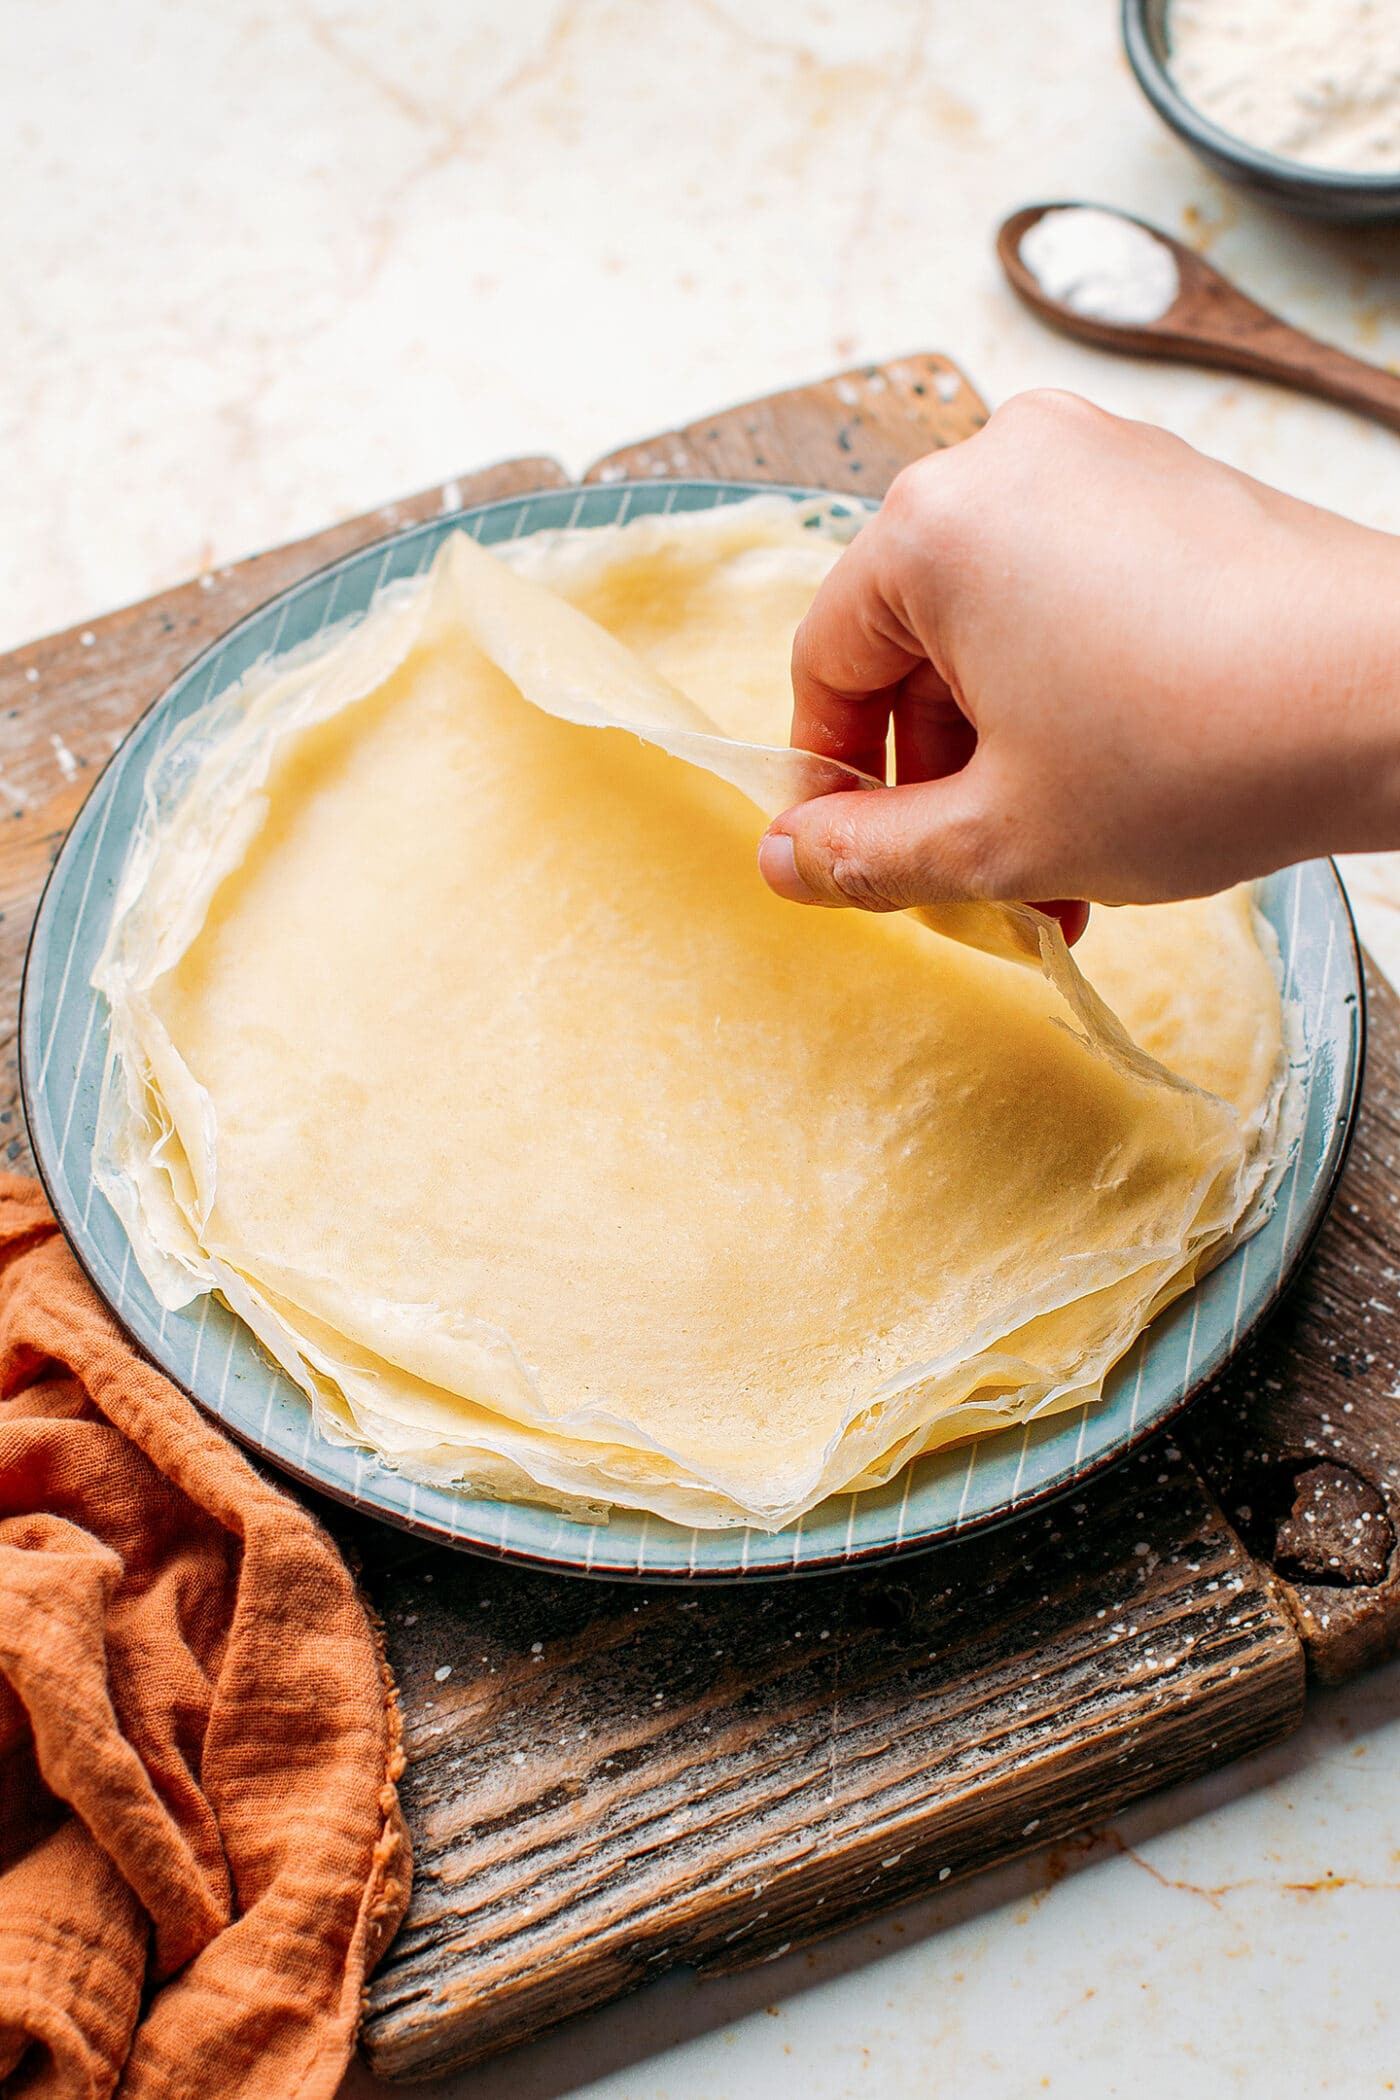 Holding a piece of egg roll wrapper.