Want to customize where your screenshots go on Windows 11? This guide on savewhere.net shows you exactly how to change the default save location for both regular screenshots and those taken with the Snipping Tool, so you can manage your files more efficiently and save money by streamlining your digital life. Learn how to quickly access your captures and keep your desktop clutter-free with these simple steps.
1. Understanding the Default Screenshot Save Location in Windows 11
Where does Windows 11 automatically save your screenshots? By default, Windows 11 saves screenshots captured using the Windows key + Print Screen shortcut (or Win + Shift + S) to the Screenshots folder located within your Pictures library. This is a convenient arrangement for many, but what if you want more control over where these files are stored? Understanding this default is the first step in customizing your screenshot management, and ultimately, saving time and hassle, which can translate to saving money in other areas of your life.
- Default Path:
C:Users[YourUsername]PicturesScreenshots - Accessing the Folder: Open File Explorer, navigate to Pictures, and you’ll find the Screenshots folder there.
2. Why Change the Snipping Tool Save Location?
Why would you want to change the default screenshot location? There are several compelling reasons:
- Organization: Keeping screenshots separate from other images can help maintain a cleaner, more organized Pictures library.
- Accessibility: Placing screenshots in a more accessible location, such as a dedicated folder on your desktop or in your documents, can save you time when you need to quickly find and use them.
- Backup: Storing screenshots in a location that is automatically backed up ensures that you don’t lose important captures.
- Workflow: If you frequently use screenshots in your work, placing them in a project-specific folder can streamline your workflow.
- Cloud Sync: For those who use cloud storage services like OneDrive or Google Drive, changing the save location to a synced folder ensures that your screenshots are automatically backed up and accessible across devices.
Ultimately, customizing your screenshot save location is about efficiency and control. By tailoring your system to your specific needs, you can save time and reduce frustration, contributing to a more productive and streamlined digital life.
3. Step-by-Step Guide: Changing the Default Screenshot Location
How do you actually change the default save location for screenshots in Windows 11? Follow these steps:
-
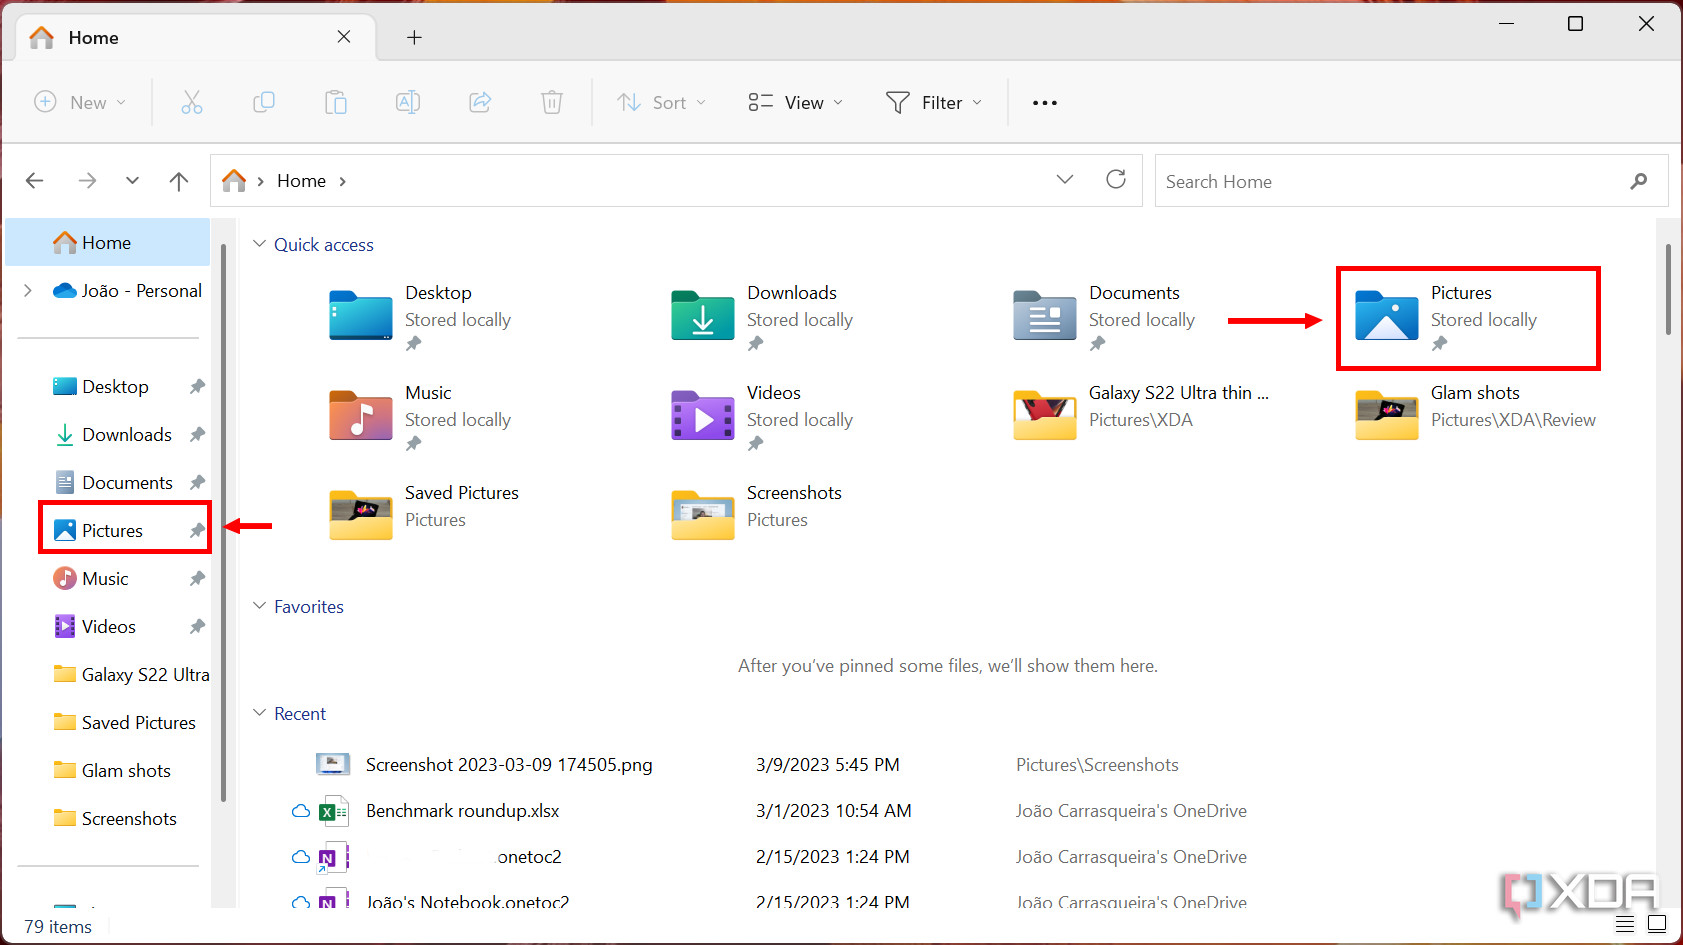
Open File Explorer: Click the File Explorer icon on your taskbar or press Windows key + E.
 Windows 11 File Explorer with Tabs and new navigation pane
 -
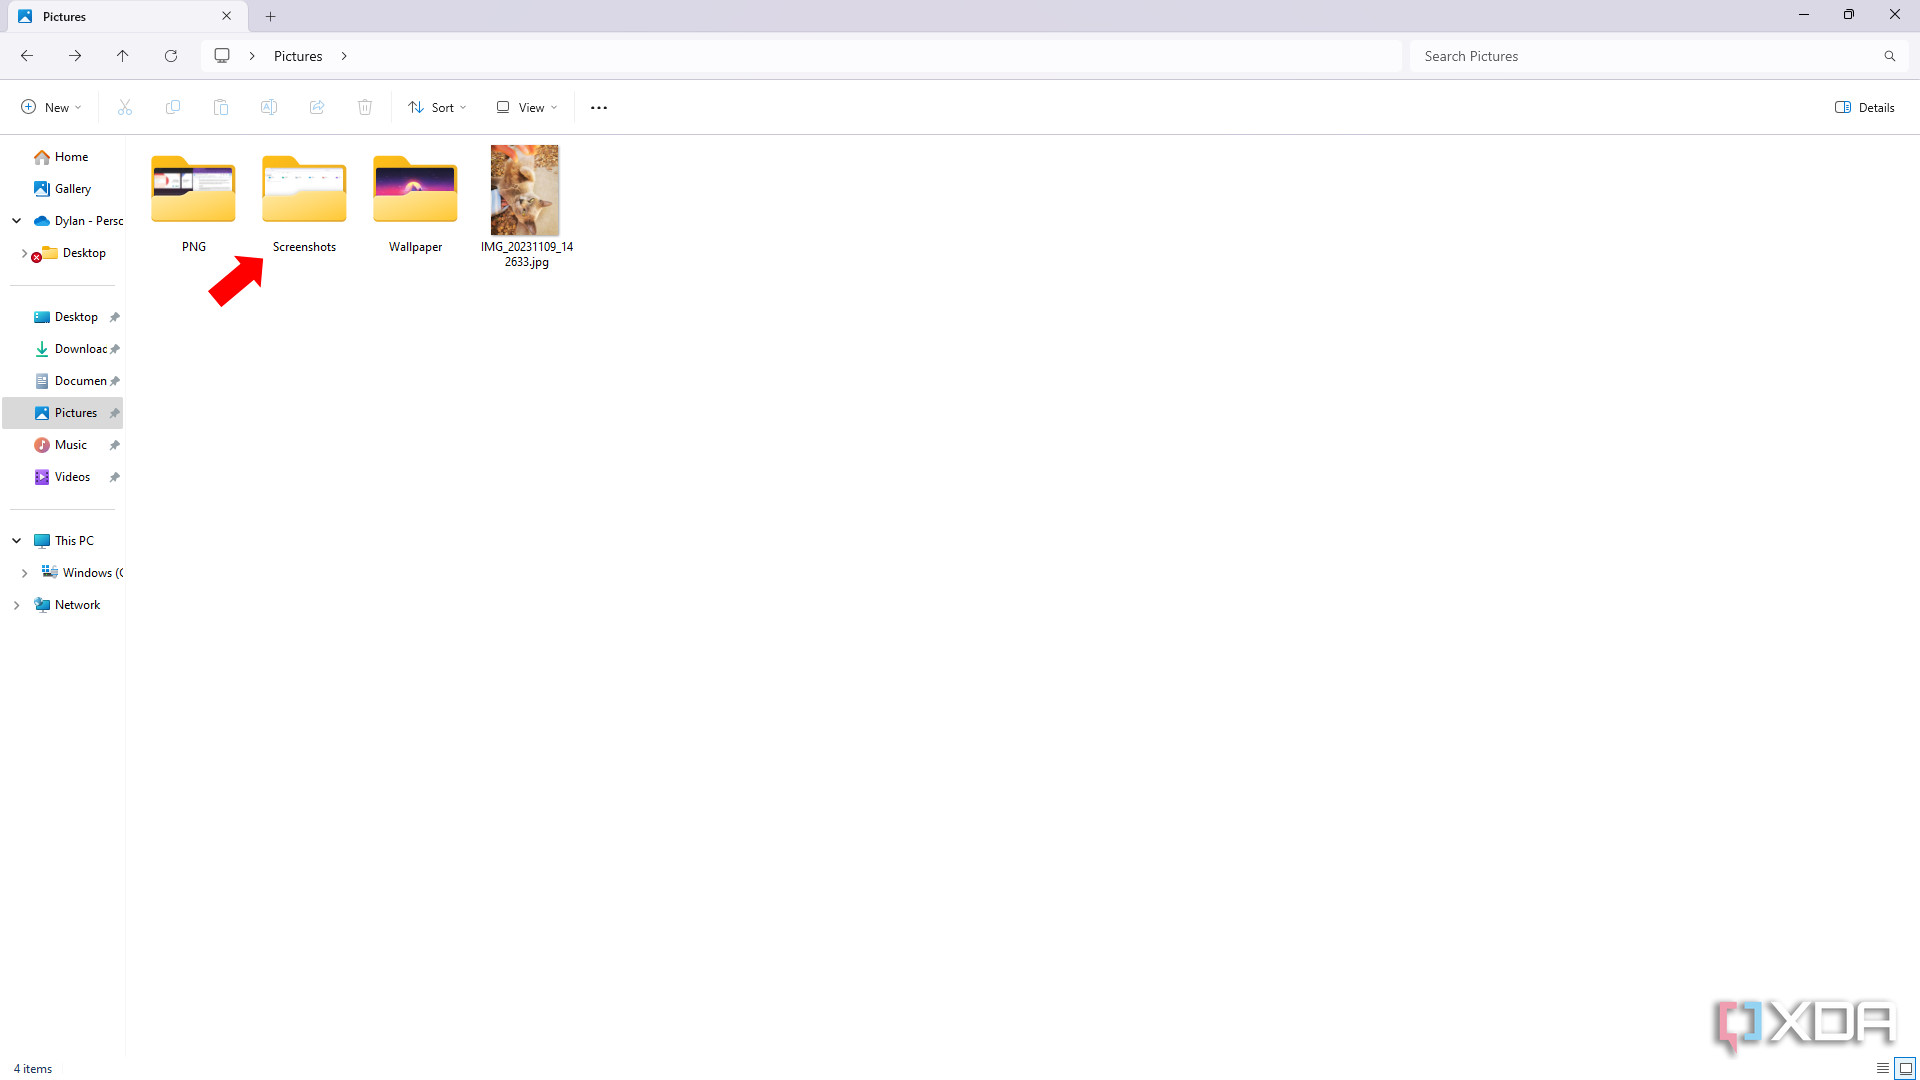
Navigate to the Pictures Folder: In the left-hand navigation pane, click Pictures. If you don’t see it, click the downward arrow in the File Explorer address bar and choose it from there.
 Screenshot of the Windows 11 File Explorer home page with the Pictures folder highlighted
 -
Right-Click the Screenshots Folder: Locate the Screenshots folder within the Pictures library and right-click on it.
 An arrow pointing to the screenshots folder in File Explorer
 -
Select Properties: In the context menu that appears, click Properties.
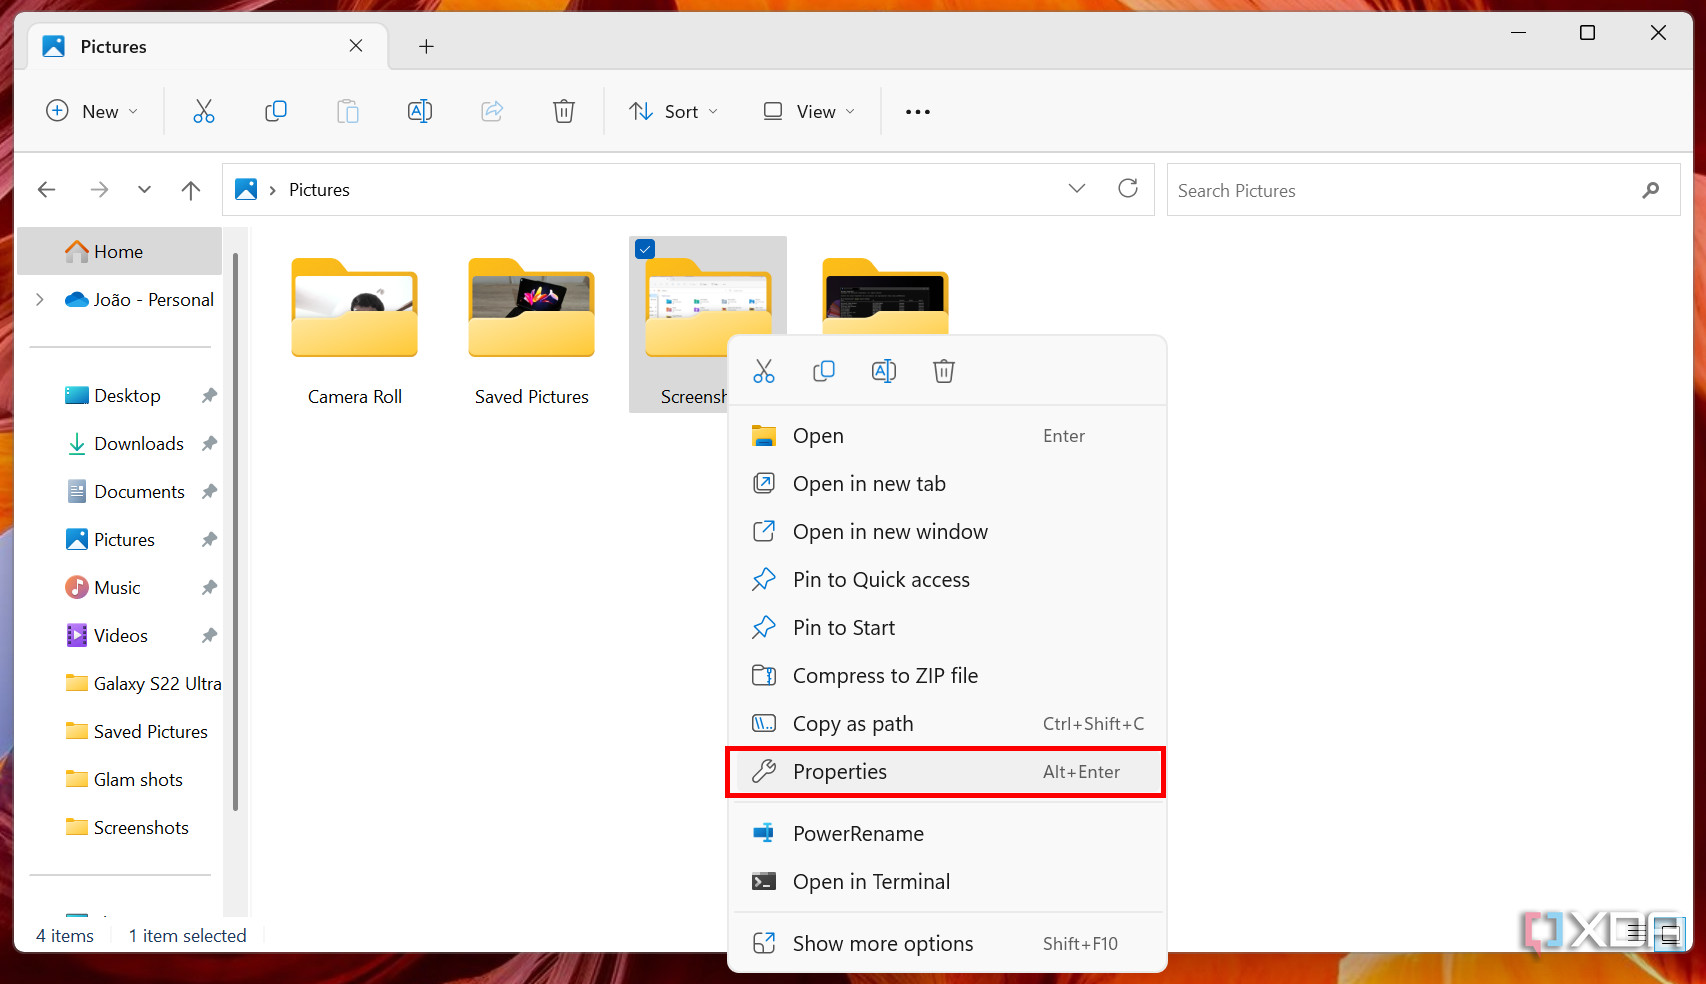 Screenshot of the Pictures library in Windows 11 with the context menu showing options for the Screenshots folder.
 -
Go to the Location Tab: In the Screenshots Properties window, click the Location tab.
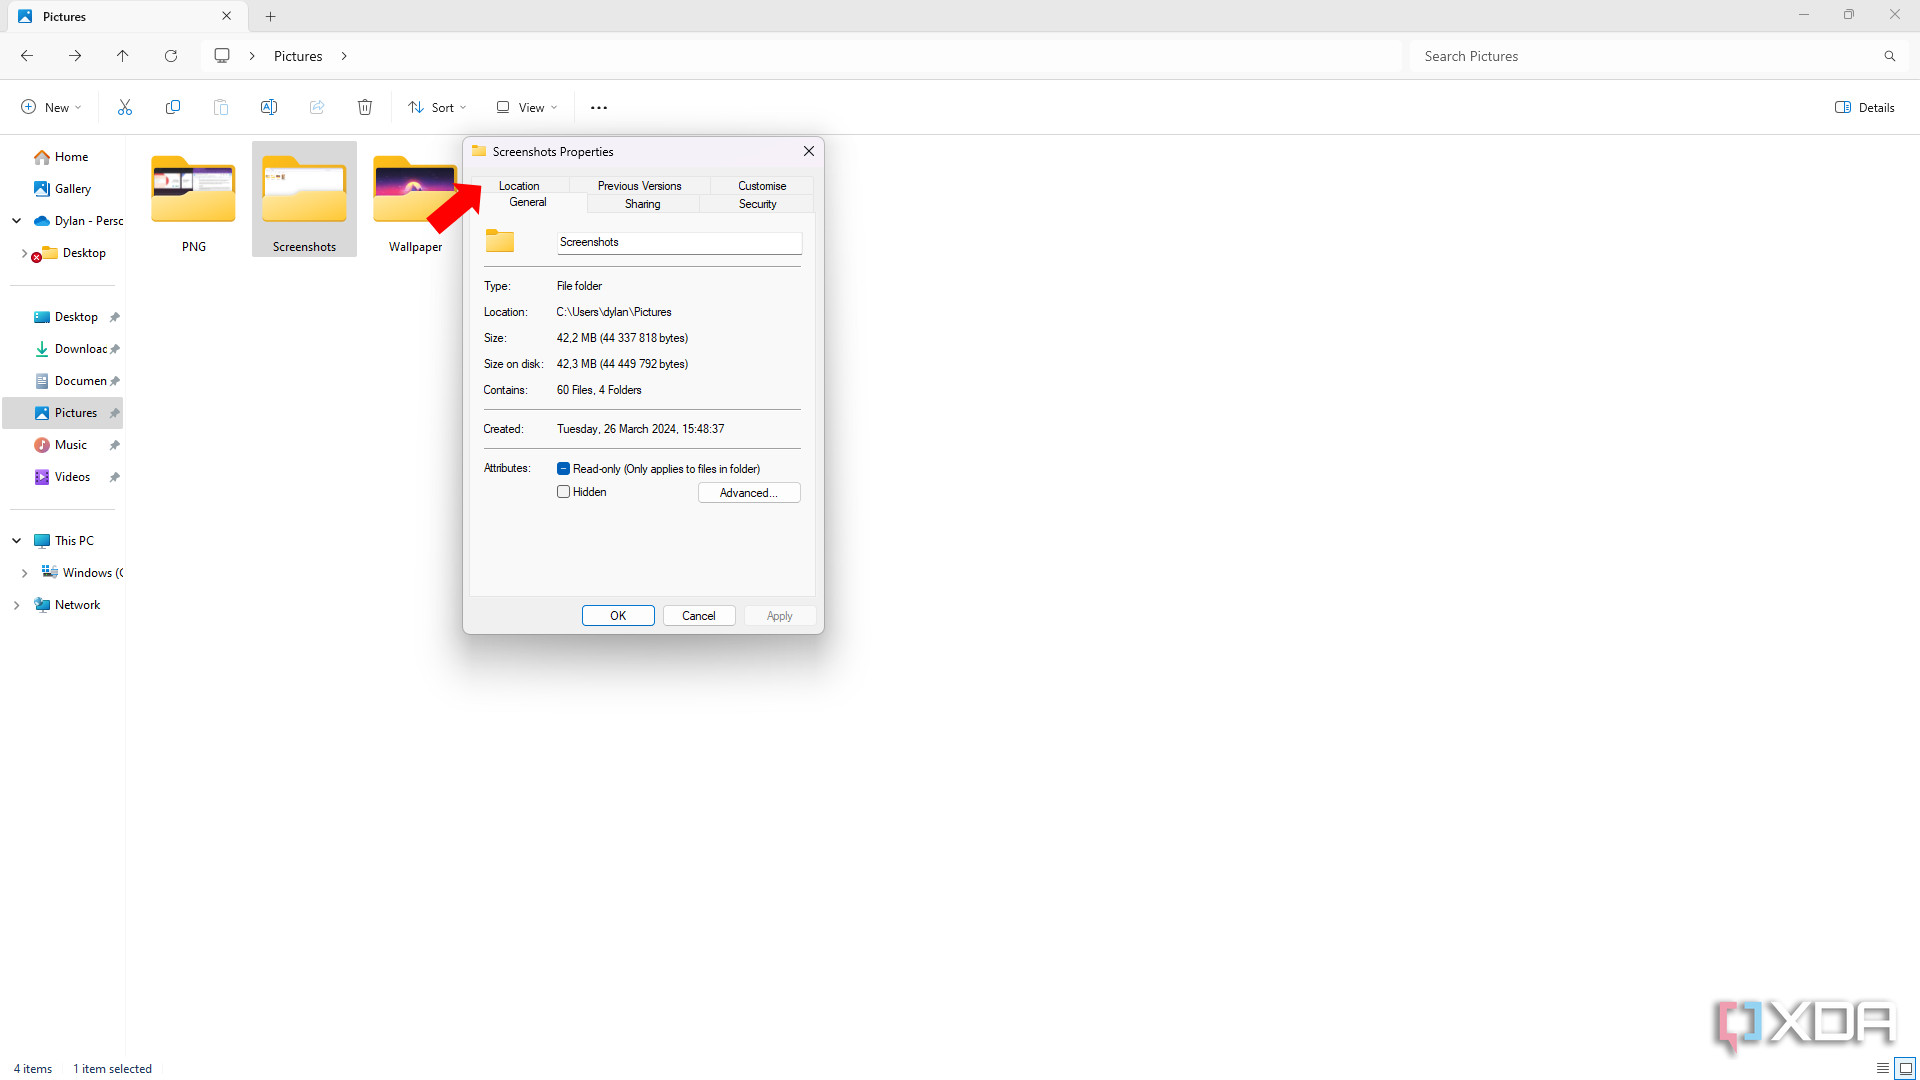 An arrow pointing to the location tab in the properties menu
 -
Click Move: Click the Move button to browse for a new screenshot location.
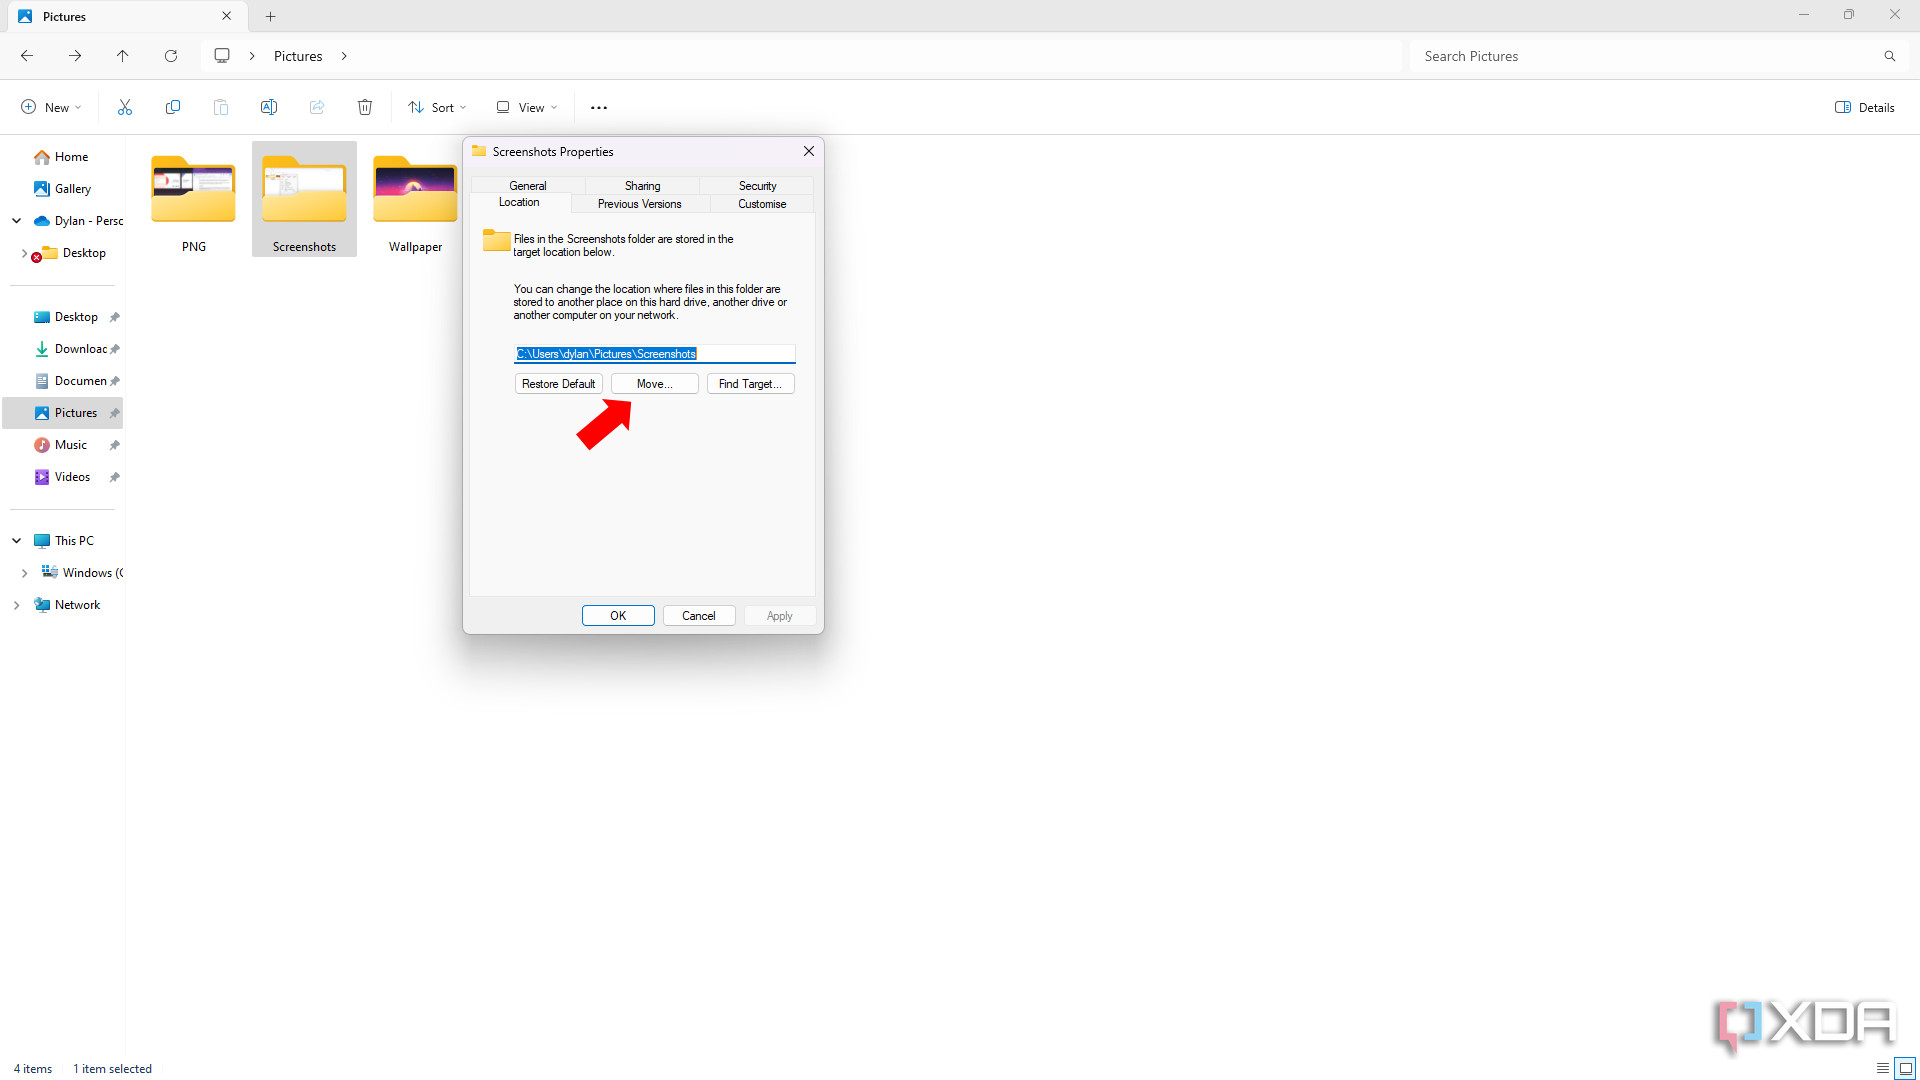 An arrow pointing to the change button
 -
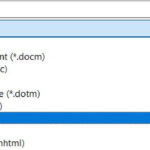
Choose a New Location: Select the folder you want to use as the new screenshot location. You can either choose an existing folder or create a new one.
-
Click OK: After selecting the new location, click OK in the Select a Destination window and then click OK in the Screenshots Properties window.
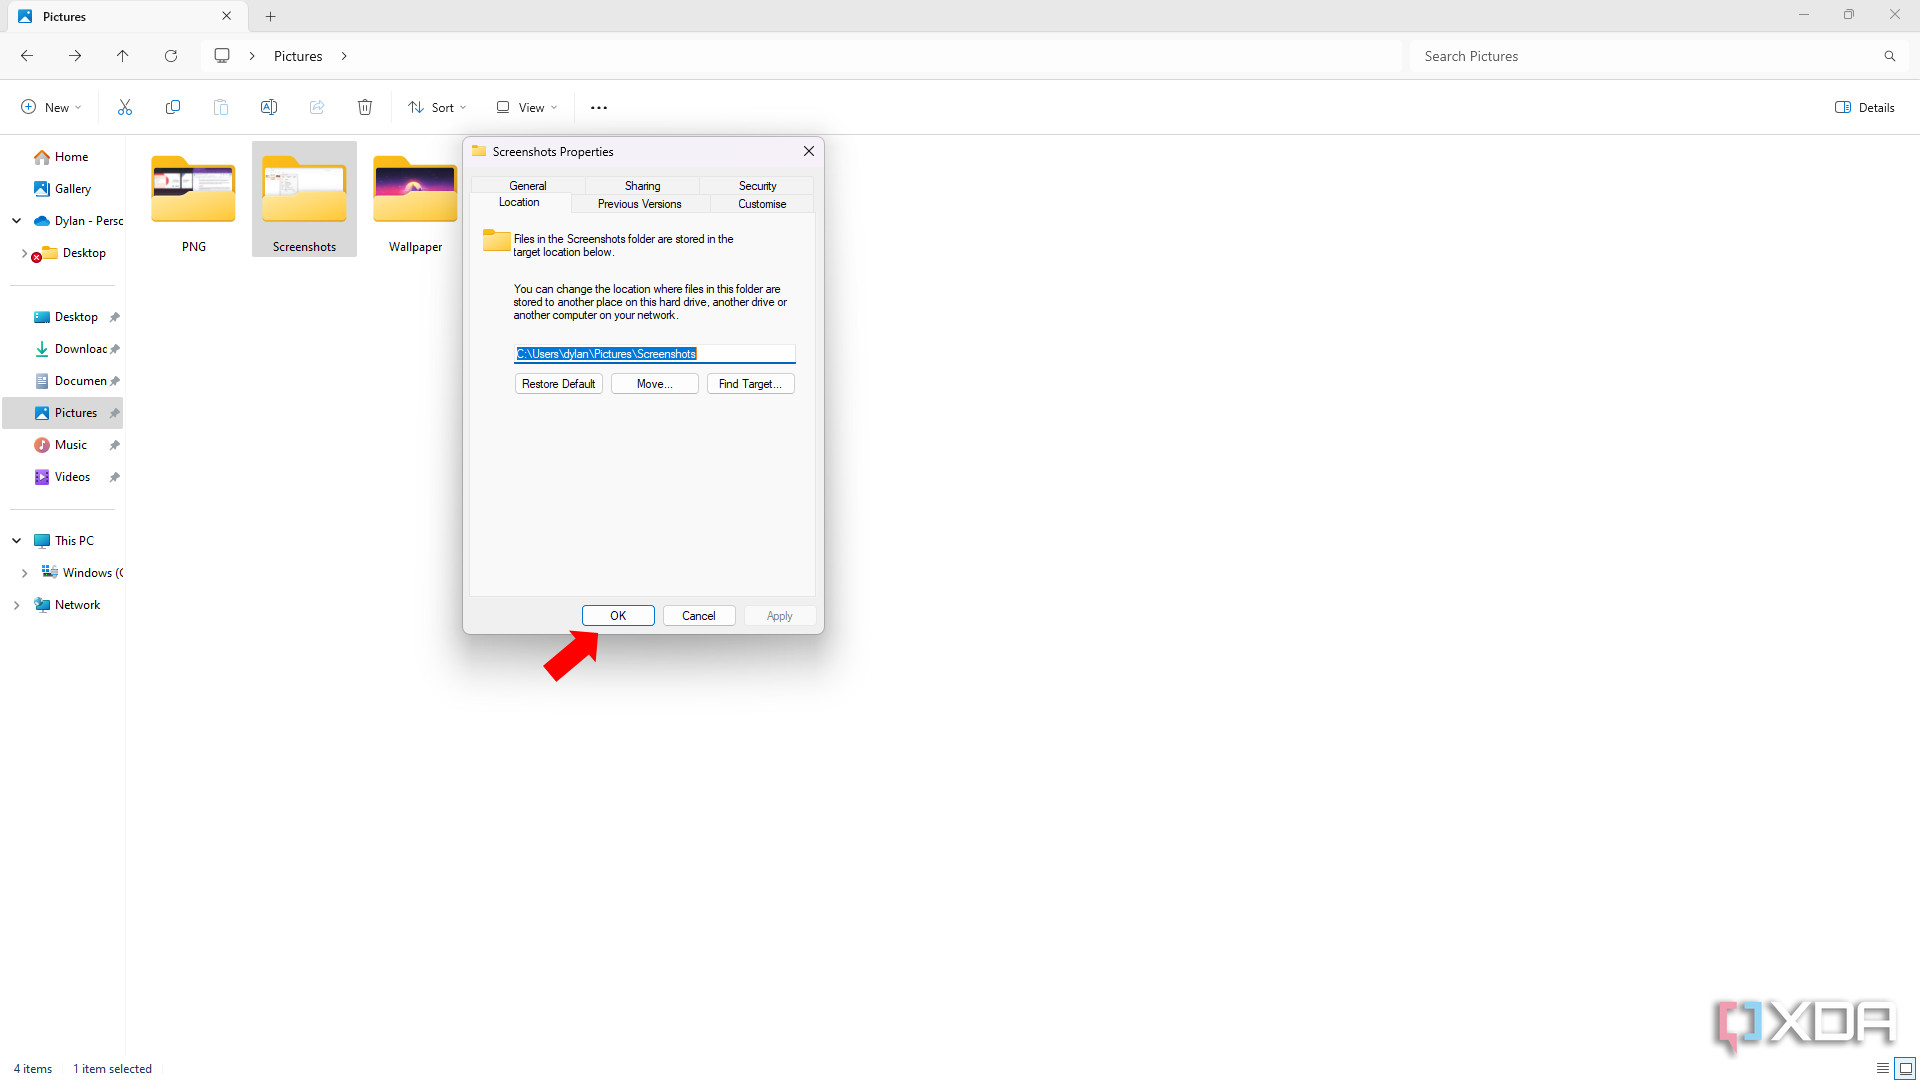 An arrow pointing to the OK button
 -
Confirmation: Windows will ask if you want to move all the files from the old location to the new location. Click Yes to move the existing screenshots or No to leave them in the old location.
-
Test: Take a new screenshot to verify that it is being saved to the new location.
By following these steps, you can easily change the default screenshot save location in Windows 11 and take control of your file management. This simple customization can save you time and improve your overall workflow, ultimately helping you save money by increasing your efficiency.
4. Important Considerations Before Changing the Location
Are there any potential issues to be aware of before changing the screenshot save location? Yes, keep these points in mind:
- Folder Contents: When you change the location, the Screenshots folder will merge with whatever folder you select. If there are other files in the destination folder, they will be mixed with your screenshots. It’s best to choose an empty folder or create a new one specifically for screenshots.
- Permissions: Ensure that you have the necessary permissions to write to the new location. If you choose a folder that requires administrator privileges, you may encounter issues saving screenshots.
- Drive Availability: If you select a location on an external drive, make sure the drive is always connected when you take screenshots. If the drive is disconnected, Windows will revert to the default location.
- Cloud Sync: If you are using a cloud storage service, be mindful of the storage limits and sync settings. Saving a large number of screenshots to a synced folder can consume a significant amount of storage space and bandwidth.
- Folder Existence: Ensure that the new folder exists before you attempt to change the location. Windows will not automatically create the folder for you.
By considering these factors, you can avoid potential problems and ensure a smooth transition when changing the screenshot save location.
5. How This Affects the Snipping Tool
Does changing the default screenshot location affect the Snipping Tool? Yes, it does. Recent Windows 11 updates have integrated the Snipping Tool more closely with the system’s default screenshot settings. This means that any screenshots you take with the Snipping Tool and choose to save will also be saved to the new default location you have set.
However, the Snipping Tool also offers flexibility:
- Save As: You can still use the Save As option in the Snipping Tool to save individual captures to different locations on a case-by-case basis. This is useful if you want to save a particular screenshot to a project-specific folder or a temporary location.
- Clipboard: The Snipping Tool also allows you to copy the screenshot to your clipboard, which you can then paste into any application. This is a convenient option if you don’t need to save the screenshot as a file.
So, while the default save location applies to the Snipping Tool, you still have the option to override it for individual captures, giving you a good balance of convenience and control.
6. Alternative Ways to Take Screenshots on Windows 11
Besides the Windows key + Print Screen shortcut and the Snipping Tool, what other options are available for taking screenshots on Windows 11? Here are a few alternatives:
- Print Screen Key: Pressing the Print Screen key alone will copy a screenshot of your entire screen to the clipboard. You can then paste it into an image editor like Paint or Photoshop.
- Alt + Print Screen: Pressing Alt + Print Screen will capture a screenshot of the active window and copy it to the clipboard.
- Windows Key + Shift + S: This shortcut opens the Snipping Tool directly, allowing you to select a specific area of the screen to capture.
- Game Bar: If you have the Xbox Game Bar enabled (press Windows key + G to open it), you can use it to take screenshots and record videos of your screen.
- Third-Party Apps: Numerous third-party screenshot tools offer advanced features like scrolling capture, annotation, and automatic uploading to cloud services.
Each of these methods has its own advantages and disadvantages, so choose the one that best suits your needs and workflow.
[ 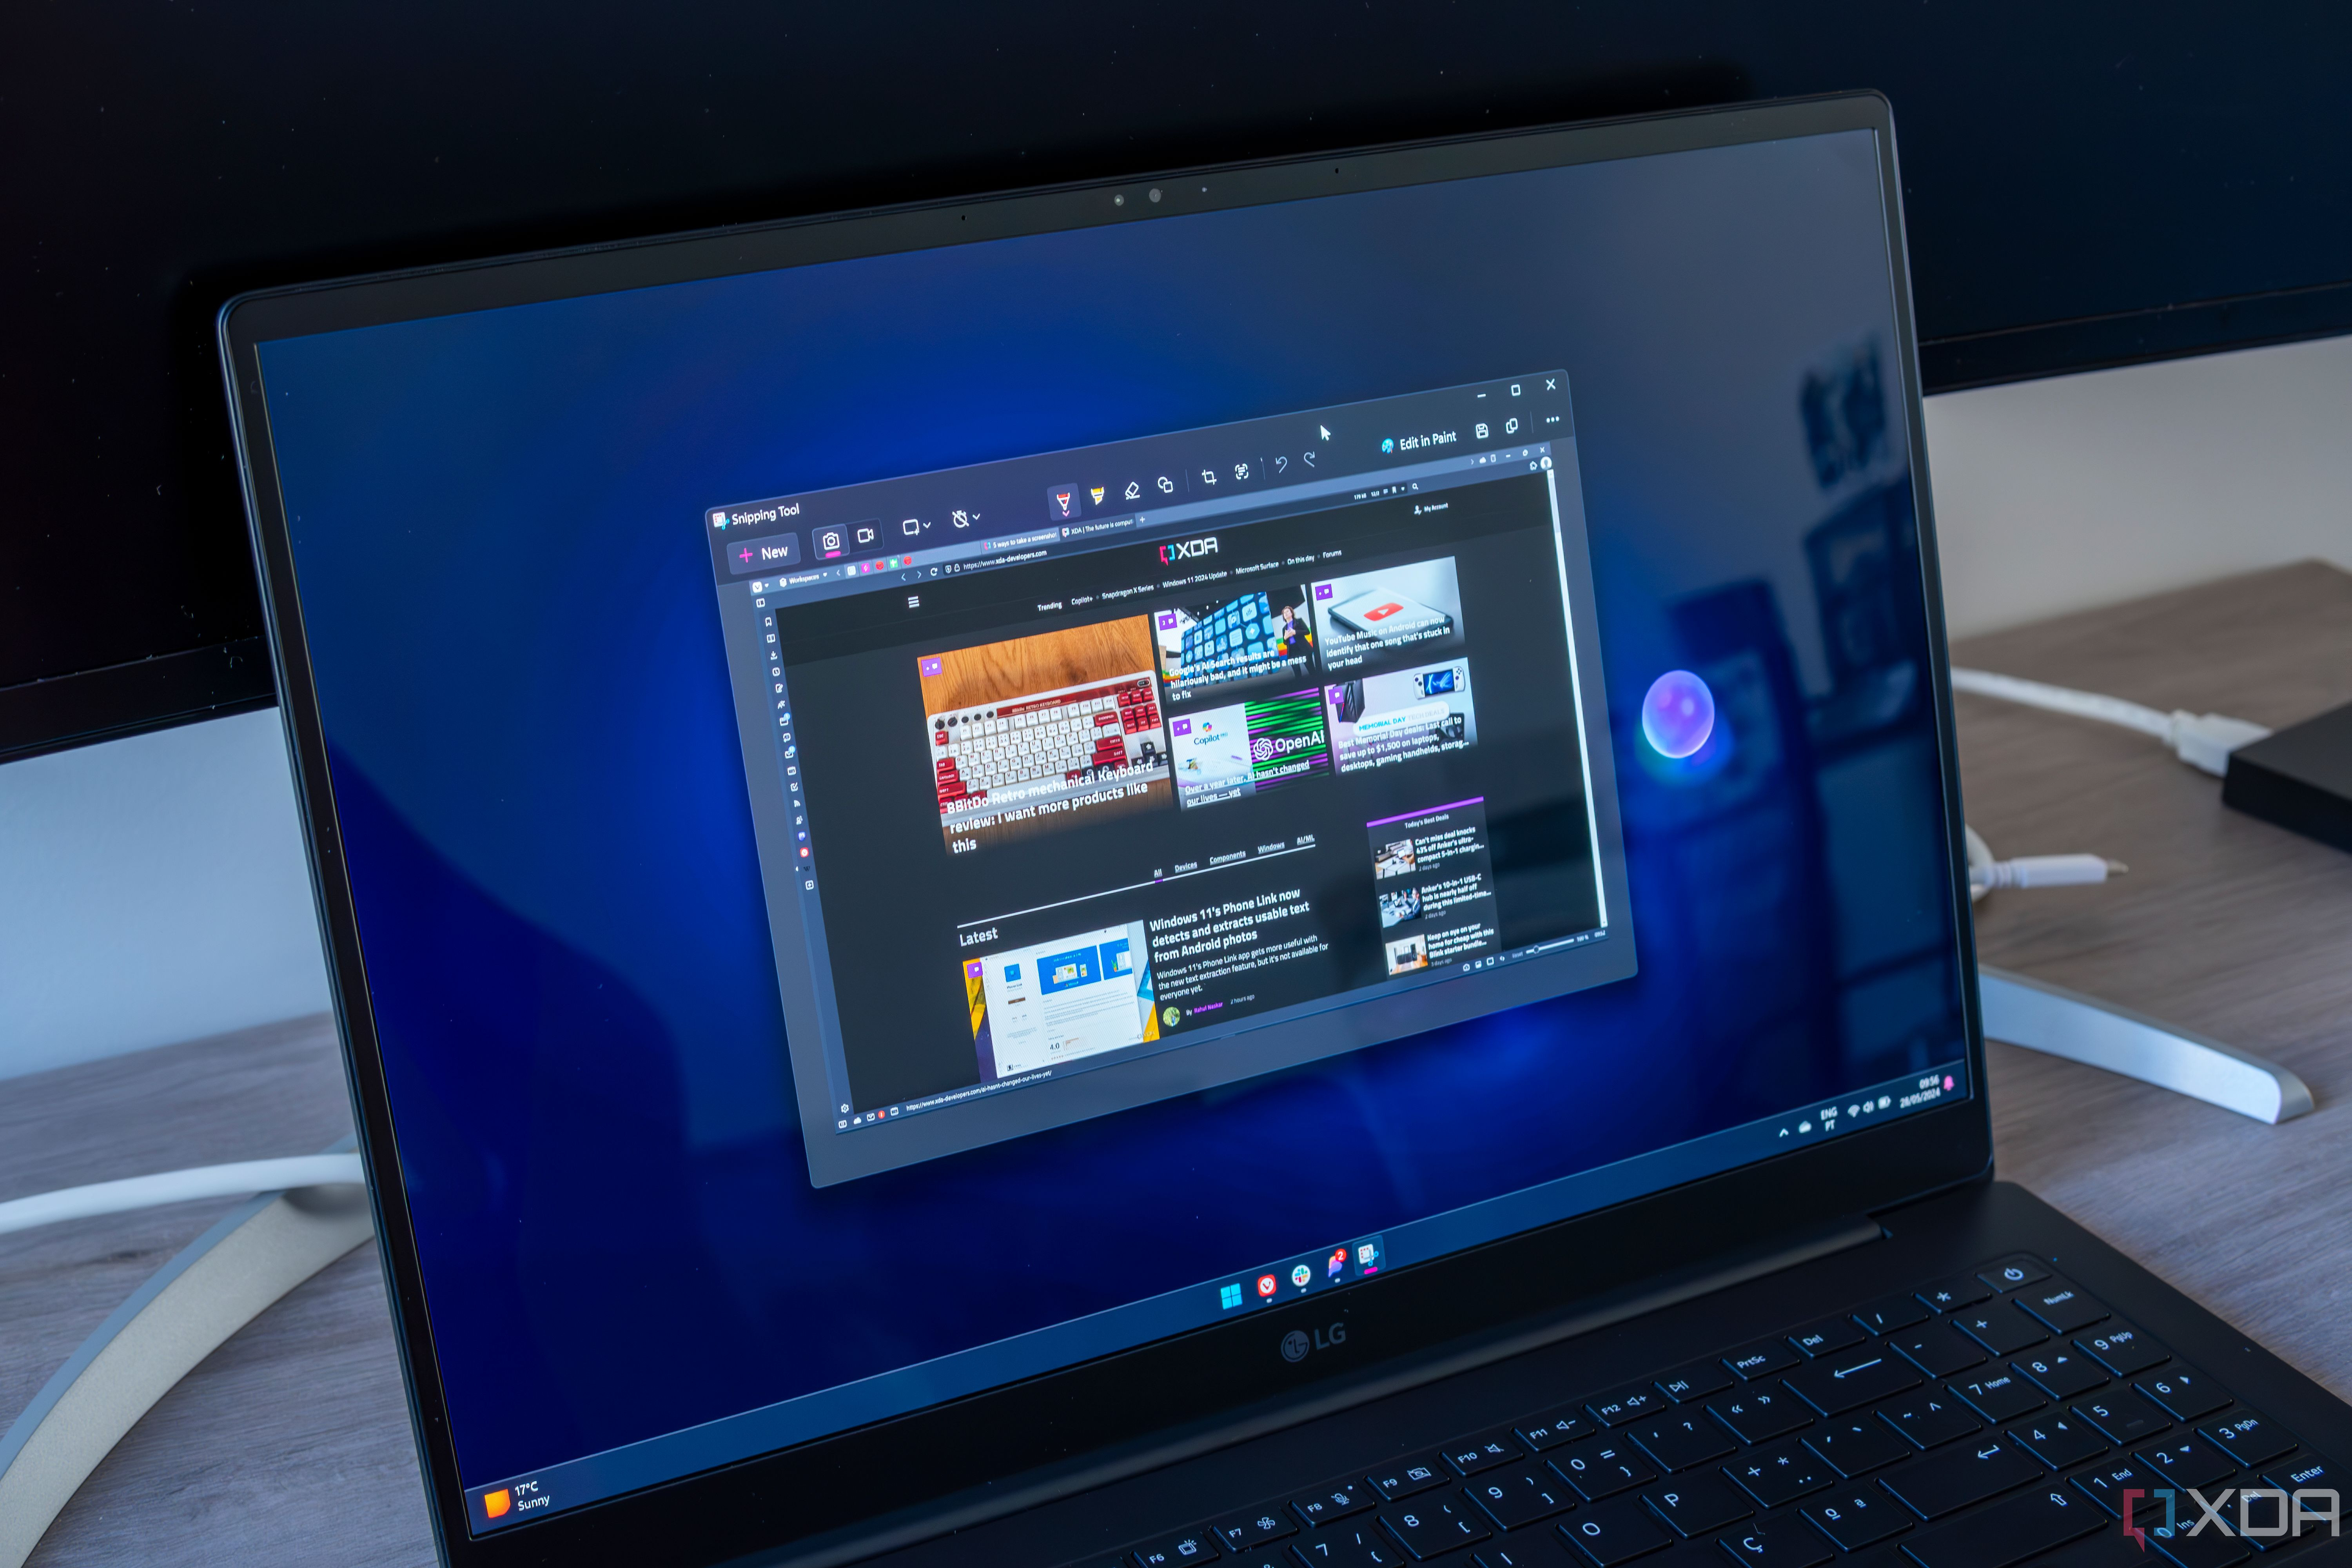 A laptop running the Snipping Tool on Windows 11
]
7. Optimizing Your Screenshot Workflow
How can you optimize your screenshot workflow for maximum efficiency? Here are some tips:
- Choose the Right Tool: Select the screenshot method that best fits your needs. For quick captures of the entire screen, the Windows key + Print Screen shortcut is often the fastest option. For more precise captures, the Snipping Tool is a better choice.
- Set a Consistent Save Location: By changing the default screenshot location to a folder that is easy to access and well-organized, you can save time and reduce clutter.
- Use Descriptive File Names: When saving screenshots, give them descriptive file names that make it easy to find them later. For example, “Website Error Message – July 12, 2024” is more helpful than “Screenshot1.png.”
- Organize Screenshots into Folders: If you take a lot of screenshots, consider organizing them into folders based on project, date, or topic.
- Use a Cloud Storage Service: If you need to access your screenshots from multiple devices, save them to a cloud storage service like OneDrive or Google Drive.
- Learn Keyboard Shortcuts: Mastering keyboard shortcuts for taking screenshots and saving files can significantly speed up your workflow.
- Automate Tasks: Consider using a third-party tool to automate tasks like renaming files, resizing images, and uploading screenshots to cloud services.
By implementing these tips, you can streamline your screenshot workflow and save valuable time.
8. Troubleshooting Common Issues
What should you do if you encounter problems when changing the screenshot save location? Here are some common issues and their solutions:
- “Access Denied” Error: This error usually indicates that you don’t have the necessary permissions to write to the new location. Try running File Explorer as an administrator or choosing a different location.
- Screenshots Not Saving to the New Location: Double-check that you have correctly changed the default save location and that the new location exists. Also, make sure that the drive containing the new location is connected and accessible.
- Screenshots Folder Missing: If the Screenshots folder is missing from your Pictures library, you can create a new folder and name it “Screenshots.” Windows will automatically recognize it as the default screenshot location.
- Old Screenshots Not Moving: If you choose not to move the existing screenshots to the new location, they will remain in the old location. You can manually move them if you wish.
- Cloud Sync Issues: If you are using a cloud storage service, make sure that the folder containing your screenshots is properly synced. Also, check your storage limits to ensure that you have enough space.
By addressing these common issues, you can resolve most problems that arise when changing the screenshot save location.
9. The Importance of Good File Management
Why is good file management important, especially when dealing with screenshots? Effective file management is crucial for several reasons:
- Saves Time: A well-organized file system makes it easier to find the files you need, saving you valuable time.
- Reduces Frustration: When you can quickly locate your files, you are less likely to become frustrated and stressed.
- Improves Productivity: By streamlining your workflow, good file management can improve your overall productivity.
- Prevents Data Loss: Backing up your files and organizing them logically can help prevent data loss in the event of a hardware failure or other disaster.
- Enhances Collaboration: If you work with others, a consistent and well-organized file system makes it easier to share files and collaborate effectively.
Good file management is an essential skill for anyone who uses a computer regularly. By taking the time to organize your files, you can save time, reduce stress, and improve your overall productivity.
10. Save Money with Efficient Digital Habits
How can efficient digital habits, like managing your screenshots, help you save money? While it may seem like a small detail, efficient digital habits can have a significant impact on your finances:
- Increased Productivity: By saving time and reducing frustration, efficient digital habits can increase your productivity, allowing you to accomplish more in less time. This can lead to more opportunities for income generation.
- Reduced Stress: A well-organized digital life can reduce stress, which can have a positive impact on your health and well-being. This can lead to fewer healthcare costs and a better quality of life.
- Better Decision-Making: When you are organized and in control of your digital life, you are better able to make informed decisions about your finances.
- Avoid Late Fees: By using digital tools to manage your bills and payments, you can avoid late fees and other unnecessary expenses.
- Take Advantage of Discounts: Many companies offer discounts and promotions to customers who use digital tools and services.
By adopting efficient digital habits, you can save time, reduce stress, and make better financial decisions, ultimately leading to more money in your pocket.
Changing the Snipping Tool save location on Windows 11 is a small but impactful way to customize your digital environment. With the tips and steps outlined above, you can take control of your screenshots and optimize your workflow. For more tips and resources on saving money and managing your digital life, visit savewhere.net today! Find exclusive deals, expert advice, and a community of like-minded individuals all focused on making the most of their resources. Let savewhere.net be your partner in achieving financial wellness and a more organized, efficient life.
FAQ: Changing Snipping Tool Save Location in Windows 11
- Can I change the save location for individual screenshots taken with the Snipping Tool?
Yes, the Snipping Tool allows you to use the “Save As” option to save individual captures to different locations. - Will changing the default screenshot location affect screenshots taken with the Game Bar?
No, the Game Bar has its own separate settings for saving screenshots and videos. - What happens if I delete the Screenshots folder?
Windows will automatically recreate the Screenshots folder the next time you take a screenshot. - Can I change the save location to a network drive?
Yes, you can change the save location to a network drive, but make sure that the drive is always connected and accessible. - How do I revert to the default screenshot location?
In the Screenshots Properties window, click the “Restore Default” button on the Location tab. - What file format are screenshots saved in by default?
Screenshots are saved in PNG format by default. - Is there a way to automatically rename screenshots?
While Windows doesn’t offer this feature natively, some third-party tools can automatically rename screenshots based on a set pattern. - Can I use a symbolic link to change the screenshot save location?
Yes, creating a symbolic link (symlink) is an advanced technique that can be used to redirect the Screenshots folder to a different location. - Does changing the screenshot location affect screen recordings?
No, changing the screenshot location does not affect screen recordings. Screen recordings have their own separate save location settings. - What should I do if I get an error message when trying to change the screenshot location?
Make sure you have the necessary permissions to write to the new location. Try running File Explorer as an administrator or choosing a different location.
Address: 100 Peachtree St NW, Atlanta, GA 30303, United States.
Phone: +1 (404) 656-2000.
Website: savewhere.net.
Visit savewhere.net today to discover more ways to save money, manage your finances, and optimize your digital life. Connect with a community of savers and unlock your financial potential now.