Saving a picture without a background is essential for creating professional-looking graphics, logos, and designs. At savewhere.net, we will guide you through the process of saving a picture without background, ensuring that you can seamlessly integrate your images into any project. This article will cover various methods and tools to help you achieve the perfect transparent background and ways to save money doing so. Let’s explore the best techniques for creating transparent backgrounds and maximizing your savings, including budget-friendly options and free trials, while always focusing on value for money.
1. Understanding Transparent Backgrounds
1.1. What is a Transparent PNG Background?
A transparent PNG background means the image has no background color. Instead of a solid color like white, the background pixels are empty, allowing whatever is behind the image to show through. This is particularly useful for logos, graphics, and images that need to blend seamlessly into different backgrounds. Using transparent backgrounds ensures your images look professional and clean across various platforms.
For instance, consider a website header with a logo. If the logo has a transparent background, it will blend seamlessly with the header’s color. Conversely, a logo with a solid white background can look unprofessional and clash with the website’s design.
1.2. Why Use Transparent Backgrounds?
Using transparent backgrounds offers several advantages:
- Professional Appearance: Transparent backgrounds help your images look polished and professional.
- Versatility: They allow images to be placed on any background without clashing.
- Brand Consistency: Ensures your logo looks consistent across different platforms.
- Seamless Integration: Images blend seamlessly into websites, brochures, and other designs.
Transparent backgrounds are especially important for businesses and individuals who need to maintain a consistent and professional brand image across various marketing materials and platforms.
1.3. PNG vs JPG vs GIF
Understanding the differences between image file formats is crucial for choosing the right one for your needs:
- JPG:
- Use Cases: Best for photographs and images where file size is a priority.
- Pros: Smaller file sizes, which helps with website loading speed.
- Cons: Does not support transparent backgrounds and loses image quality when compressed.
- PNG:
- Use Cases: Ideal for images requiring transparency or crisp lines, such as logos and graphics.
- Pros: Supports transparent backgrounds and maintains high image quality.
- Cons: Larger file sizes compared to JPG.
- GIF:
- Use Cases: Best for animated images.
- Pros: Supports transparency and animation.
- Cons: Limited color palette and can result in larger file sizes compared to optimized PNGs or WebPs.
For images requiring a transparent background, PNG is the preferred choice due to its support for transparency and high image quality. According to a study by Google, faster loading times can significantly improve user experience and SEO rankings. Therefore, optimizing your images by choosing the correct file format can lead to better website performance.
1.4. WebP as an Alternative
WebP is a modern image format developed by Google that provides superior lossless and lossy compression for images on the web. It supports transparency just like PNG but often with a smaller file size.
- Pros:
- Smaller File Size: WebP images are typically smaller than PNGs, which can improve website loading speed.
- Transparency Support: Supports both lossless and lossy compression with transparency.
- Better Compression: Offers better compression than JPEG and PNG, resulting in higher quality images at smaller file sizes.
- Cons:
- Compatibility: Not all browsers and software fully support WebP, although support is growing.
- Conversion Required: May require converting images to WebP format, adding an extra step in the workflow.
While WebP offers significant advantages in terms of file size and quality, it’s important to consider compatibility. If you need to ensure broad compatibility, you might want to stick with PNG. However, if you’re focused on optimizing website performance and your target audience uses modern browsers, WebP is an excellent option.
2. Tools for Creating Transparent Backgrounds
2.1. Overview of Tools
Several tools can help you create transparent backgrounds, ranging from free online editors to professional software. Here’s a brief overview:
- Canva: A user-friendly online design tool with a background remover feature.
- Adobe Photoshop: An industry-standard photo editing software with advanced background removal capabilities.
- Fiverr: A marketplace where you can hire freelancers to create transparent backgrounds for you.
- GIMP: A free, open-source image editor that offers similar capabilities to Photoshop.
- Online Background Removers: Various websites that use AI to automatically remove backgrounds from images.
Choosing the right tool depends on your budget, technical skills, and the complexity of the images you need to edit.
2.2. Make Your Background Transparent Using Canva
Canva is a popular online design tool known for its user-friendly interface and versatile features. While the transparent background removal feature is available in the Pro plan, the benefits often outweigh the costs for those seeking efficiency and ease of use.
Cost: Canva Pro costs $12.99/month, but offers a 30-day free trial.
Steps:
- Create a Design:
- Click on the “Create a design” button and choose the dimensions you need.
- Using the dimensions of your logo is recommended for the best fit.
![]() Create a transparent background in Canva2. Upload Image:
Create a transparent background in Canva2. Upload Image:
- Drag and drop your logo into the left-hand panel.
- Click on the uploaded image to add it to your design.
- Adjust the size as needed.
- Remove Background Image:
- Click on the image and select “Effects.”
- Choose the “Background Remover” option.
- Canva will automatically remove the background.
Before:
![]() Create a transparent background in Canva
Create a transparent background in Canva
After:
- Download Image:
- Click “Download” in the upper-righthand corner.
- Select PNG as the file type.
- Check the “Transparent background” box.
- Click “Download” to save your image.
Benefits:
- Ease of Use: Canva is incredibly user-friendly, making it accessible to beginners.
- Quick Results: The background remover tool works quickly and efficiently.
- Versatile: Besides background removal, Canva offers a wide range of design tools.
Limitations:
- Cost: The transparent background feature is only available in the Pro plan.
- Precision: For complex images, the automatic background remover may not be as precise as manual editing in Photoshop.
2.3. Make Your Background Transparent Using Adobe Photoshop
Adobe Photoshop is the industry-standard software for photo editing, offering advanced features and precision control. While it comes with a higher price tag, the investment can be worthwhile for professionals and those who need the highest level of quality and control.
Cost: Adobe Photoshop starts at $20.99/month.
Steps:
- Open Logo File:
- Add A Transparent Layer:
- Select “Layer” > “New Layer” from the menu.
- Drag the new transparent layer below your image layer.
![]() Create a transparent background in Photoshop3. Delete the Background:
Create a transparent background in Photoshop3. Delete the Background:
- Use the magic wand or lasso tool to select the background area.
- Adjust the tolerance setting for the desired result.
- Hit the Delete button. The selected area will be replaced by a grey and white checkered background.
![]() Create a transparent background in Photoshop4. Save As A Transparent PNG Image:
Create a transparent background in Photoshop4. Save As A Transparent PNG Image:
- Click “File” -> “Save As”.
- Select “PNG (*.PNG)” as the file format.
Benefits:
- Precision: Photoshop offers precise control over background removal, allowing for clean and accurate results.
- Advanced Features: It provides a wide range of tools for image editing and manipulation.
- Industry Standard: Photoshop is widely used in the design industry, making it a valuable skill to learn.
Limitations:
- Cost: Photoshop is a subscription-based software and can be expensive for some users.
- Complexity: It has a steep learning curve, especially for beginners.
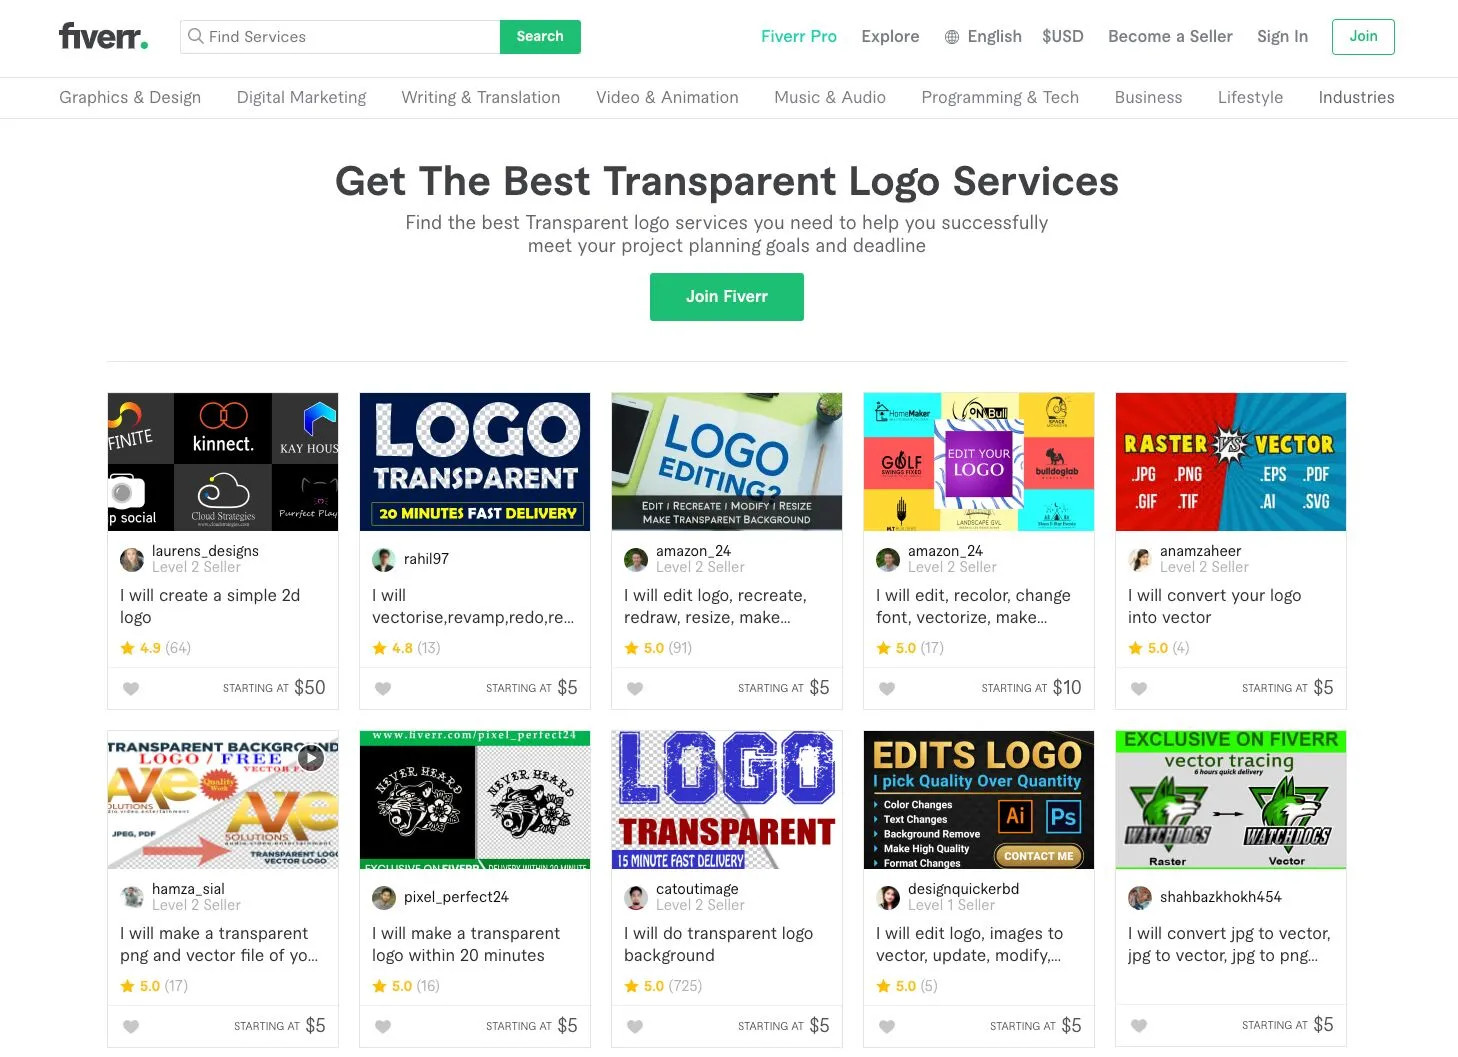
2.4. Make Your Background Transparent Using Fiverr
Fiverr is an online marketplace where you can hire freelancers to perform various tasks, including creating transparent backgrounds. This can be a cost-effective option if you have a few images that need editing but don’t want to invest in software or spend time learning how to do it yourself.
Cost: Gigs typically start at $5 USD per image.
Steps:
- Go to Fiverr’s Logo Gigs:
- Select a Gig:
- Look for sellers with a high rating (4.9/5.0 or higher) and positive reviews.
- Check if they offer unlimited revisions and multiple images at a reasonable price.
 Create a transparent background with Fiverr3. Purchase Fiverr Service:
- After you find someone that has good reviews, fast turnaround, and the right service, you can easily purchase the service by checking out.
- Send your image file (high resolution recommended) and any specific instructions.
 Create a transparent background with Fiverr
Benefits:
- Cost-Effective: Fiverr can be a cheaper option than purchasing software or spending hours editing images yourself.
- Quick Turnaround: Many sellers offer quick turnaround times, sometimes within a day or even an hour.
- Professional Results: You can find experienced freelancers who can deliver high-quality results.
Limitations:
- Service Fees: Fiverr charges service fees, which can increase the overall cost.
- Variable Quality: The quality of work can vary depending on the seller. It’s important to choose someone with good reviews and a proven track record.
- Communication: Clear communication is essential to ensure the freelancer understands your requirements and delivers the desired results.
2.5. Other Tools and Software
Besides Canva, Adobe Photoshop, and Fiverr, several other tools and software can help you create transparent backgrounds:
- GIMP (GNU Image Manipulation Program):
- A free and open-source image editor that offers similar capabilities to Photoshop.
- Suitable for users who need advanced editing features but don’t want to pay for software.
- Requires some technical knowledge to use effectively.
- Online Background Removers:
- Websites like Remove.bg and Clipping Magic use AI to automatically remove backgrounds from images.
- Quick and easy to use, but may not be as precise as manual editing.
- Often offer free and paid options, with paid options providing higher resolution and more features.
- Mobile Editing Apps:
- Apps like Background Eraser and PhotoRoom allow you to remove backgrounds on your smartphone or tablet.
- Convenient for quick edits on the go, but may have limitations in terms of precision and features.
When choosing a tool, consider your budget, technical skills, and the level of precision you need.
3. Tips for Saving Money on Image Editing
3.1. Utilize Free Trials
Many image editing tools offer free trials, allowing you to test their features before committing to a purchase. Canva Pro, for example, offers a 30-day free trial, during which you can remove backgrounds from as many images as you want. By strategically using free trials, you can accomplish your image editing tasks without spending any money.
Here are some tips for making the most of free trials:
- Plan Ahead: Identify all the images you need to edit and plan your work within the trial period.
- Learn the Features: Take the time to explore all the features of the software and learn how to use them effectively.
- Evaluate the Software: Assess whether the software meets your needs and is worth the investment.
- Cancel Before Expiry: If you decide not to purchase the software, make sure to cancel your subscription before the trial period ends to avoid being charged.
3.2. Explore Free or Low-Cost Alternatives
If you’re on a tight budget, consider using free or low-cost alternatives to expensive software like Photoshop. GIMP, for example, is a free and open-source image editor that offers similar capabilities to Photoshop. Online background removers often have free options that are suitable for basic tasks.
When evaluating free alternatives, consider the following:
- Features: Does the software offer the features you need for your image editing tasks?
- Ease of Use: Is the software easy to learn and use?
- Quality: Does the software produce high-quality results?
- Support: Is there adequate documentation and support available if you run into problems?
3.3. Consider Subscription Bundles
Some companies offer subscription bundles that include multiple software applications at a discounted price. Adobe Creative Cloud, for example, includes Photoshop and other creative tools for a monthly fee. If you need multiple software applications, a subscription bundle can be a more cost-effective option than purchasing each application separately.
When considering subscription bundles, evaluate the following:
- Applications Included: Does the bundle include all the applications you need?
- Cost: Is the bundle cheaper than purchasing each application separately?
- Usage: Will you use all the applications included in the bundle?
- Terms: Understand the terms of the subscription, including cancellation policies and renewal fees.
3.4. Use Online Marketplaces Strategically
Online marketplaces like Fiverr can be a cost-effective option for outsourcing image editing tasks. However, it’s important to use these marketplaces strategically to get the best value for your money.
Here are some tips for using online marketplaces effectively:
- Set a Budget: Determine how much you’re willing to spend on image editing tasks.
- Define Your Needs: Clearly define the scope of the project and what you need the freelancer to do.
- Research Sellers: Look for sellers with a high rating, positive reviews, and a proven track record.
- Compare Prices: Compare prices from different sellers and choose the one that offers the best value for your money.
- Communicate Clearly: Provide clear instructions and communicate effectively with the freelancer to ensure they understand your requirements.
- Review the Work: Carefully review the freelancer’s work and provide feedback if necessary.
By following these tips, you can save money on image editing while still getting high-quality results.
4. Advanced Techniques for Background Removal
4.1. Using the Pen Tool in Photoshop
The Pen Tool in Photoshop provides the most precise method for removing backgrounds, especially for complex shapes and fine details. Unlike automatic selection tools, the Pen Tool allows you to manually trace the outline of an object, creating a clean and accurate selection.
Here’s how to use the Pen Tool:
- Select the Pen Tool: In the Photoshop toolbar, select the Pen Tool (it looks like a fountain pen nib).
- Create a Path: Click around the object you want to isolate, creating anchor points along its outline. For curved sections, click and drag to create Bezier curves.
- Close the Path: Once you’ve traced the entire object, click on the starting anchor point to close the path.
- Convert Path to Selection: In the Paths panel, right-click on the path and select “Make Selection.”
- Invert Selection: If you want to remove the background, go to “Select” > “Inverse.”
- Delete Background: Press the Delete key to remove the background.
The Pen Tool requires practice to master, but it’s worth the effort for those who need precise background removal.
4.2. Using Layer Masks
Layer masks are a non-destructive way to hide or reveal portions of a layer in Photoshop. They’re particularly useful for complex background removal tasks, as they allow you to make adjustments without permanently deleting any pixels.
Here’s how to use layer masks:
- Add a Layer Mask: In the Layers panel, select the layer you want to edit and click on the “Add Layer Mask” icon (it looks like a rectangle with a circle in the middle).
- Paint on the Mask: Select the Brush Tool and set the foreground color to black. Paint over the areas you want to hide. Set the foreground color to white to reveal hidden areas.
- Refine the Mask: Use different brush sizes and hardness settings to refine the mask. You can also use the Gradient Tool to create smooth transitions.
- Adjust the Mask: If you make a mistake, simply switch the foreground color and paint over the area again.
Layer masks are a versatile tool that can be used for a wide range of image editing tasks, not just background removal.
4.3. Color Range Selection
Color Range selection is a quick way to select areas of an image based on color. This is particularly useful for removing backgrounds that are a solid color or have a distinct color range.
Here’s how to use Color Range selection:
- Go to Select > Color Range: In Photoshop, go to “Select” > “Color Range.”
- Select the Color: Click on the color you want to select in the image. Adjust the Fuzziness slider to control the range of colors that are selected.
- Invert Selection: If you want to remove the background, go to “Select” > “Inverse.”
- Delete Background: Press the Delete key to remove the background.
Color Range selection is a quick and easy way to remove backgrounds, but it may not be suitable for complex images with varying colors.
5. Optimizing Images for Web Use
5.1. Choosing the Right File Format
Choosing the right file format is crucial for optimizing images for web use. As mentioned earlier, PNG is the preferred choice for images with transparent backgrounds, while JPG is best for photographs and images where file size is a priority. WebP is a modern image format that offers superior compression and transparency support.
Here’s a summary of file formats and their use cases:
| File Format | Use Cases | Pros | Cons |
|---|---|---|---|
| JPG | Photographs, images where file size is a priority | Smaller file sizes, good for website loading speed | Does not support transparent backgrounds, loses image quality when compressed |
| PNG | Logos, graphics, images requiring transparency or crisp lines | Supports transparent backgrounds, maintains high image quality | Larger file sizes compared to JPG |
| GIF | Animated images | Supports transparency and animation | Limited color palette, larger file sizes compared to optimized PNGs or WebPs |
| WebP | Images where file size and quality are both important | Smaller file sizes than PNG, supports transparency, better compression than JPEG and PNG | Not universally supported by all browsers and software |
5.2. Compressing Images
Compressing images can significantly reduce file sizes without sacrificing image quality. This is crucial for improving website loading speed and user experience.
There are several ways to compress images:
- Using Image Editing Software: Photoshop and other image editing software have built-in compression features.
- Using Online Compression Tools: Websites like TinyPNG and ImageOptim allow you to compress images online for free.
- Using WordPress Plugins: Plugins like Smush and Imagify automatically compress images when you upload them to your WordPress website.
When compressing images, it’s important to strike a balance between file size and image quality. Experiment with different compression settings to find the optimal balance for your needs.
5.3. Resizing Images
Resizing images to the appropriate dimensions can also help reduce file sizes. If you’re using an image on a website, make sure it’s not larger than the container it will be displayed in.
Here’s how to resize images in Photoshop:
- Go to Image > Image Size: In Photoshop, go to “Image” > “Image Size.”
- Enter the New Dimensions: Enter the new width and height for the image. Make sure the “Resample” checkbox is checked and choose a resampling method (Bicubic Sharper is generally a good choice for reducing image size).
- Click OK: Click “OK” to resize the image.
Resizing images can help reduce file sizes and improve website loading speed.
6. Real-World Applications
6.1. E-commerce Product Photos
In e-commerce, product photos with transparent backgrounds are essential for creating a clean and professional look. Transparent backgrounds allow you to showcase your products on different backgrounds without clashing, improving the overall aesthetic of your online store.
Here are some tips for using transparent backgrounds in e-commerce product photos:
- Consistency: Use the same background for all your product photos to create a consistent look.
- Clarity: Make sure your product is well-lit and in focus.
- Detail: Capture multiple angles of your product to showcase its features.
- Optimization: Optimize your images for web use to improve website loading speed.
6.2. Marketing Materials
Transparent backgrounds are also useful for creating marketing materials such as brochures, flyers, and social media graphics. They allow you to seamlessly integrate your logo and images into different designs, creating a cohesive and professional brand image.
Here are some tips for using transparent backgrounds in marketing materials:
- Brand Consistency: Use your brand colors and fonts to create a consistent look.
- Visual Hierarchy: Use size, color, and contrast to create a visual hierarchy that guides the viewer’s eye.
- White Space: Use white space to create a clean and uncluttered design.
- Call to Action: Include a clear call to action that tells the viewer what you want them to do.
6.3. Presentations
Transparent backgrounds can also be used in presentations to create a professional and engaging look. They allow you to seamlessly integrate your logo and images into different slides, creating a cohesive and visually appealing presentation.
Here are some tips for using transparent backgrounds in presentations:
- Keep it Simple: Use clean and simple designs that are easy to read.
- Use Visuals: Use images and graphics to illustrate your points and keep the audience engaged.
- Use White Space: Use white space to create a clean and uncluttered design.
- Use a Consistent Template: Use a consistent template throughout your presentation to create a professional look.
7. Savewhere.net Resources and Community
At savewhere.net, we are committed to providing you with the resources and support you need to save money and manage your finances effectively. Our website offers a wide range of articles, tips, and tools to help you achieve your financial goals.
7.1. Explore Additional Resources
Visit savewhere.net to discover more tips, tricks, and resources for saving money in various aspects of your life. Our content is regularly updated to provide you with the latest information and insights.
7.2. Join Our Community
Connect with like-minded individuals in our community forums. Share your own money-saving tips, ask questions, and get support from others who are on the same journey as you.
7.3. Contact Us
Do you have questions or need assistance? Our team is here to help. Contact us through our website or visit us at:
- Address: 100 Peachtree St NW, Atlanta, GA 30303, United States
- Phone: +1 (404) 656-2000
- Website: savewhere.net
8. FAQ About Saving Pictures Without Background
8.1. What is the best file format for saving a picture with a transparent background?
The best file format is PNG. It supports transparency and maintains high image quality.
8.2. Can I create a transparent background for free?
Yes, you can use free tools like GIMP or online background removers, but the quality might not be as high as paid options.
8.3. How do I remove a background using Canva?
Upload your image to Canva, select it, click “Effects,” and choose “Background Remover.” Note that this feature is available in Canva Pro.
8.4. Is Photoshop difficult to use for removing backgrounds?
Photoshop has a learning curve, but with practice, you can achieve precise and high-quality background removal.
8.5. What is the Pen Tool used for in Photoshop?
The Pen Tool is used for creating precise selections by manually tracing the outline of an object.
8.6. How can I reduce the file size of a PNG image?
You can compress PNG images using online tools like TinyPNG or image editing software like Photoshop.
8.7. What is a layer mask in Photoshop?
A layer mask is a non-destructive way to hide or reveal portions of a layer, allowing you to make adjustments without permanently deleting any pixels.
8.8. What is Color Range selection in Photoshop?
Color Range selection is a quick way to select areas of an image based on color.
8.9. Can I hire someone to remove backgrounds for me?
Yes, you can hire freelancers on platforms like Fiverr to create transparent backgrounds for you.
8.10. What is the best way to optimize images for web use?
Choose the right file format (PNG for transparency, JPG for photographs), compress images to reduce file size, and resize images to the appropriate dimensions.
Conclusion: Unlock Your Creative Potential with Transparent Backgrounds
Mastering the art of saving pictures without backgrounds opens a world of creative possibilities. Whether you’re designing marketing materials, enhancing e-commerce product photos, or creating engaging presentations, transparent backgrounds can elevate your work to a new level of professionalism. By leveraging the tools, tips, and resources outlined in this guide, you can achieve stunning results while saving time and money.
Remember to explore savewhere.net for more money-saving tips and resources. We are here to support you on your journey to financial success. Start creating today and unlock your creative potential with transparent backgrounds.