Sourdough bread has surged in popularity, captivating home bakers with its tangy flavor and satisfyingly chewy texture. The heart of sourdough baking lies in the starter – a living culture of wild yeasts and bacteria. If you’re eager to embark on your sourdough adventure, one of your first questions might be: “Where can I get a sourdough starter?” Fortunately, acquiring a starter is easier than you might think, with several accessible options to get you baking sooner than you expect.
Options to Obtain Your Sourdough Starter
There are generally four main avenues to explore when looking for a sourdough starter. Each has its own advantages and may suit different needs and levels of patience.
1. Purchase a Sourdough Starter Online
For convenience and speed, purchasing a dehydrated sourdough starter online is an excellent choice. This method is particularly beneficial if you don’t have local bakeries nearby or prefer the ease of online shopping.
- Convenience and Accessibility: Online marketplaces like Amazon offer a variety of dehydrated sourdough starters. These starters are often well-established cultures that have been carefully dried for preservation and easy shipping.
- Variety of Cultures: You can find starters with different origins and characteristics online, allowing you to explore various flavor profiles in your sourdough baking. Some starters are known for specific qualities, such as being robust, fast-acting, or imparting a particular taste to the bread.
- Quick Start to Baking: Dehydrated starters are designed to be quickly activated, often within a few days. This means you can begin baking sooner compared to making a starter from scratch, which can take a week or more.
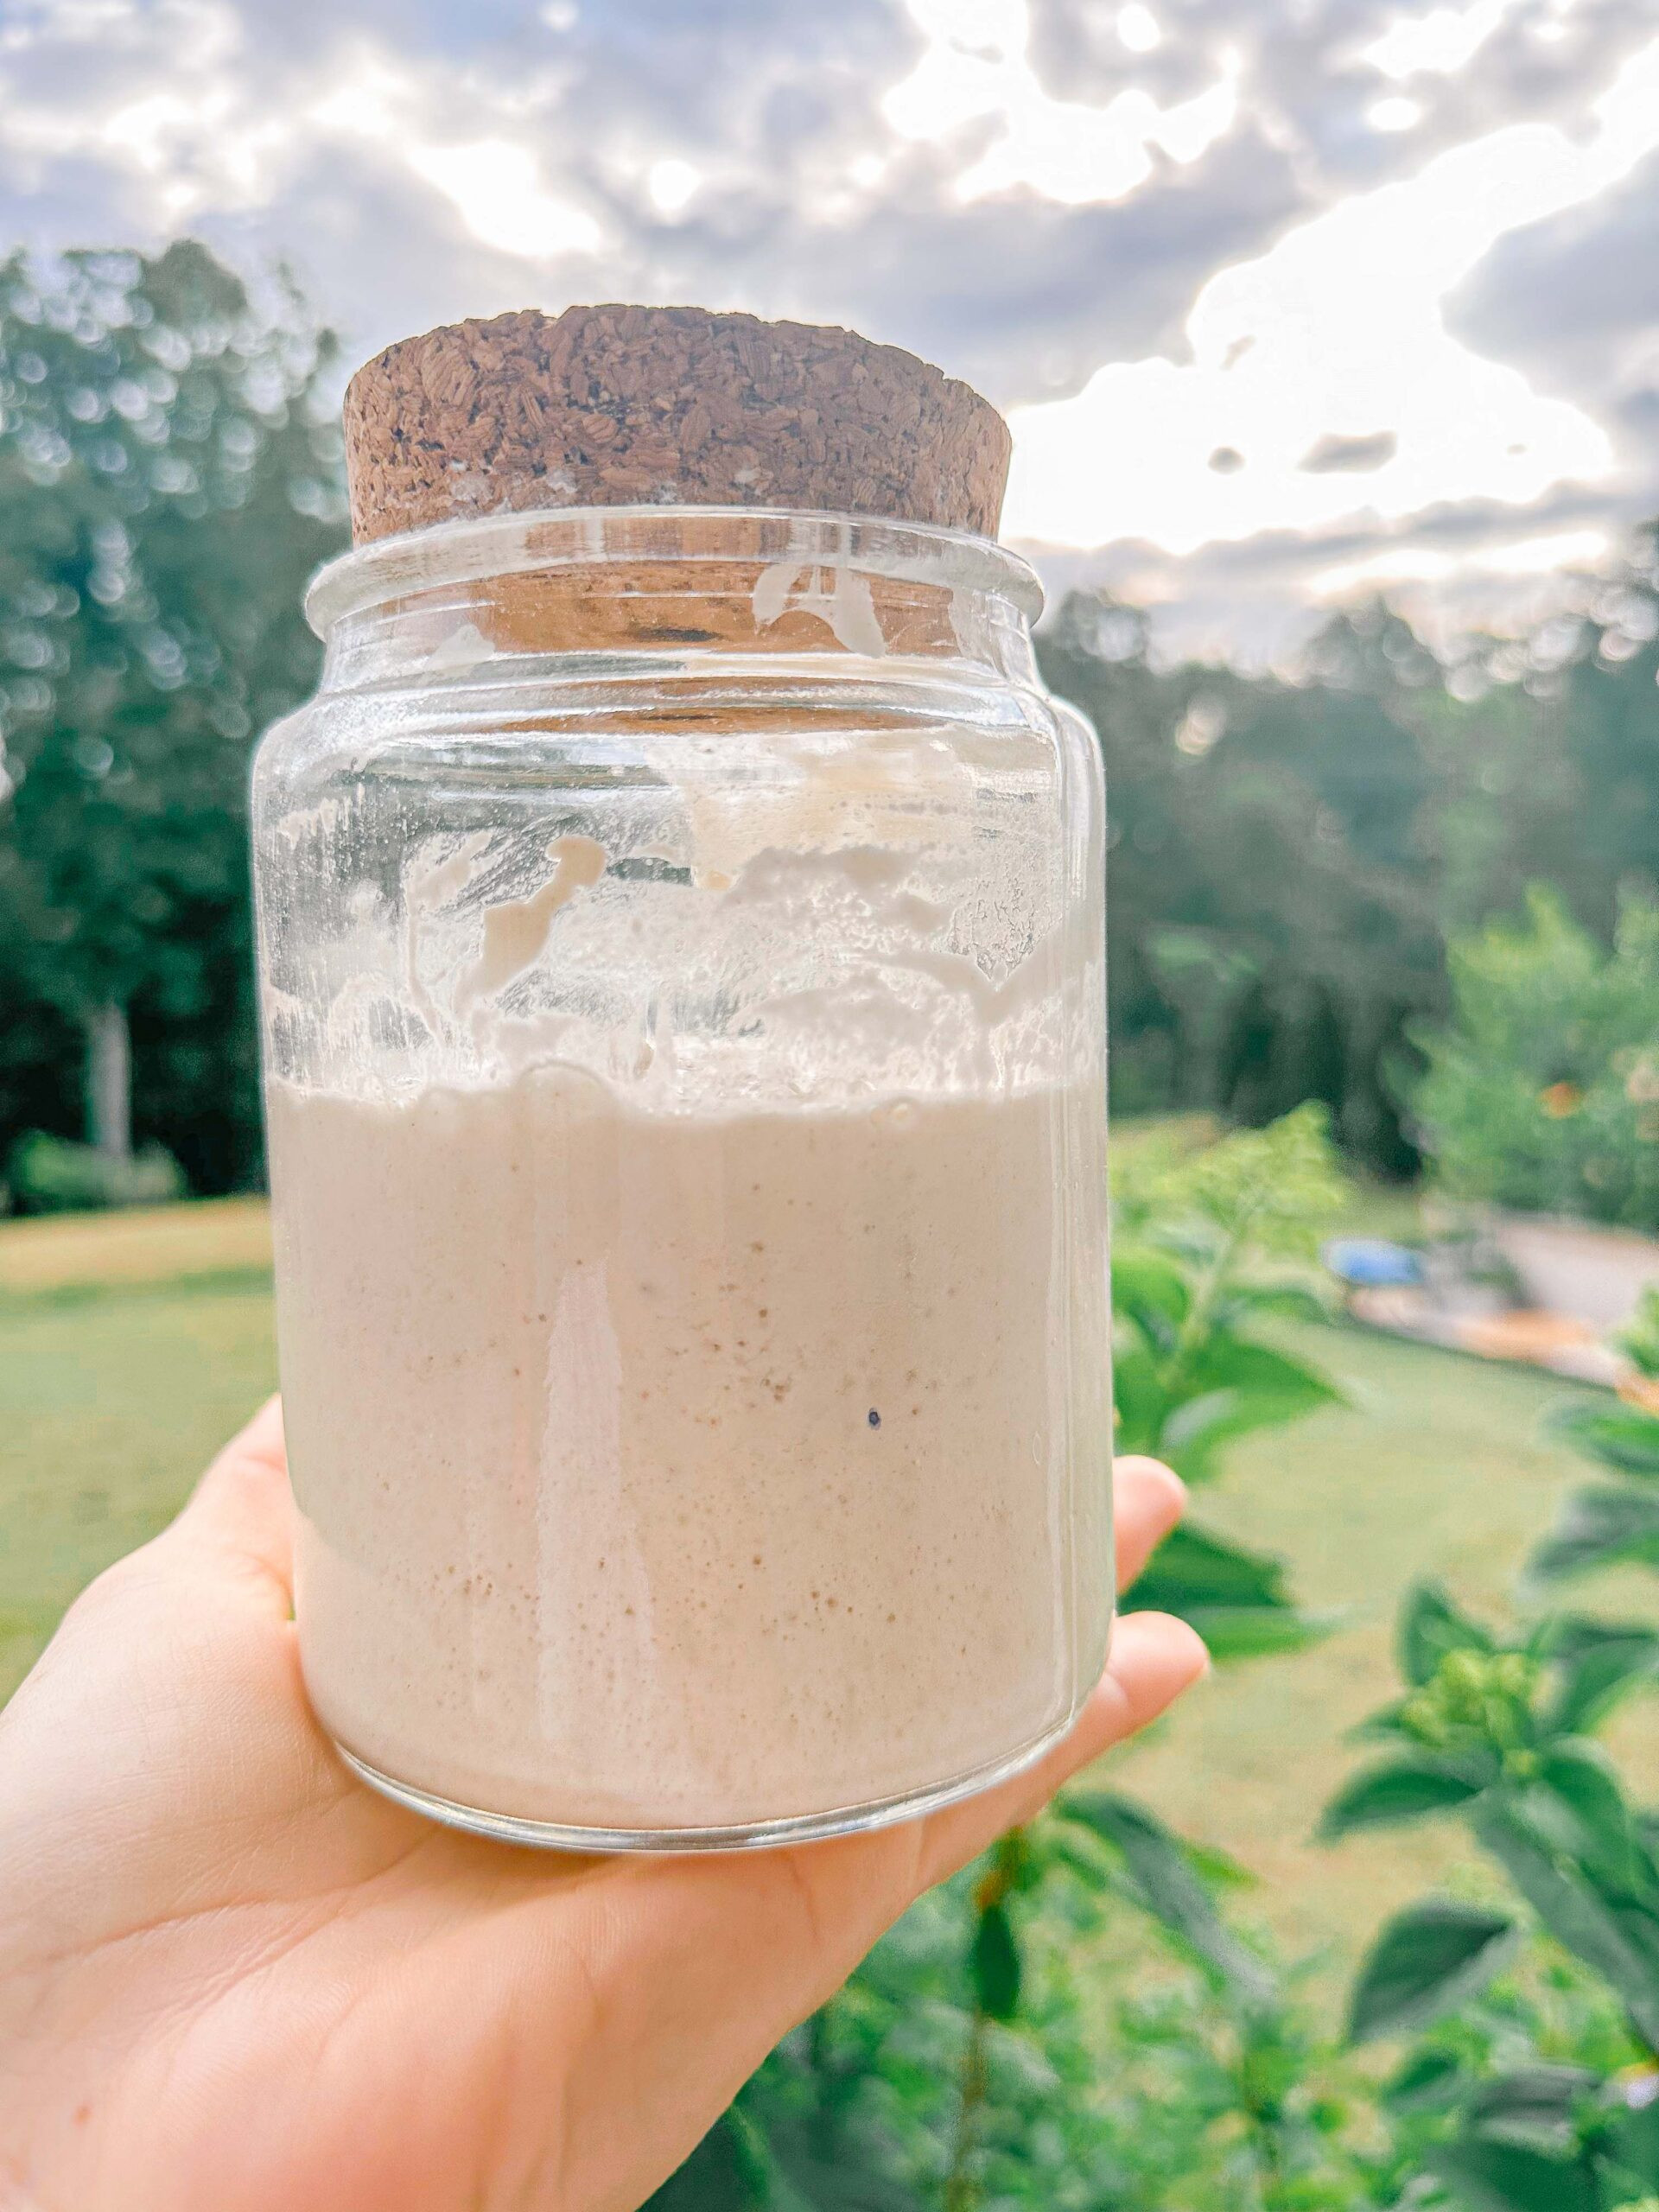
 Dehydrated sourdough starter being activated in a glass jar with water and flour
2. Ask a Local Bakery
Many artisan bakeries that specialize in sourdough bread are often willing to sell or give away a portion of their starter. This is a fantastic option for several reasons:
- Established and Active Starter: Bakeries use their starters daily, ensuring they are very active and healthy. Obtaining a starter from a bakery means you’re getting a robust culture ready to bake.
- Local Connection: Supporting your local bakery is always a plus. Building a relationship with local bakers can also be a valuable resource for sourdough baking tips and advice.
- Potential for Unique Cultures: Some bakeries cultivate their starters for years, even decades, developing unique characteristics and flavors specific to their region or bakery.
To inquire, simply call or visit a local sourdough bakery. Ask if they sell or share their sourdough starter. It’s always polite to offer to purchase a small amount, even if they are willing to give it away for free.
3. Inquire with Neighbors or Baking Communities
The sourdough community is known for its generosity and sharing spirit. Asking neighbors, friends, or members of local baking groups is another great way to obtain a starter.
- Personal Connection: Getting a starter from someone you know adds a personal touch to your sourdough journey. They might also share their experiences and tips for using that particular starter.
- Community Support: Local baking groups, both online and offline, are excellent resources. Platforms like social media groups or forums dedicated to baking are filled with enthusiasts often willing to share their starters.
- Cost-Effective: Often, individuals are happy to share a portion of their starter for free, especially if they know it’s going to a fellow baking enthusiast.
Reach out to your network, post in local community groups, or check online baking forums to see if anyone nearby is willing to share their sourdough starter.
4. Make a Sourdough Starter from Scratch
While it requires more time and patience, creating a sourdough starter from scratch is a rewarding process. It allows you to witness the culture develop from the very beginning and understand the fermentation process intimately.
- Full Control and Understanding: Making your own starter gives you complete control over the ingredients and process. You’ll learn firsthand how flour and water, combined with wild yeasts and bacteria in the environment, create a living culture.
- Unique Starter Development: A starter made from scratch will be unique to your environment, influenced by the local microorganisms in your home and the flour you use.
- Patience Required: Creating a starter from scratch typically takes about 1 to 2 weeks to become reliably active for baking. It involves daily feedings and observation to encourage the growth of beneficial yeasts and bacteria.
 Close up of sourdough starter in a jar with bubbles, indicating activity
While making a starter from scratch is a viable option, for beginners eager to start baking quickly, purchasing online or obtaining from a bakery or neighbor are often more practical starting points.
Activating a Dehydrated Sourdough Starter: A Step-by-Step Guide
If you opt for a dehydrated starter, the activation process is straightforward and generally takes a few days. Here’s a detailed guide based on a typical 3-day activation process:
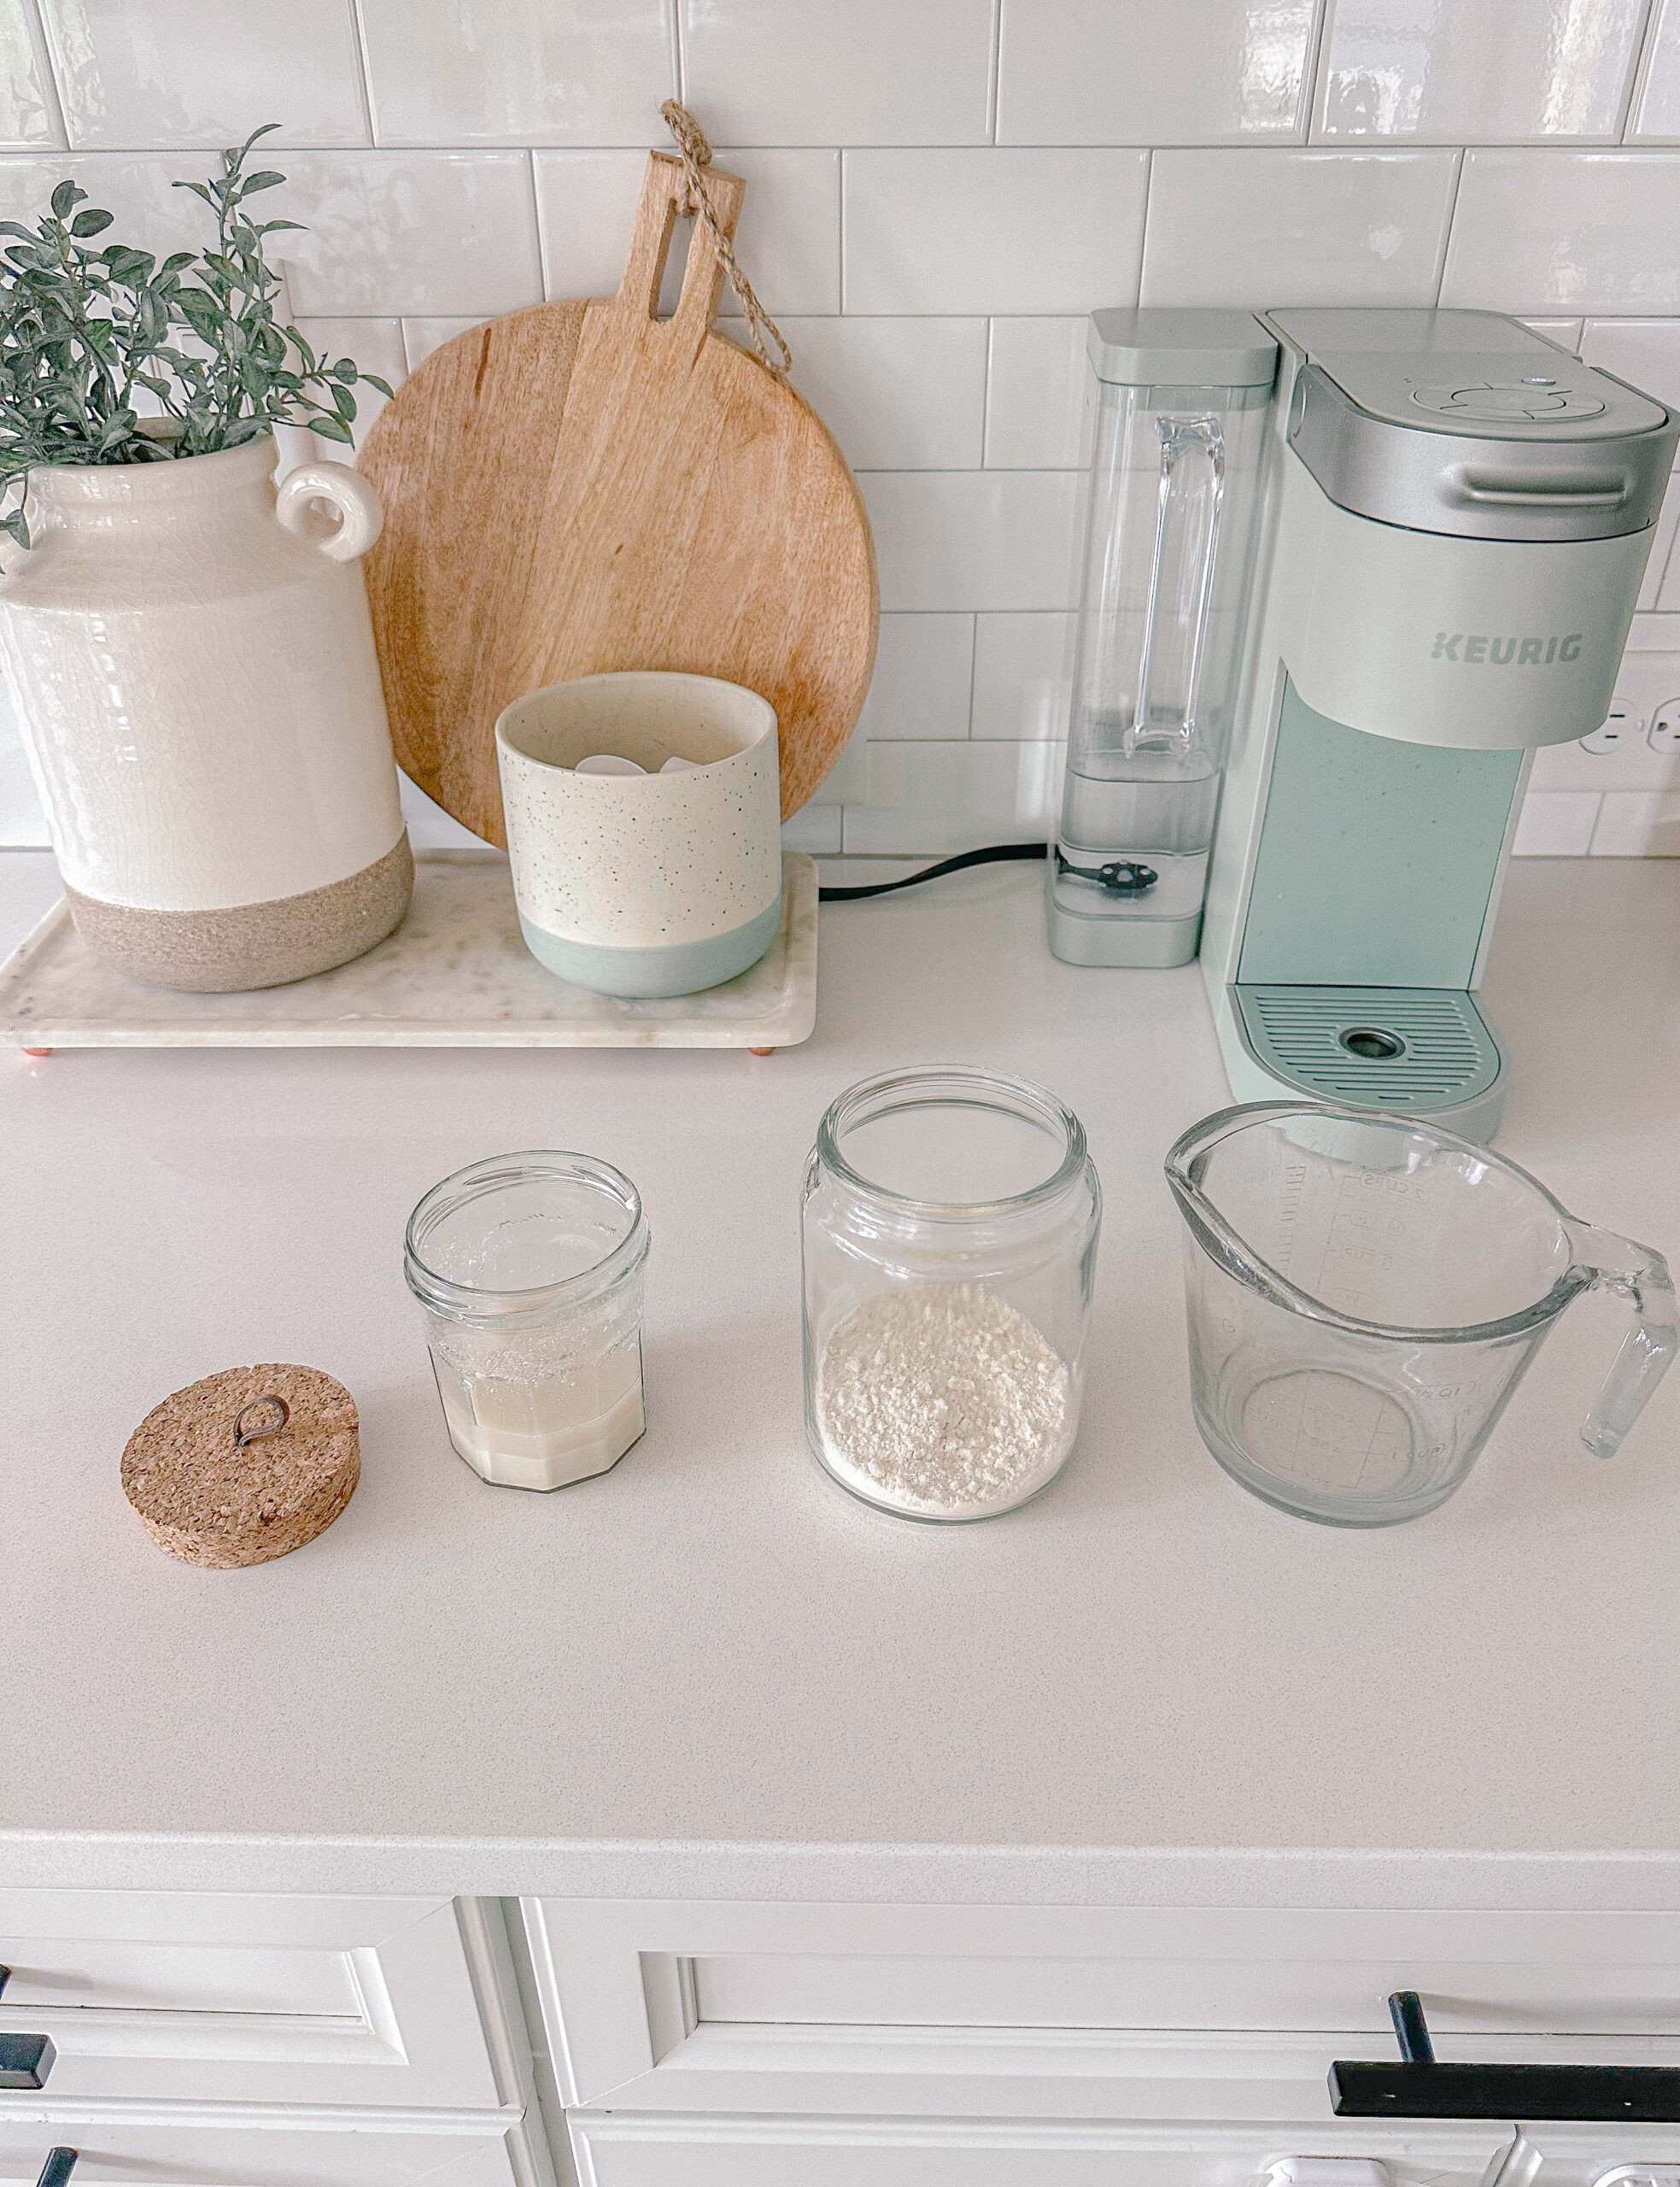
What You’ll Need:
- Dehydrated sourdough starter culture
- Filtered lukewarm water (around 70°F or 21°C)
- All-purpose flour (unbleached is preferred)
- Clean glass jar
Day One:
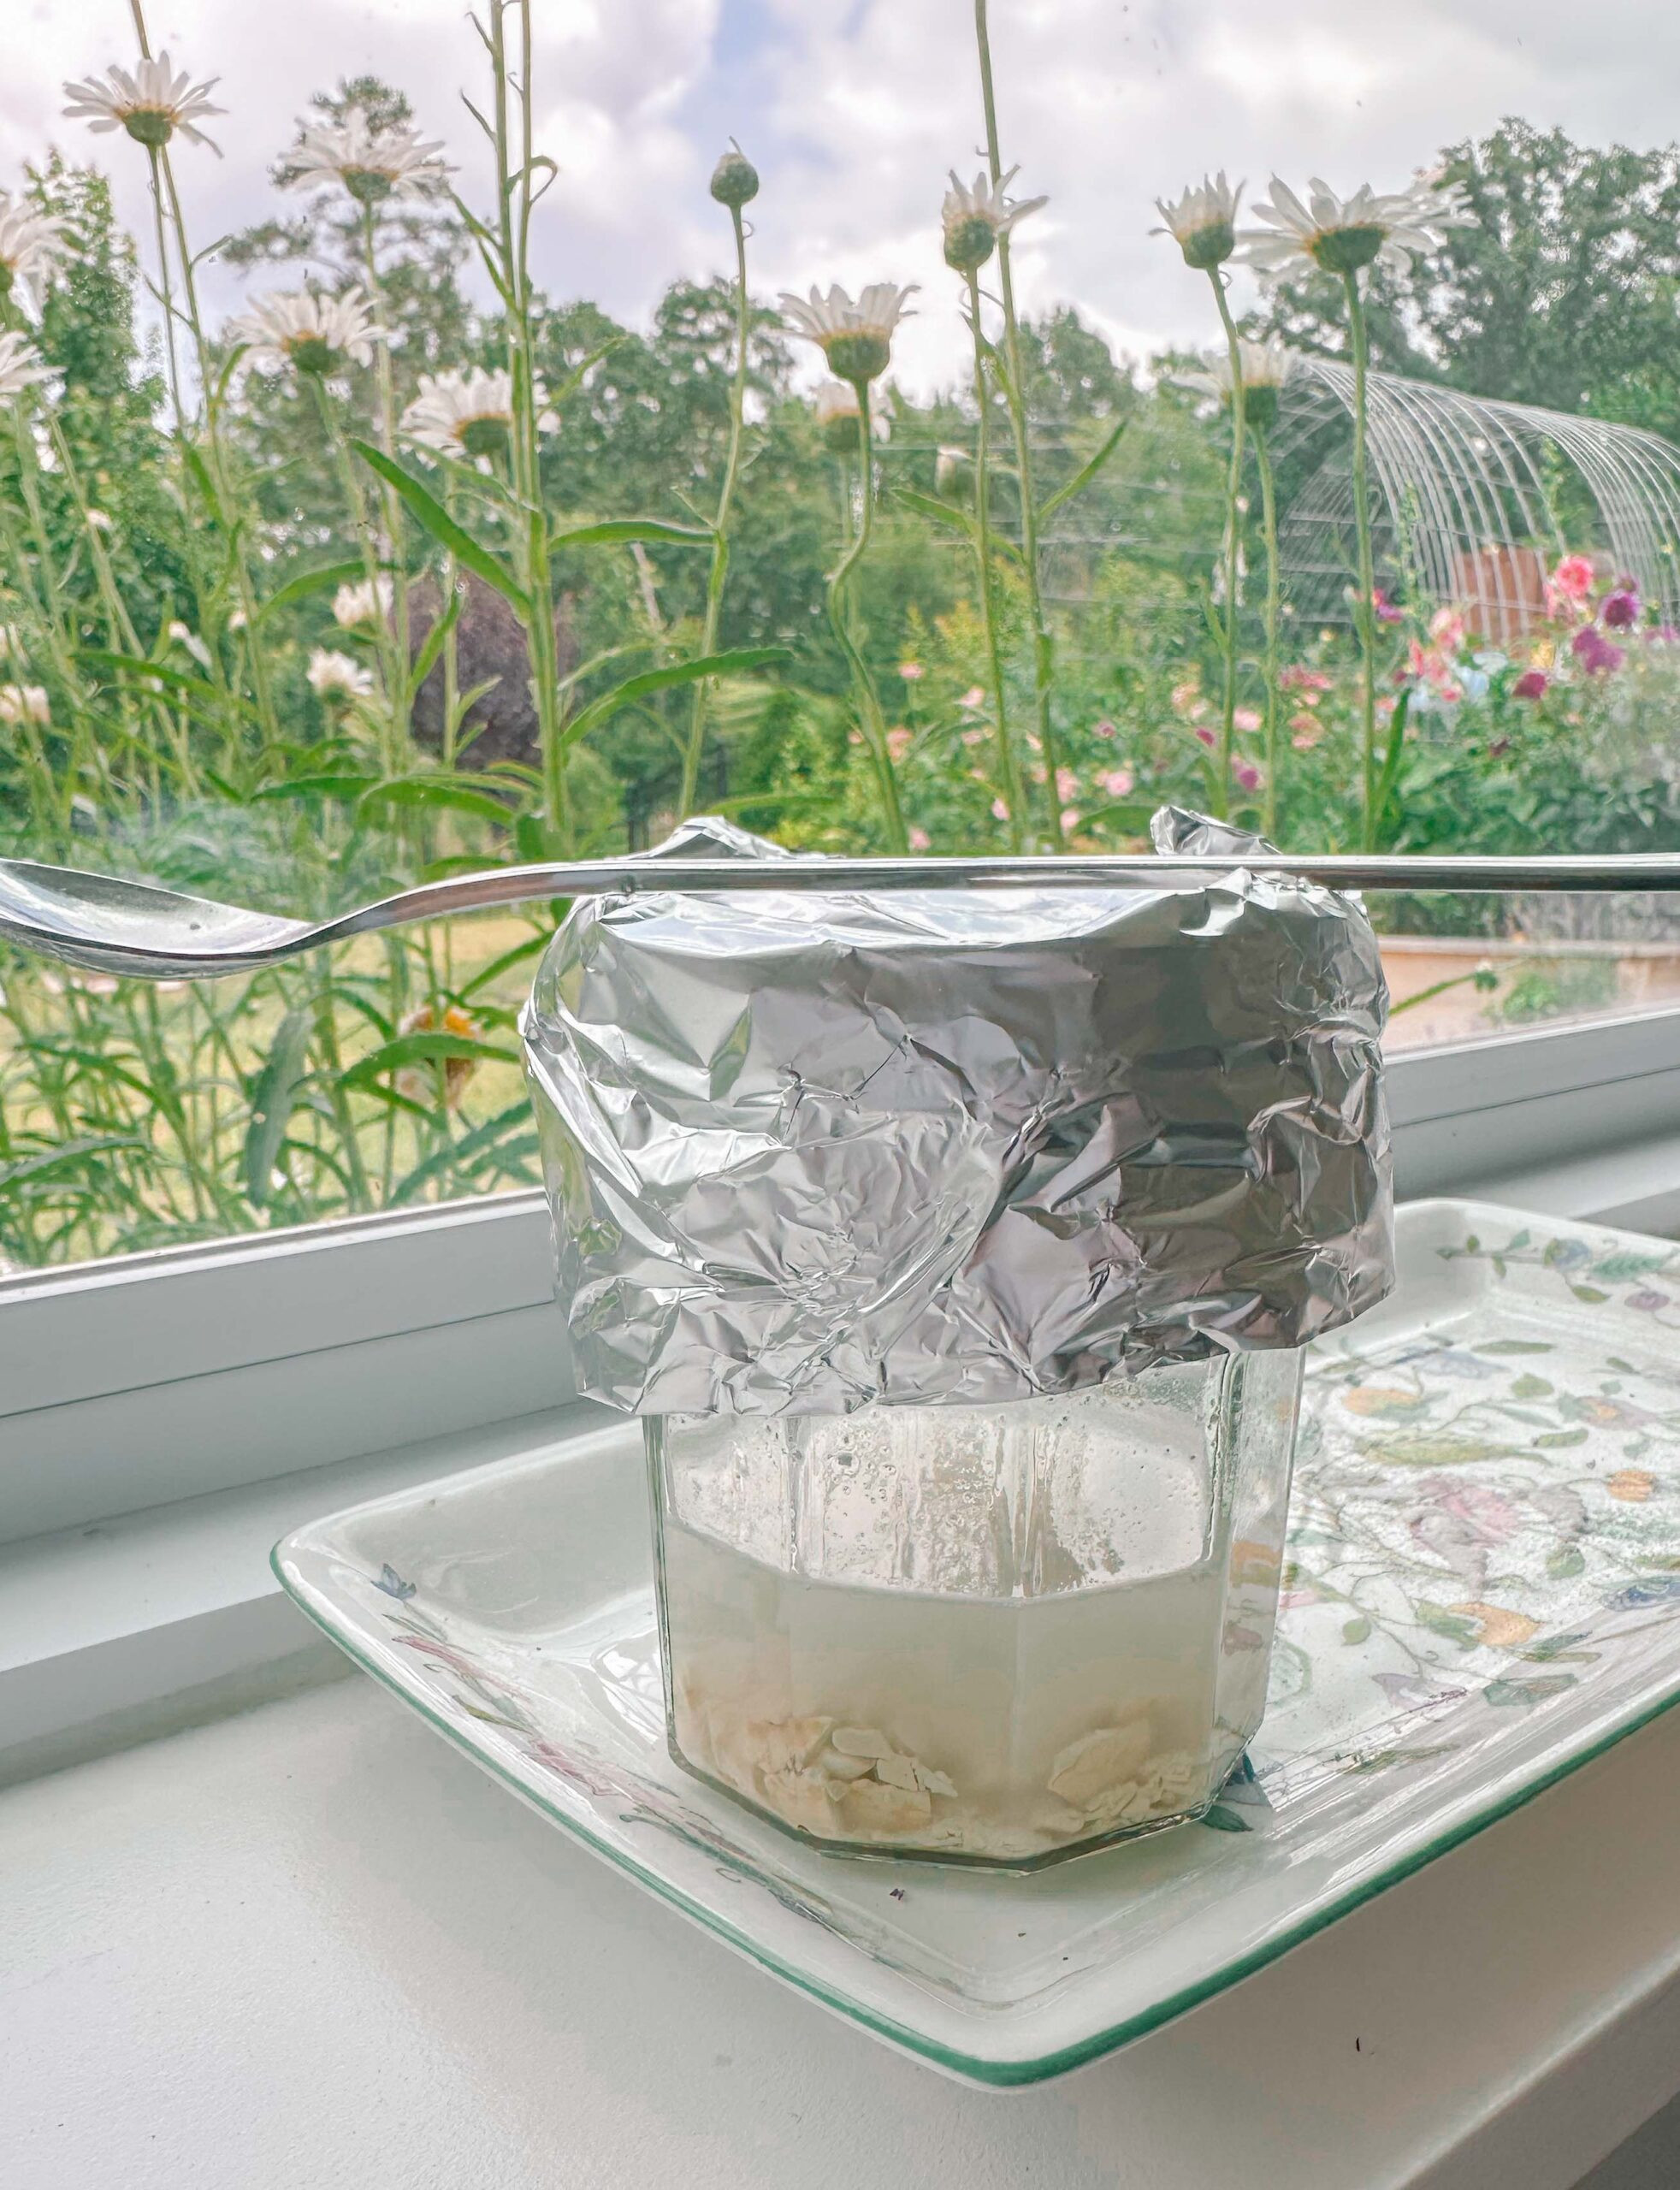
- Hydrate the Starter: In a clean jar, mix the packet of dehydrated sourdough starter with 3 ounces (approximately 85 grams) of lukewarm filtered water. Microwaving water for about ten seconds can help achieve the desired temperature.
- Initial Mixing: For the next 3 hours, gently stir the mixture every 30 to 45 minutes. This helps to dissolve the dehydrated culture and rehydrate the dormant yeasts and bacteria.
 Mixing dehydrated sourdough starter with water in a glass jar
- First Feeding: After the initial 3 hours, add 3 ounces (approximately 85 grams) of lukewarm filtered water and 3 ounces (approximately 85 grams) of all-purpose flour to the jar. Mix well to combine all ingredients. Ensure there are no undissolved clumps of the dehydrated starter.
- Rest Overnight: Cover the jar loosely and let it sit at room temperature for 12 to 24 hours. This initial period allows the culture to begin feeding and activating.
Day Two:
- Observe for Activity: After 12 hours, you might start to see small bubbles forming in the mixture, indicating the starter is beginning to activate. There might also be a slight liquid layer (hooch) on top, which is normal.
- Second Feeding: In the morning of Day Two, add another 3 ounces (approximately 85 grams) of lukewarm filtered water and 3 ounces (approximately 85 grams) of all-purpose flour to the jar. Stir well to incorporate.
- Rest and Observe: Let the starter rest at room temperature for another 8 to 12 hours.
Day Three: Activation and Baking Readiness
- Increased Activity: You should notice significantly more bubbles and potentially a slight rise in volume by this point. This indicates increasing activity within the starter.
- Feeding for Baking: It’s time for a more significant feeding to prepare the starter for baking. Discard about 6 ounces (approximately 170 grams) of the starter (this discard can be used for discard recipes – search online for ideas!). To the remaining starter in the jar, add 3 ounces (approximately 85 grams) of lukewarm filtered water and 3 ounces (approximately 85 grams) of all-purpose flour. Mix thoroughly, scraping down the sides of the jar.
- Mark Growth: Use a marker or rubber band to indicate the current level of the starter on the jar. This will help you monitor its rise.
- Final Rise: Let the starter sit at room temperature for 8-10 hours. It should ideally double in volume within this time.
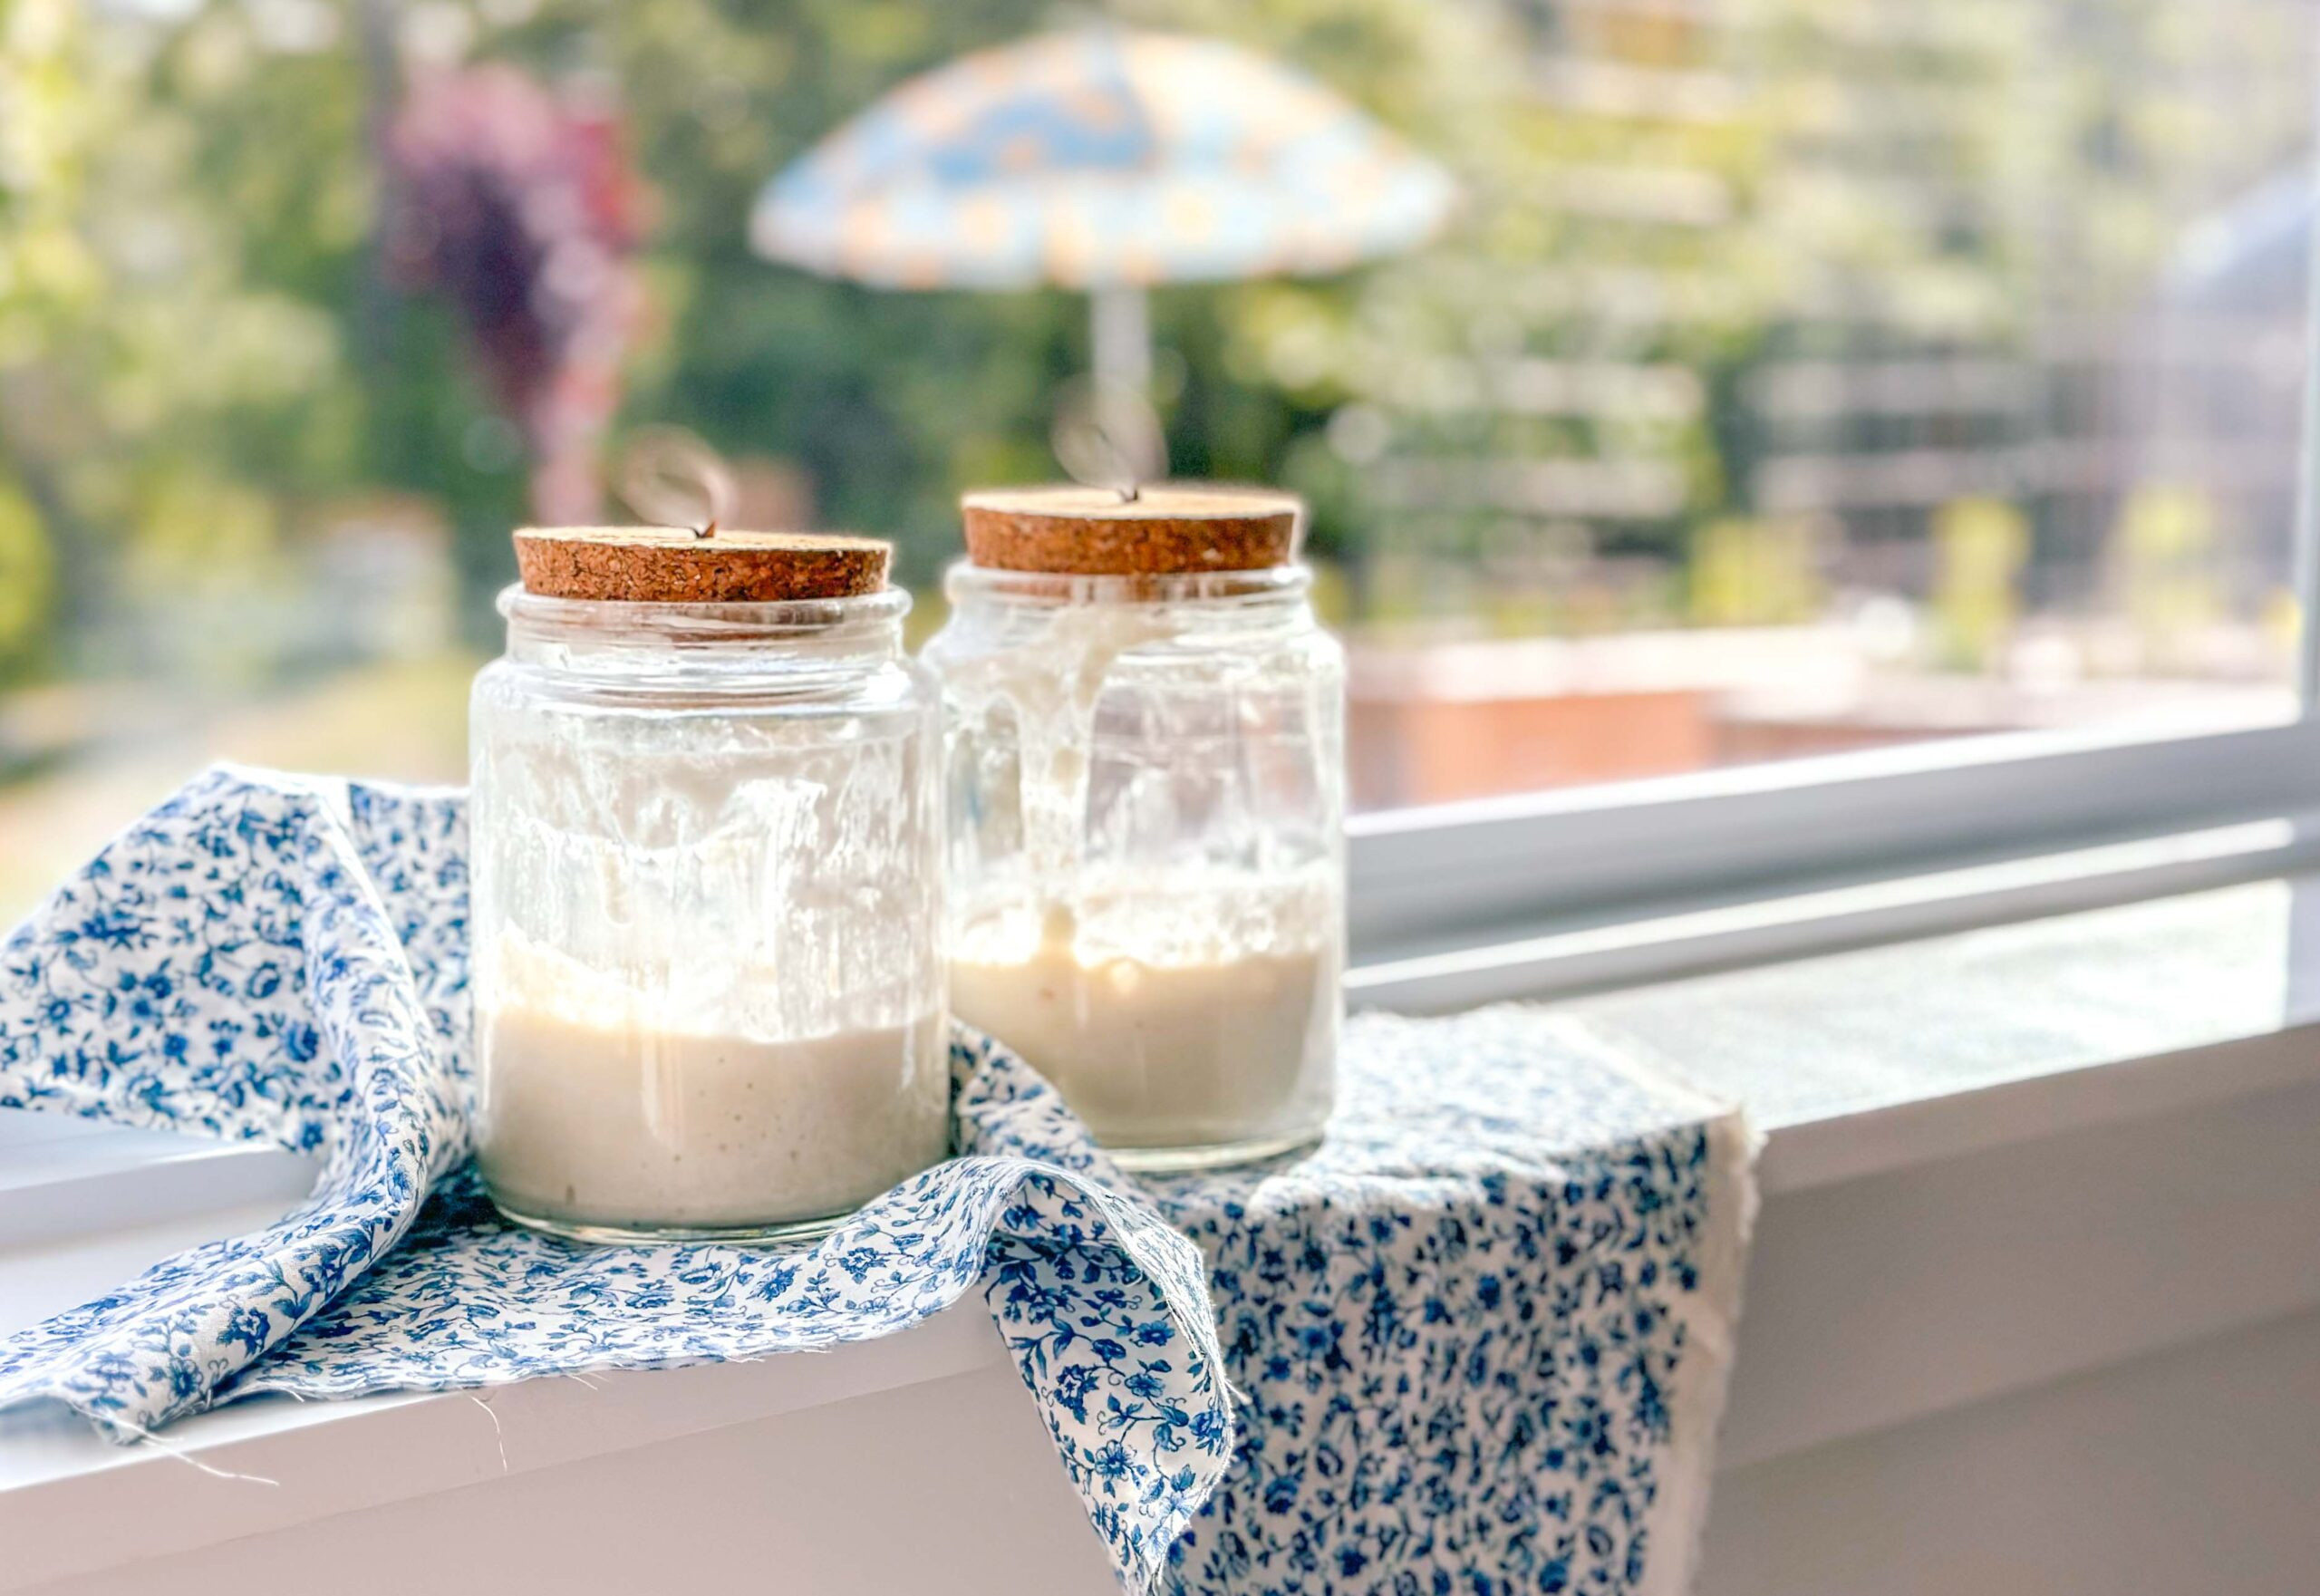
 Sourdough starter in a jar with a rubber band marking the initial level and showing the rise after feeding
Baking Time!
Once your starter has reliably doubled in size within 6-12 hours after feeding, it is considered activated and ready for baking! If it hasn’t doubled, repeat the Day Three feeding process once more. Sometimes, a starter needs an extra boost to become fully active.
Maintaining Your Sourdough Starter
Once you have an active starter, proper maintenance is crucial for its long-term health and baking success.
Storage and Feeding Schedule
- Refrigeration for Inactive Periods: If you don’t plan to bake frequently (more than once a week), store your starter in the refrigerator. This slows down fermentation.
- Feeding in Refrigeration: Even in the refrigerator, your starter needs to be fed every 1 to 2 weeks to remain healthy. Remove it from the fridge, discard a portion, and feed it with a few tablespoons each of flour and water. Mix and return to the refrigerator.
- Countertop Storage for Regular Baking: If you bake every 24-48 hours, you can keep your starter at room temperature on the countertop. In this case, it needs daily feeding to maintain its activity.
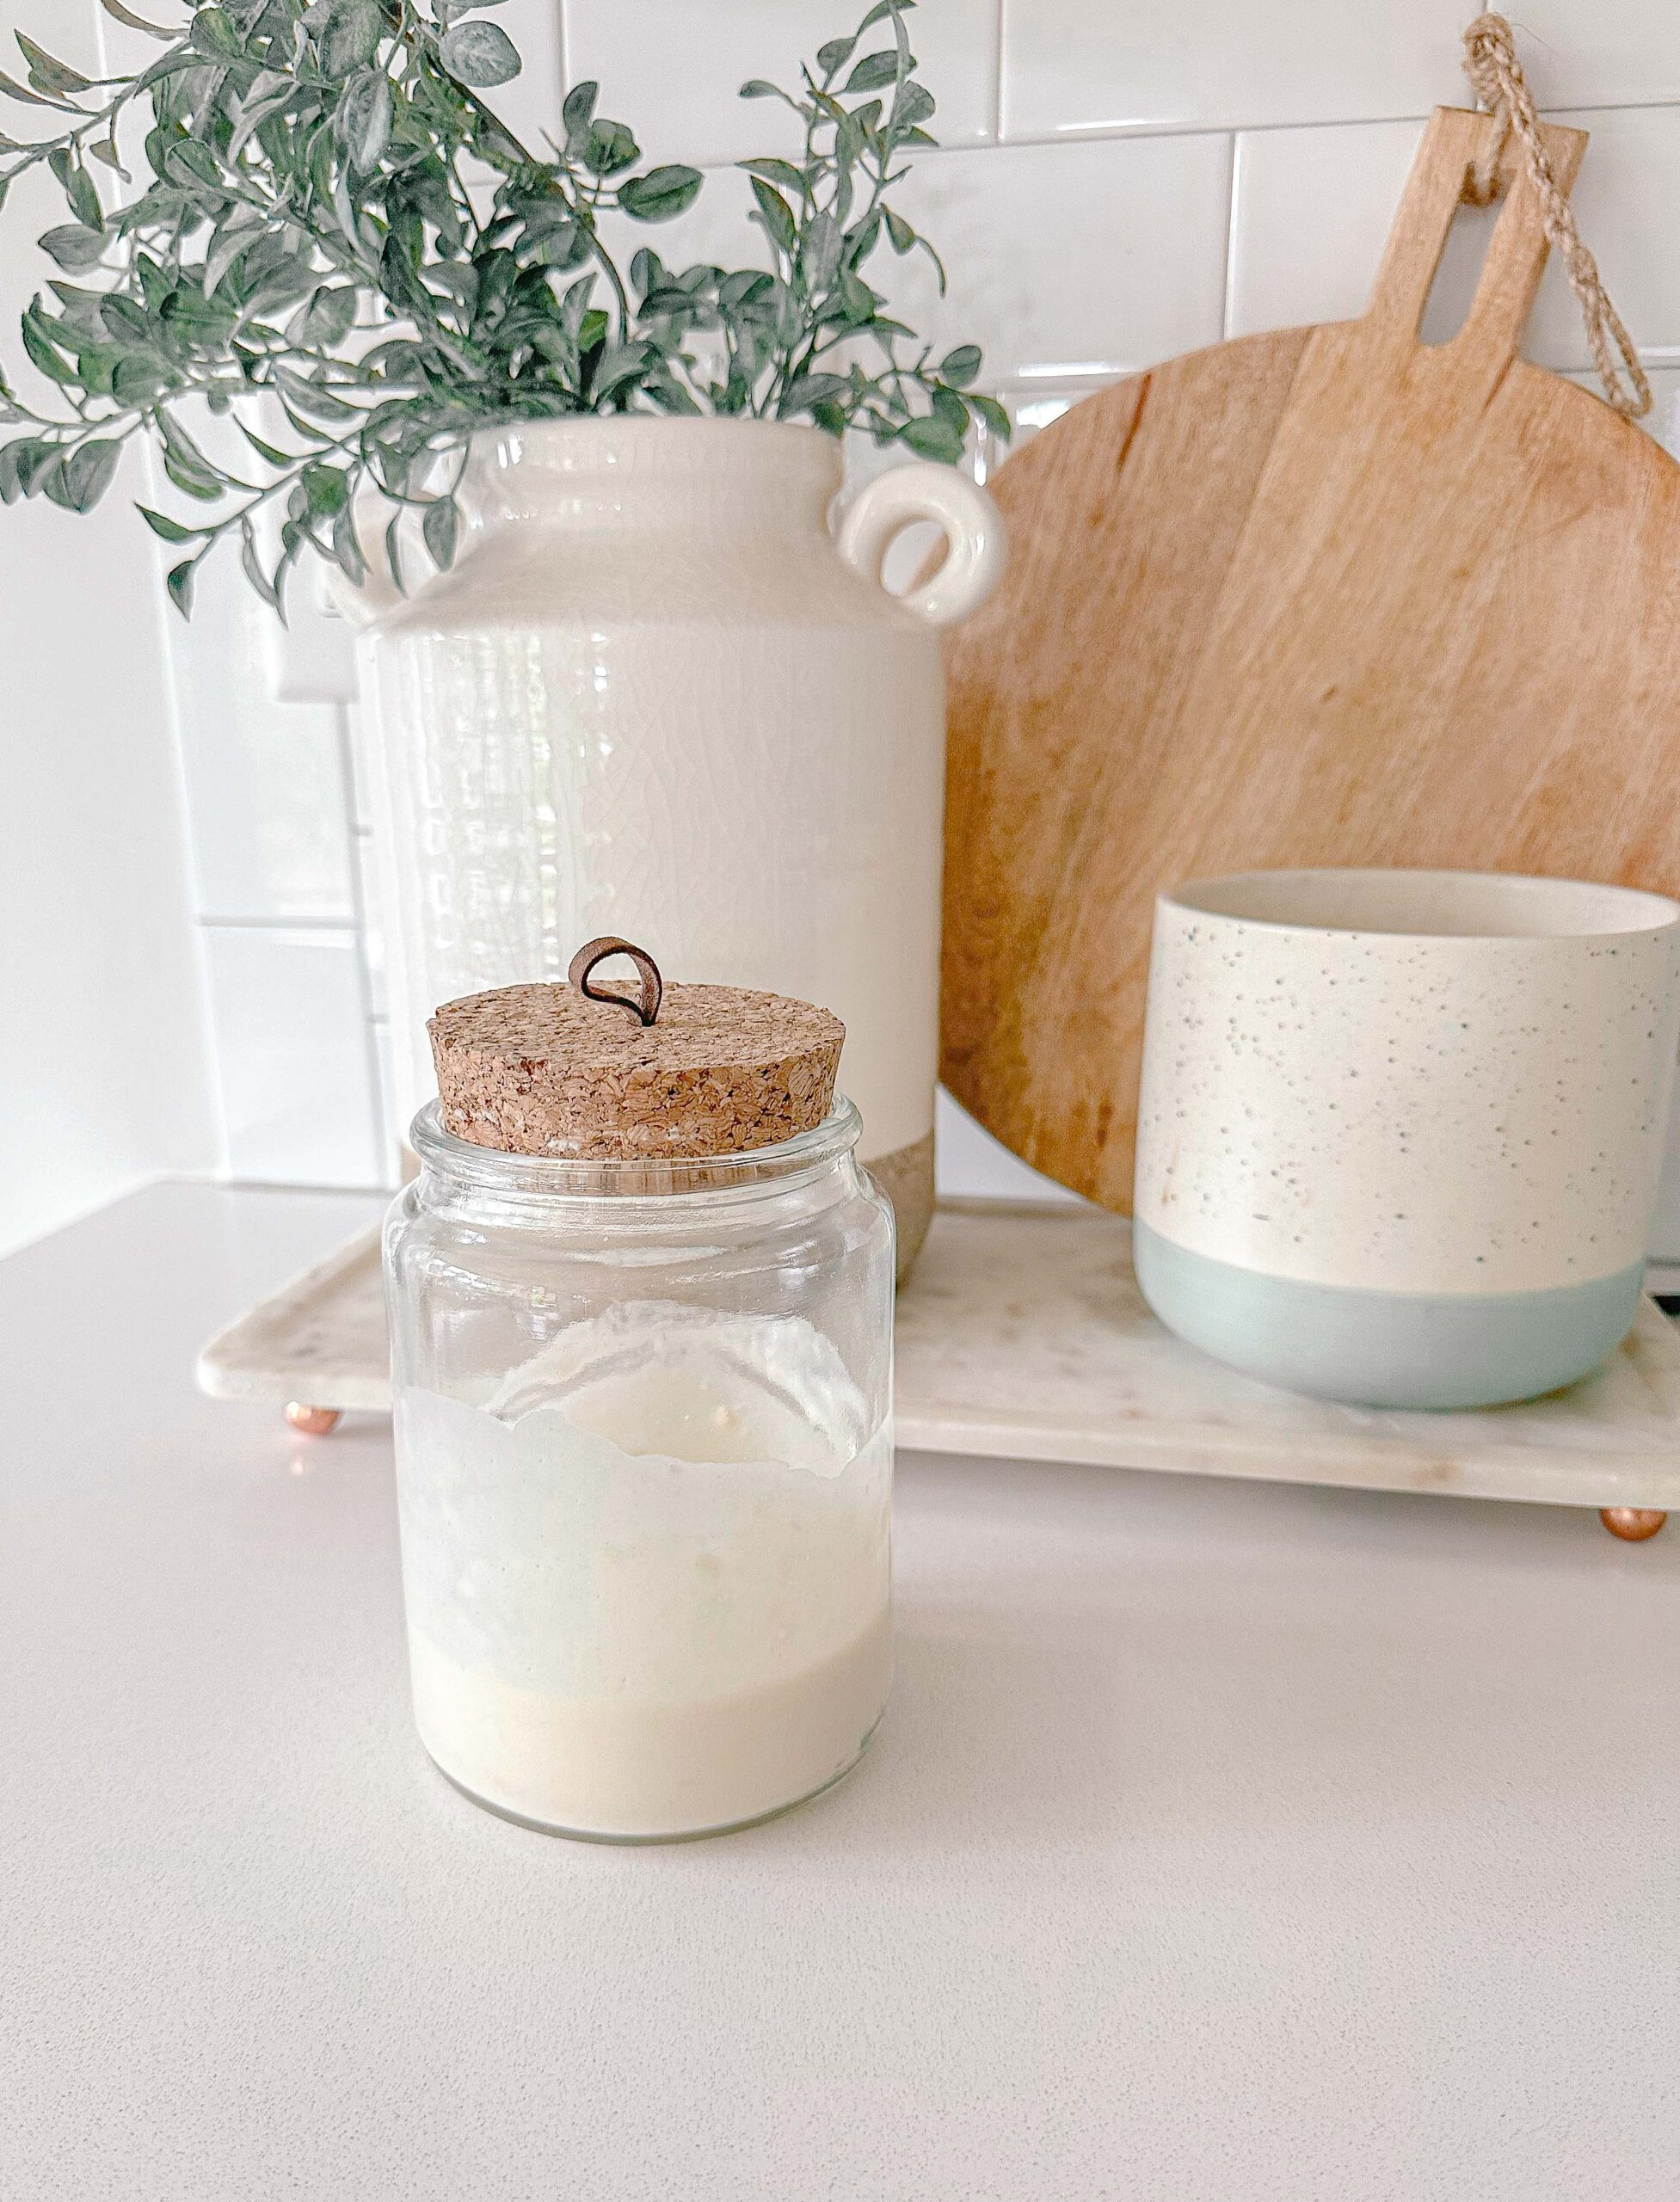
 Sourdough starter being fed with flour and water in a glass jar
Feeding After Refrigeration
When you’re ready to bake after storing your starter in the refrigerator:
- Warm-Up: Take the starter out of the refrigerator and let it sit at room temperature for 45 minutes to an hour.
- Feeding (Levain): Prepare a levain (a portion of starter refreshed for baking) or simply feed your entire starter with equal parts flour and water.
- Warm Environment: Place the fed starter in a warm spot to encourage activity.
- Monitor Growth: Observe its rise. It should become active and bubbly within 5-12 hours, ready to use in your sourdough recipe.
Signs of a Healthy Starter
- Doubling in Size: A healthy starter should reliably double in volume within 6-12 hours after feeding.
- Bubbly and Foamy Texture: It should have a spongy, airy texture with plenty of bubbles throughout.
- Pleasant Sour Aroma: It should smell pleasantly sour, slightly tangy, but not overwhelmingly acidic or unpleasant.
- Stringy Consistency: When you take a spoonful, it should be slightly stringy and elastic.
Troubleshooting Common Starter Issues
Even with care, you might encounter issues with your sourdough starter. Here’s a quick troubleshooting guide:
-
Starter Not Bubbling or Rising:
- Issue: Temperature too cold or starter needs more time.
- Solution: Move to a warmer location (70-75°F). Ensure consistent feedings.
-
Unpleasant Smell (Acetone-like):
- Issue: Starter is hungry.
- Solution: Feed more frequently.
-
Watery Starter (Hooch on Top):
- Issue: Starter is hungry.
- Solution: Stir hooch back in and feed. Adjust flour-to-water ratio for thicker consistency if needed.
-
No Bubbles After Days:
- Issue: Poor flour quality, chlorinated water, or insufficient time.
- Solution: Use filtered water and fresh, good-quality flour. Be patient (can take 7-14 days for new starters).
-
Mold or Pink/Orange Tint:
- Issue: Contamination.
- Solution: Discard starter and start fresh with clean tools.
-
Starter Too Sour:
- Issue: Over-fermented or infrequent feedings.
- Solution: Feed more often for a less sour starter.
-
Dormant After Feeding:
- Issue: Incorrect feeding ratio or not enough time.
- Solution: Use a 1:1:1 ratio (starter:flour:water) by weight. Use room temperature water.
 Troubleshooting guide for sourdough starter issues, listing common problems and solutions
Embark on Your Sourdough Journey
Getting a sourdough starter is the first step in an exciting and rewarding baking adventure. Whether you choose to purchase one online, get it from a local bakery or friend, or make your own from scratch, the possibilities for delicious sourdough creations are endless. With a little care and attention, your sourdough starter will become a faithful companion in your kitchen, providing you with incredible homemade bread and baked goods for years to come.
Start your sourdough journey today and discover the magic of this ancient baking tradition!